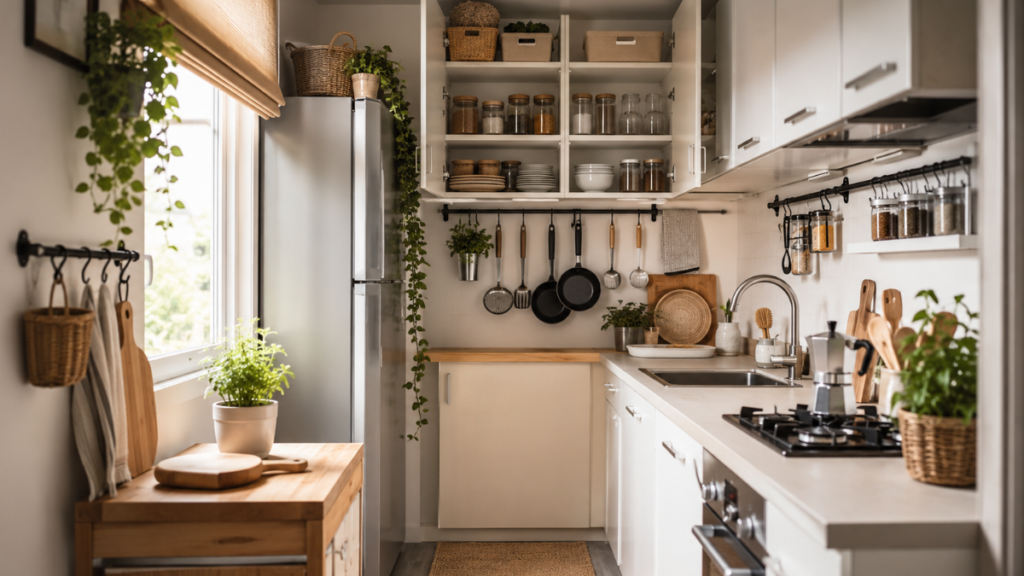
Tiny kitchen and total chaos? Here is my method for organizing a kitchen with barely any space without losing your mind. Practical tricks, storage ideas, and how to make every corner work in a way that actually makes sense.
Picture this: it is Tuesday evening, you get home from work with your head spinning, you want to throw together a quick dinner, and the moment you open the cabinet to grab a skillet, the tower of food containers collapses, three plastic lids roll across the floor, and the pressure cooker lid rattles like a cymbal.
That was my life almost every day. Living in an apartment with a kitchen where two people barely fit at once changes your perspective on things. Either you learn to manage the space, or the space ends up managing your life and your mood.
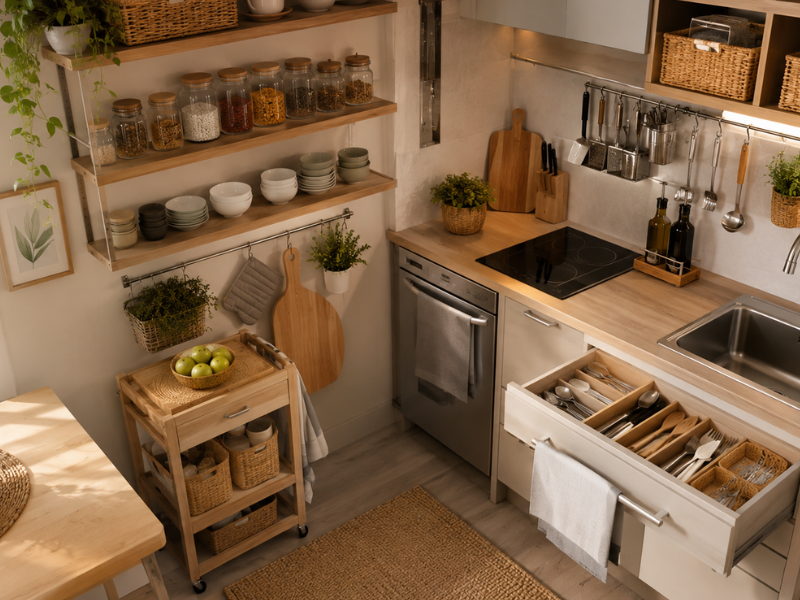
Images created for illustrative purposes with AI assistance
This post contains sponsored links. Using them supports me at no extra cost to you
For a long time I thought the answer to my clutter problems was moving to a place with an island kitchen, the kind you see in decorating magazines where everything is spotless and there are three vases of fresh flowers on the counter.
The housing market being what it is, though, I decided to change tactics. If I could not push the walls out, I would have to squeeze every inch I already had.
A small kitchen can be your best ally if you know how to manage it
At first it is frustrating. You see those enormous kitchens and assume everything is easier over there. Having very few square feet comes with a hidden advantage that took me a while to spot, though: it forces you to be efficient and to keep only what you truly use.
In a giant kitchen it is incredibly easy to accumulate three sets of dishes you do not even like, four different coffee makers, and absurd gadgets whose only job is hulling strawberries or slicing an avocado a very particular way. In a small kitchen, that luxury is off the table.
The three step rule
When you cook in a tight space, everything is within reach. Organize your things well and you will only need a couple of steps to get from the cooking zone to the sink or the fridge.
That translates into less time cleaning, fewer pointless trips back and forth, and a much smoother routine. The key is not the space you are missing, it is how you lay out what you already have.
The unexpected money savings
When your space is measured down to the inch, you think twice before buying a new small appliance or an adorable set of mugs you spotted in a store.
You start asking yourself the magic question: where exactly am I going to put this? That may look like a limitation, yet it is a fantastic brake on unnecessary spending.
In the end you wind up with better quality tools, because you are very selective about every single piece that comes into your home.
Step zero: the full empty out and edit
Do not try to organize a cabinet by reaching in and shuffling jars around. It does not work. To organize seriously, you have to go through the process of taking everything out.
Yes, it is a drag, and yes, halfway through it will look like a bomb went off in your kitchen, though it is the only way to see the reality of what you are keeping.
The three box technique
Pick a day when you have a couple of free hours and clear off the dining table or your main counter. Take absolutely everything out of the upper cabinets and sort it into three very clear groups:
- What stays, because you use it every week.
- What is broken, expired, or worn out, which goes straight to the trash or the recycling.
- What is in good shape but you have not touched in over a year. Gift it, sell it, or donate it.
The number of duplicates we manage to store is astonishing. I discovered I had three bottle openers, four vegetable peelers, and a set of six mismatched glasses I felt bad about tossing even though nobody ever used them.
Let all of that go without guilt. Your kitchen needs room to breathe, and so do you.
What to do with forgotten appliances
We have all fallen for it: the bread maker, the juicer you bought during that stretch when you were convinced you were about to get very healthy, the fresh pasta machine.
If you really use them, wonderful, find them a home. If they are gathering dust and eating up half a base cabinet, though, it is time to admit you do not need them.
A small kitchen cannot be the graveyard of your good culinary intentions.
Planning your space by activity zone
Once you are down to the essentials, the next common mistake is putting things wherever they happen to fit, with no logic behind it.
For the kitchen to run itself and stay tidy with almost no effort, you need to divide the space into zones based on what you do in each one.
The cooking zone
Around your cooktop or gas burners, the only things allowed are items tied to actual cooking. That includes:
- The pots, skillets, and saucepans you use daily.
- Spatulas, wooden spoons, and tongs for turning food.
- Oils, salt, and the main spices you season with while you cook.
If you have to cross the whole kitchen for a pinch of salt while your onions are burning, the layout is wrong. Keep the basics within arm’s reach of the stove.
The prep and cutting zone
This is usually the stretch of counter left free between the stove and the sink. Here you want quick access to your knives, cutting boards, and the bowls you mix things in.
If that counter is taken over by the toaster, the microwave, and three decorative canisters, you will have nowhere comfortable to work, so you end up chopping onions on the dining table or in some awkward corner.
The washing and cleaning zone
Under the sink is the classic spot for cleaning products, dishwasher pods, and trash bags. We will get into how to organize that cursed cabinet in detail further down, though the general rule is that everything tied to kitchen hygiene and dishwashing should live in this one place.
Avoid mixing clean dish towels with chemicals. Find a separate drawer or basket for your linens.
How to squeeze more out of your upper cabinets
Upper cabinets are crucial in small kitchens because they take advantage of the height of the room, though they are often badly optimized.
We leave enormous gaps between shelves, using only the bottom portion while a whole band of empty air sits above doing nothing.
The fix is shelf inserts and cabinet shelf risers, one of the best inventions out there. They are small freestanding metal or plastic structures that sit inside the cabinet itself.
They let you create a second level without drilling holes or installing fixed shelves. They are ideal for the plate and glass area.
Rather than stacking twelve dinner plates with the bowls piled on top, which turns grabbing one into an extreme sport, you can keep the plates below and the bowls on the riser above.
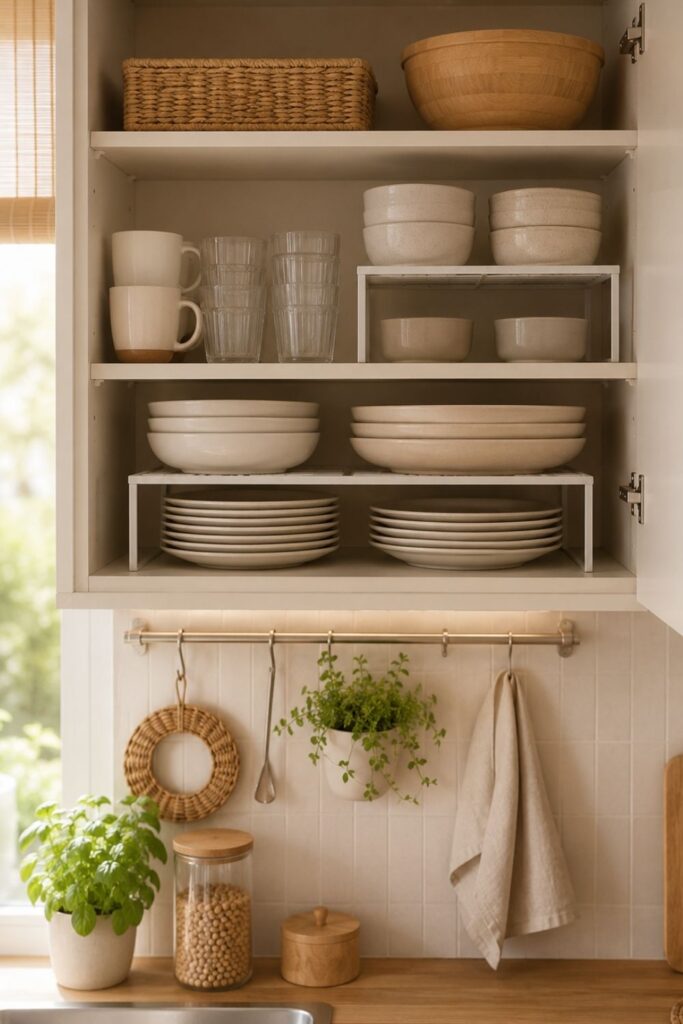
Cabinets with shelf risers
Strategic placement based on how often you use things
Whatever you use every day belongs on the bottom shelf of your upper cabinets, the one at eye and hand level.
The higher shelves, the ones you need a step stool or your tiptoes to reach, should be reserved for occasional items: special occasion dishes, the travel mugs you only take hiking, or the surplus you buy in bulk, like backup bags of flour and sugar.
Organizing glassware and mugs
Mugs are a huge source of clutter because we tend to collect too many and they come in irregular shapes. One very useful way to gain space is adding under shelf hooks so you can hang mugs by the handle, leaving the shelf surface free for glasses.
Line your glasses up in single file by type instead of mixing them. It looks far calmer, plus it is easier to grab the one you want without knocking the others over.
Maximizing base cabinets and deep drawers
The cabinets along the bottom of the kitchen tend to be deep and dark. Without some care, they turn into a black hole where things go in and never see daylight again for months.
Switching to deep pull out drawers
If you are thinking about a small remodel or swapping out the lower units, my recommendation is to choose large, deep drawers instead of doors with shelves behind them.
When you pull a drawer open, you see the entire contents from above in one glance. No kneeling down, no pulling out five skillets to reach the one shoved all the way in back.
If you already have doors and cannot change them, they sell pull out wire baskets that screw into the cabinet floor and do the same job for a lot less money.
The art of storing skillets and pots
Nesting skillets inside one another eventually scratches the nonstick coating and makes grabbing the bottom one a nightmare. The best solution here is a vertical pan organizer, which looks a lot like an office file sorter.
You set the rack inside the cabinet and slide each pan into its own slot. They take up the same width, though the convenience you gain is incredible.
With pots, try storing them with the lid on upside down. That way the knob sits inside the pot and you can rest another one on top without any wobbling.
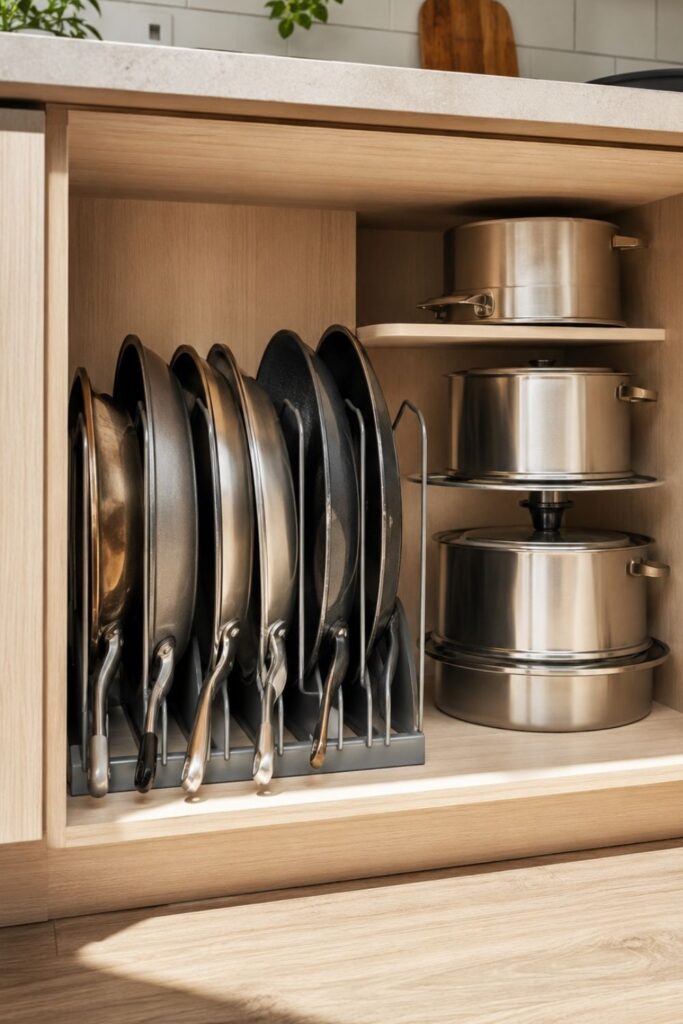
Vertical pan organizer
Drawer organizers for flatware and utensils
A flatware drawer with no dividers becomes a junk drawer within five minutes, where forks live alongside rubber bands, lighters, and clothespins.
Buy an organizer tray that fits your drawer measurements properly and assign a strict spot for spoons, knives, forks, and teaspoons.
For the drawer with the big utensils, meaning whisks, spatulas, and ladles, use lengthwise dividers so they do not catch on each other every time you open and close it.
The trouble spot: the cabinet under the sink
The sink cabinet is usually the hardest one to manage thanks to the pipes, the drain, and in many cases a water filter or the trash can.
It tends to be a damp, disorganized space where half used bottles pile up.
Working around the plumbing
Organizing this space calls for flexibility. Forget fixed shelves. What works best here are clear plastic drawer units or modular under sink shelving, which comes with removable panels you can take out to let the pipes through.
Because they are clear, you can see at a glance whether you are running low on dish soap or need more scrubbers.
Making use of the cabinet door
The inside face of the sink cabinet door is incredibly valuable real estate that almost always goes to waste. Put up a small hanging rack or a few strong adhesive hooks.
There you can hang your dish gloves, the towel you are currently using, or a small basket for clean sponges and scrubbers.
That keeps them from rolling around your counter, which looks a whole lot cleaner.
A clear countertop: the secret to feeling spacious
The biggest enemy of a small kitchen is visual noise. With a counter covered in stuff, the kitchen will feel half the size it already is, and you will dread cooking simply because you have to shove things around to make room.
The clear surface rule
Try to keep at least seventy percent of your work surface clear. The small appliances you use occasionally, like the immersion blender, the sandwich press, or the juicer, should live in cabinets or drawers.
Leave out only what you reach for several times a day, like the coffee maker if you are a serious coffee drinker, or a pretty wooden cutting board you use constantly that adds a bit of warmth to the room.
Alternatives for knives and spices
If you have the classic wooden knife block sitting on the counter, you are giving up precious space. Swap it for a magnetic strip mounted on the wall.
The knives stay put safely, they are right there while you cook, and you free up that counter space.
The same goes for spice jars. Look for a wall mounted organizer, or keep them in a drawer with a tiered insert so you can read the labels easily.
Organizing a pantry in a small space
Without a walk in pantry or a big utility closet, managing your shelf stable food takes strategy, otherwise you end up buying things you already have or letting products expire in dark corners.
Using square airtight containers
Taking food out of its original cardboard or plastic packaging and moving it into clear square containers changes the game completely.
Square canisters make far better use of the corners and side walls of your cabinets than round ones, which leave gaps between them and cost you valuable inches.
Being clear, they let you see in a second how much pasta you have left, whether there are enough beans, or if rice needs to go on the shopping list.
They also give a very pleasant sense of uniformity and cleanliness. Do not forget to cut the expiration date off the original packaging and tape it to the bottom of the container, or write it directly on the container with a marker.
The FIFO system: first in, first out
This is the system supermarkets and professional kitchens run on, and it works beautifully at home. When you get back from the store, put the new packages at the back of the cabinet and move the ones you already had toward the front.
That way you make sure you use up whatever has been sitting there longest, so you avoid nasty surprises from packages that expired months ago.
Grouping by logical categories
Give each type of food its own shelf or large bin. For example:
- A bin for breakfast: coffee, tea, cocoa, cookies.
- A zone for grains: pasta, rice, beans, couscous.
- A corner for canned goods: tuna, crushed tomatoes, canned vegetables.
- A box for baking: yeast, flours, extracts, baking chocolate.
When everything has a category and an assigned bin, staying organized is effortless because you know exactly where each package goes when you get home from the store.
How to organize your fridge to save space and keep food fresher
The fridge is part of the kitchen too, and in smaller models the space runs out fast. A disorganized fridge does not just hold less, it also causes food to spoil sooner because the cold is not distributed well.
The right layout by temperature zone
Every area of the fridge runs at a different temperature and is meant for specific foods:
- The top and middle shelves: this is the most stable part. Dairy goes here (yogurt, cheese), along with cooked leftovers, always in airtight containers, and deli meats.
- The bottom shelf, right above the crisper drawers: this is the coldest part of the fridge. It is the ideal place for raw meat and fish, well wrapped so nothing drips onto other food.
- The crisper drawers: these are designed to hold humidity. Store loose fruits and vegetables here, without the plastic produce bags from the store, since those create condensation and make things rot faster.
- The door: this is the least cold zone and the one that swings through the most temperature changes as you open and close it. Put sauces, drinks, butter, and eggs here.
Long bins for the inside
Just like in your cabinets, long clear plastic bins inside the fridge help enormously. Use them to corral the small sauce jars that always end up scattered across the shelves, or to create a dedicated cheese zone.
When you want to make a sandwich, you pull the whole deli and cheese bin out onto the counter, then put it back in one motion. You save time and keep the cold in more efficiently.
Creative ideas for using walls and the sides of your cabinets
Once the floor and the cabinets have nothing left to give, it is time to look up and sideways. Walls and the exposed sides of cabinets, or of the fridge, are storage gold mines when you use them with some thought.
Wall rails with hooks
Mounting a metal rail along the backsplash of your work area lets you hang endless things: kitchen shears, saucepans, towels, even small pots of fresh herbs like parsley or basil.
That clears out your drawers and gives the room a lively, welcoming feel, like a professional chef’s kitchen where everything is ready to go.
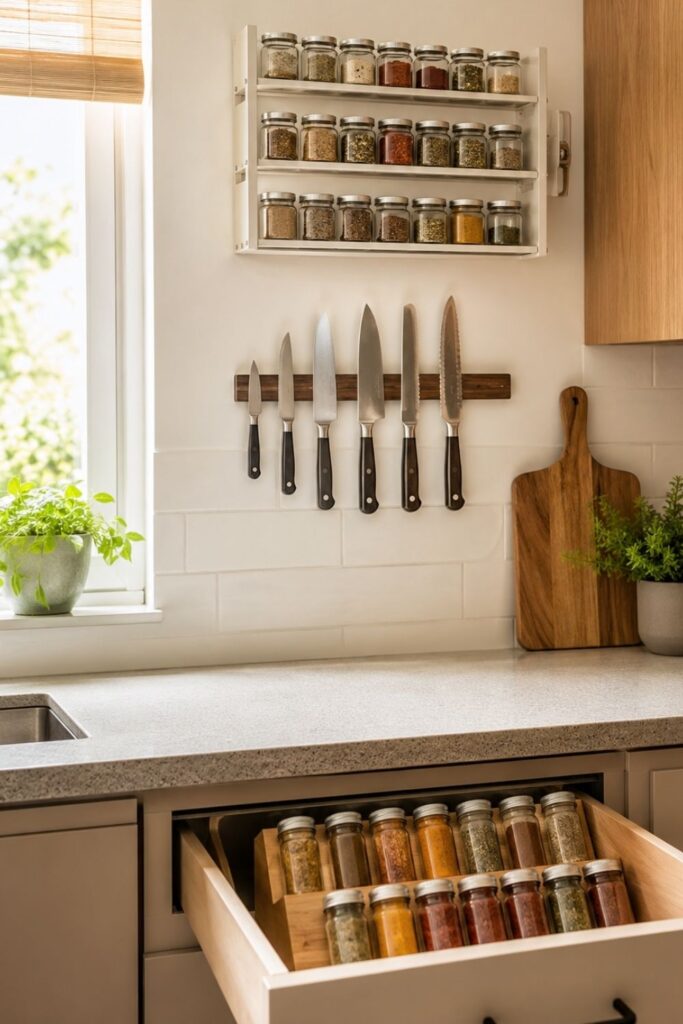
Magnetic strips and glass jars
Magnetic shelves for the side of the fridge
If the side of your fridge is exposed and clear, there are fantastic magnetic shelves that grip firmly with no drilling required.
They hold a paper towel roll, aluminum foil, and several spice jars or bottles of oil. It is space that normally sits empty, and it solves a serious storage problem in about a second.
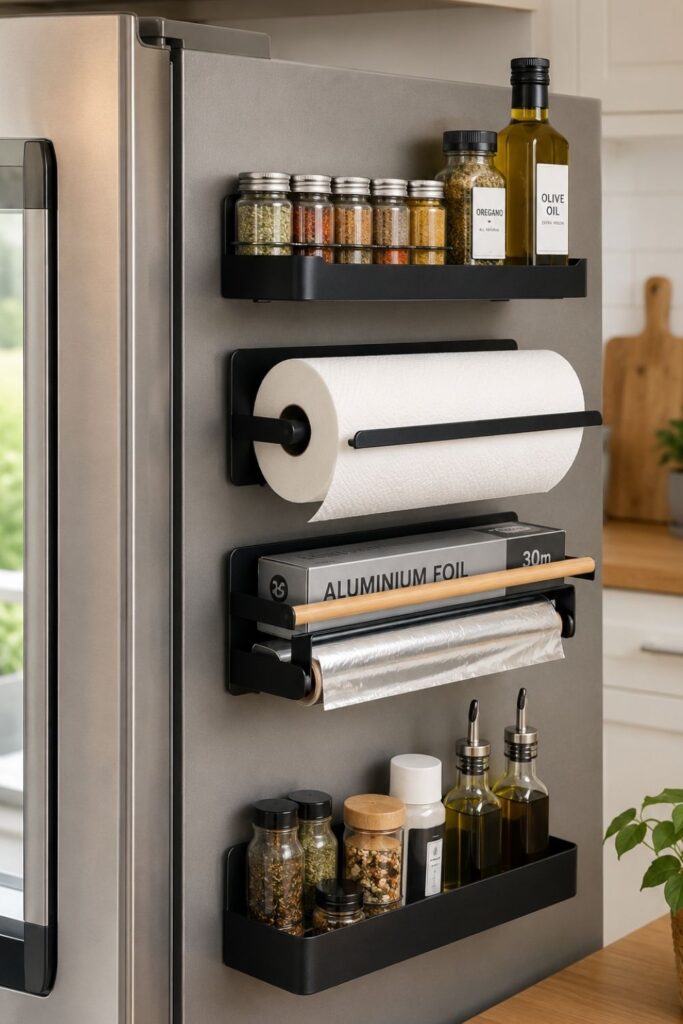
Fridge door organizers
The inside of cabinet doors
Do not stop at the sink cabinet door. The inside of your upper cabinet doors can hold pot lids using small adhesive hooks placed strategically to catch them by the rim.
You can also stick a small whiteboard there for your shopping list or the week’s menus, which keeps the outside of the fridge from filling up with papers that make everything feel cluttered.
Managing food containers: the great household challenge
The food container cabinet is, by definition, the epicenter of chaos in any home. Round ones, square ones, glass, plastic, orphaned lids that turn up months later. Bringing order here takes firmness and a strict method.
Standardizing your containers
The first step, even though it stings the wallet at first, is to purge and commit to uniformity. Get rid of the takeout tubs and ice cream containers you have been saving just in case.
Try to buy container sets that nest and stack, preferably square or rectangular so they use the space better, and that share the same lid across several sizes.
Once all your medium containers take the same blue lid, you are done wasting five minutes every morning hunting for the right match.
Storing lids separately
The big mistake is storing containers closed with their lids on, since they take up three times the room in the cabinet. The right technique is to nest the containers by size, like Russian dolls, and stand all the lids together upright inside a small plastic bin or a plate organizer.
Then you pick the container size you need and pull its lid out of the slot, quickly and cleanly.
Keeping it that way: daily habits that prevent a relapse
You can spend an entire weekend organizing your kitchen to perfection, yet without changing certain daily habits you will be back at square one within two weeks.
Keeping a small kitchen tidy takes consistency and small routines that barely cost you any time once they are automatic.
The empty counter rule before bed
Never go to bed leaving dirty dishes in the sink or pans sitting on the stove.
Waking up and walking into a clean, clear kitchen completely changes your mood for the day ahead. Run into last night’s dinner chaos first thing and you will start the day sluggish and overwhelmed.
It takes ten minutes to wash up or load the dishwasher before bed. Make the effort, your future self will thank you.
Clean as you cook
Do not wait until after you eat to clean up everything you dirtied. Use the downtime while the pasta boils, the fish bakes, or the onions soften to wash the cutting board, put the oil back in its spot, and return the spice jars to the drawer.
By the time you sit down to eat, the kitchen should be basically clean except for the plates and silverware you are actually using. That makes the post meal cleanup laughably quick, which means zero dread.
A monthly check of the pantry and fridge
Spend ten minutes once a month going through the back of the pantry and the fridge drawers.
Check whether any vegetables are going limp and could become a soup, look for packages that were left open and need a proper clip, and make sure you use up whatever is closest to its expiration date.
This small check prevents food waste and keeps your space working at its best.
Frequently asked questions about organizing a small kitchen
Is it better to keep utensils out in the open or put away in cabinets?
In a small kitchen, storing as much as possible away is the way to go, both to cut down on visual noise and to protect your things from the grease and dust that cooking generates.
Leave out only what you use daily, like knives on a magnetic strip or your main cooking spoons, and keep everything else safely inside drawers and cabinets.
How can I make use of the corners in deep kitchen cabinets?
Corners are tricky areas. If you are remodeling, install pull out hardware or lazy Susans that bring the contents forward when you open the door.
If you have an older cabinet with a fixed shelf in the corner, use that back space for very occasional items, like your holiday dishes or small appliances you only pull out once a year.
I have so many spice jars they fill an entire drawer. What do I do?
One good solution is using the underside of your upper cabinets by mounting magnetic strips or small adhesive jar holders beneath them.
That way your spices hang in the air above the counter without taking up work space or stealing room inside your drawers.
Another option is transferring them into flat magnetic tins and sticking those directly onto the fridge door.
What do I do with the trash can if it does not fit under the sink?
If the cabinet under the sink is overrun by pipes, look for a tall, narrow trash can that can slot into any free gap or at the end of the counter.
There are models with several compartments stacked one above the other for recycling, which saves a lot of floor space compared to lining up three separate bins.
How do I organize kitchen towels if I have no free drawers?
You can use a nice basket and set it on top of your upper cabinets if there is a gap up to the ceiling, or on an open shelf. Fold the towels using the vertical file method instead of stacking them one on top of another.
That way they take up almost no room, they stand up on their own inside the basket, and you can grab one without wrecking the order of the rest.
Organizing a small kitchen is not something you knock out in one afternoon and never revisit. It is an ongoing process of adapting to your needs and your cooking habits.
What matters most is finding a system that works for you and for whoever else lives in your home. Do not obsess over making it look like a magazine kitchen.
Go for function, comfort, and that wonderful feeling of knowing exactly where everything is the moment you need it.
Now I would love to hear about your experience.
Which area of your kitchen gives you the biggest headache? Do you have a homemade trick that has worked wonders for gaining space?
Leave me a comment below and let’s swap ideas. Between all of us we are bound to find solutions for those tricky corners. I am reading!