Learn how to make handmade earrings step by step. A complete guide to two different DIY jewelry designs you can put together at home with basic supplies and zero experience.
I finally sat down the other day and knocked out a couple of earring designs that had been living rent-free in my head for weeks.
Here’s the thing about making your own jewelry: it looks way more intimidating than it actually is. The first time you see all the pliers, loose wire, and tiny beads scattered across the table, it’s easy to think you’re in over your head.
But once you start, the whole thing clicks pretty fast. It’s honestly kind of addictive. Let me walk you through two designs that are lightweight, easy to pull off, and look like they cost way more than they did.
This post contains affiliate links. See our disclosure for details.
Design One: Crystal Bead Hoops
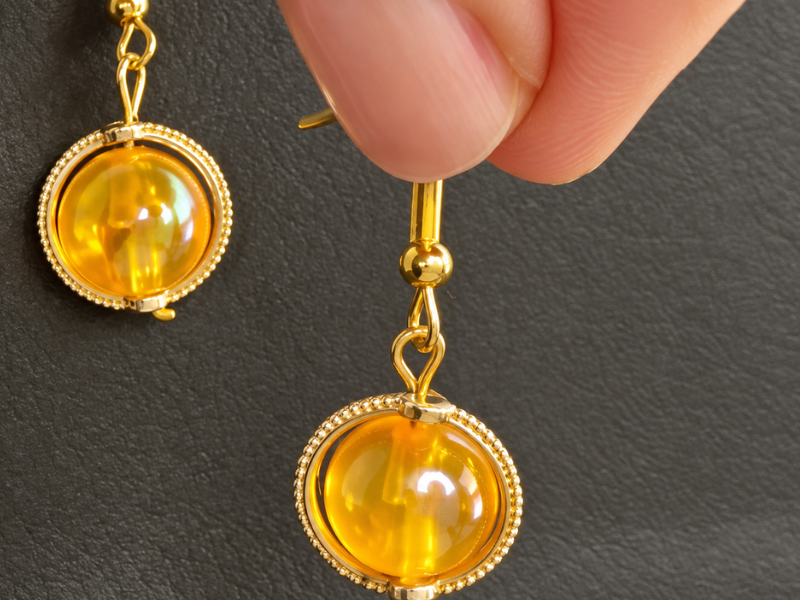
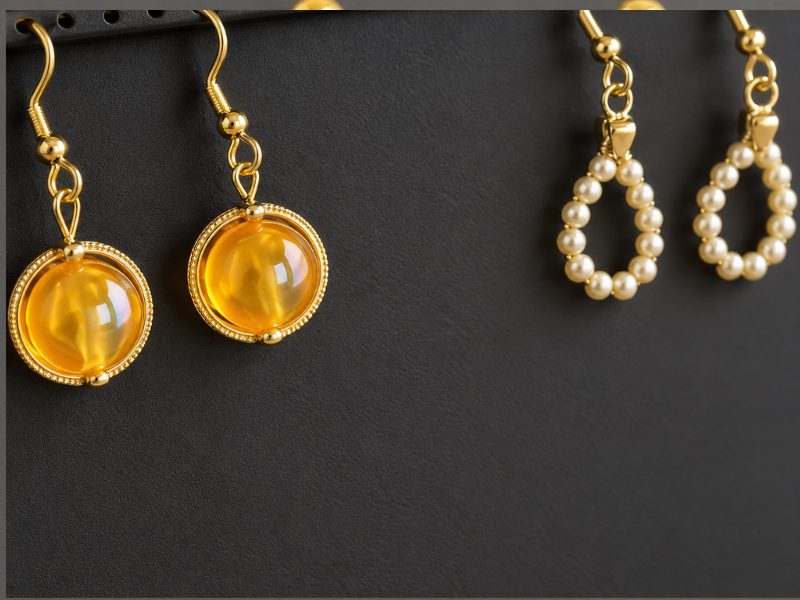
These are the earrings I reach for when I want something pretty but not heavy. They catch the light, they move when you move, and they take about ten minutes to make. Total lifesaver.
What You’ll Need
Grab these basic supplies. Any craft store will have them, or check those little assorted bead kits you’ve probably got stashed in a drawer somewhere:
- Two small metal hoops in a warm gold tone.
- Two eye pins.
- Two faceted crystal beads. I’m obsessed with amber and orange tones because of how they catch the light, but go with whatever color you love.
- Two earring hooks or push-back posts.
- Flat-nose pliers and small flush cutters.
Quick tip: lay a small towel or cloth on your work surface before you start. Crystal beads are tiny, and the second one slips out of your fingers it will roll straight to the most unreachable spot on the floor. A cloth catches them before they escape.
Good overhead lighting helps a lot too, especially when you’re trying to thread wire through those impossibly small holes.
Putting the Hoops Together
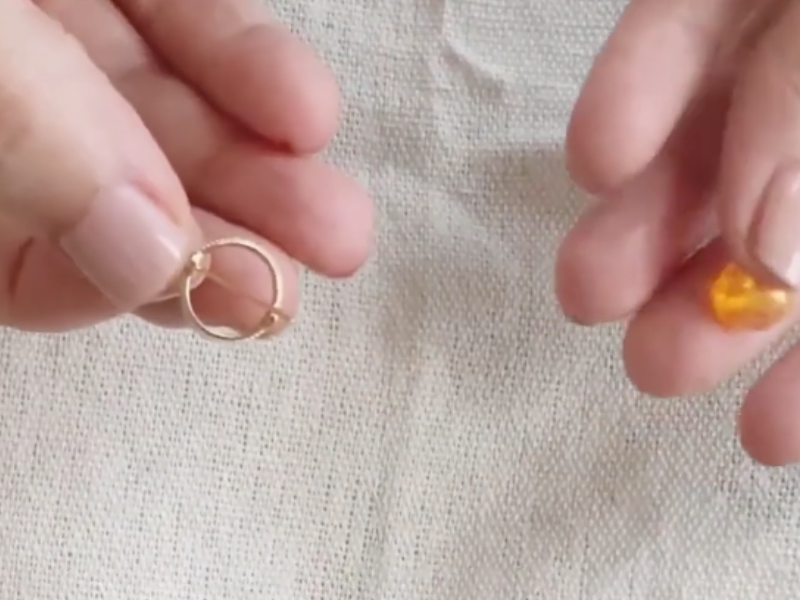
Thread the eye pin through one end of the hoop.
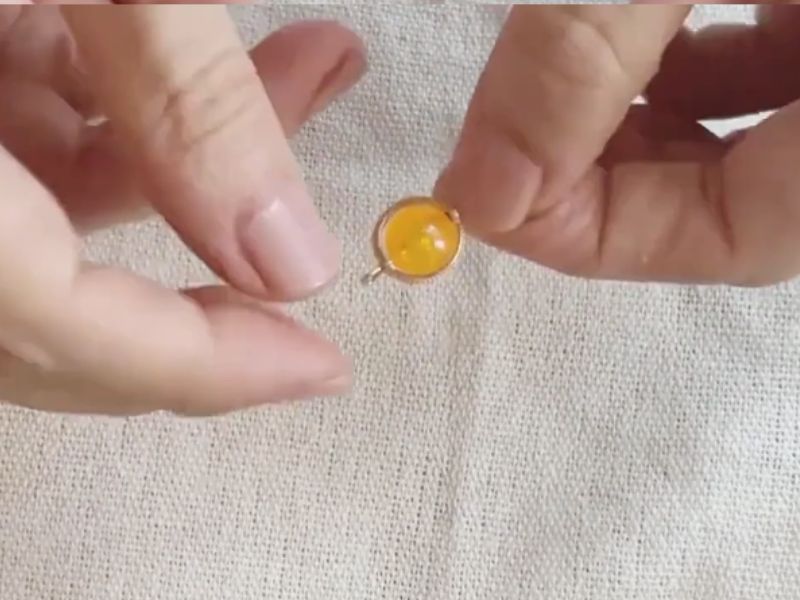
Slide the crystal bead onto the eye pin until it sits snug against the loop at the bottom.
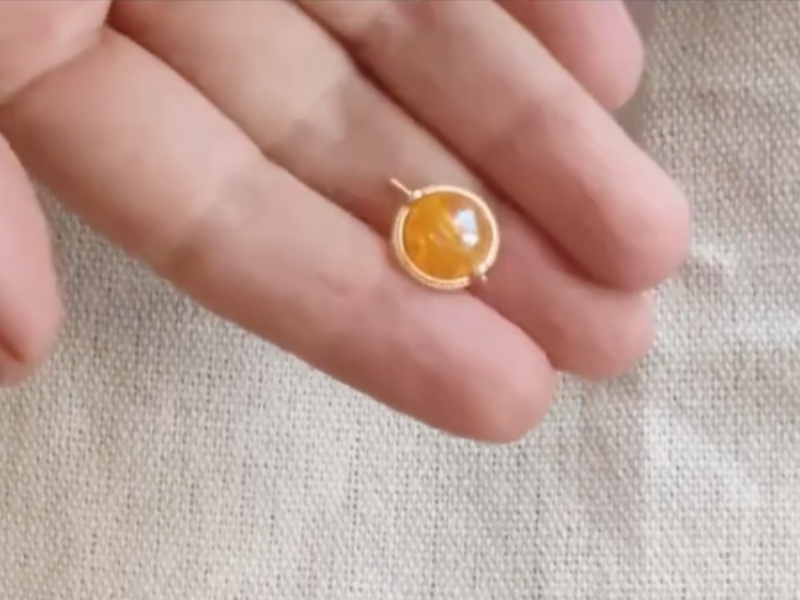
Thread the eye pin and bead through the other end of the hoop. Make sure the bead sits centered inside the ring.
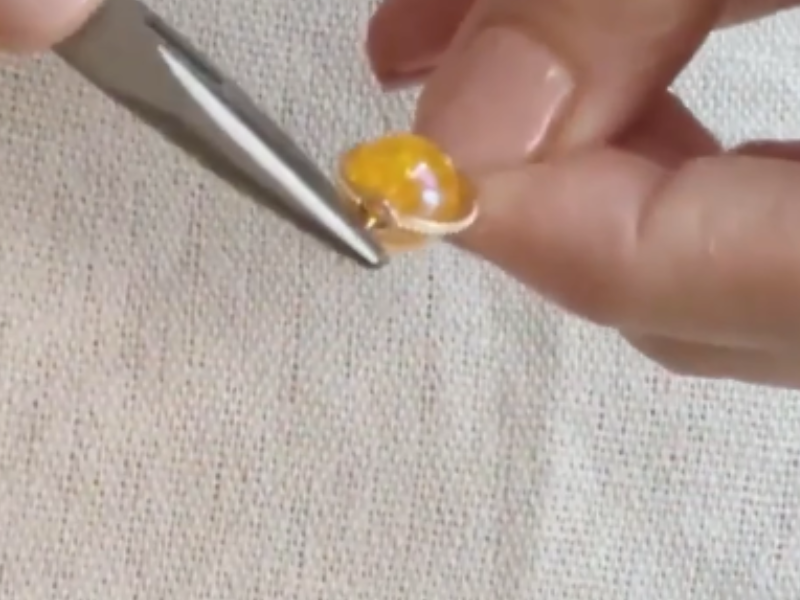
Grab your flat-nose pliers and bend the extra wire into a neat loop.
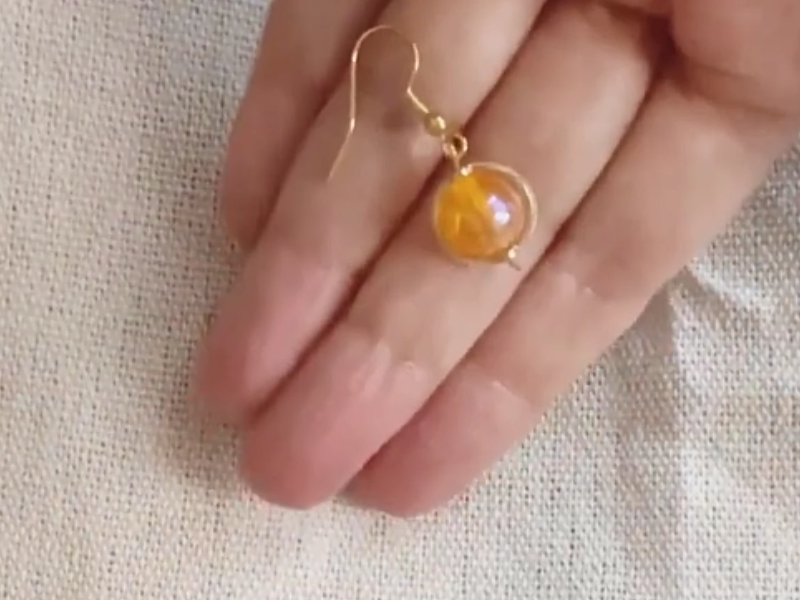
Snip the leftover wire with your flush cutters. Twist open the jump ring on your earring hook (sideways, not apart), slip it onto the top loop, and close it tight. Do the same for the second earring.
Ways to Make Them Your Own
That’s the fun part. Want something more low-key? Try clear, smoky black, or emerald green crystals instead of orange.
Not a gold person? Silver-tone and antique copper hoops and eye pins are just as easy to find.
Design Two: Teardrop Earrings
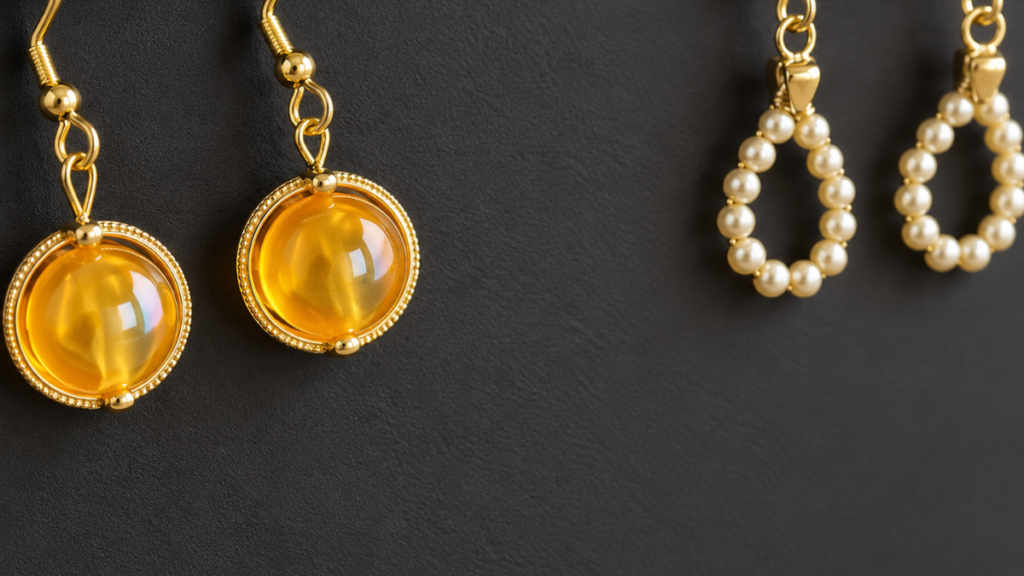
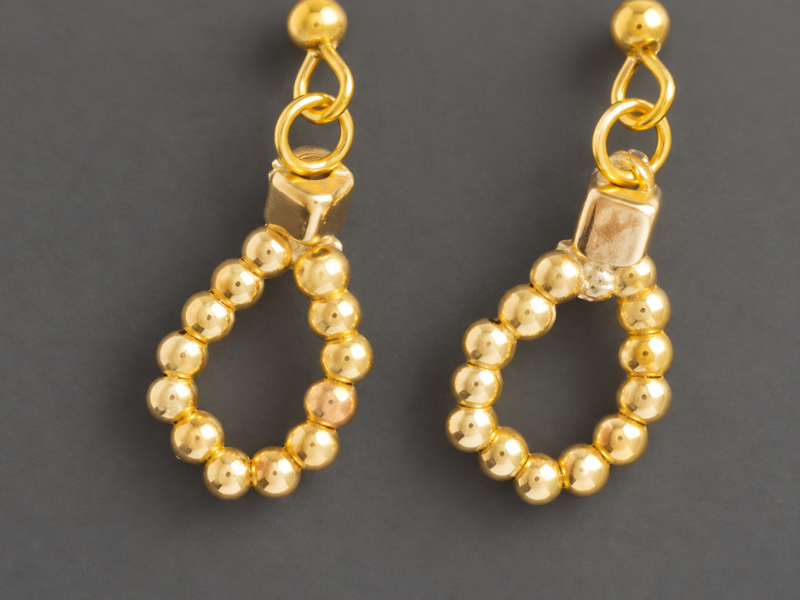
Ready for something a step up? This teardrop design uses beading cord and tiny gold beads to create a shape that’s sleek, minimal, and surprisingly elegant.
They’re perfect for when you want a little extra something without anything heavy pulling on your ears.
Materials and Prep
Different design, slightly different supplies. Here’s what you’ll need on your table:
- About 4 inches of beading cord per earring.
- Twenty-six small, uniform gold beads (thirteen per earring).
- Two small flat gold spacer beads to use as stoppers.
- One small jump ring and one earring hook per earring.
- Fine scissors or thread cutters. Optional: a drop of clear jewelry glue for the final knot.
Use sharp scissors so the cord doesn’t fray when you cut it. Leave yourself a little extra length on both ends. You’d rather have room to tie your knots comfortably than be short and fighting with it.
Putting the Teardrops Together
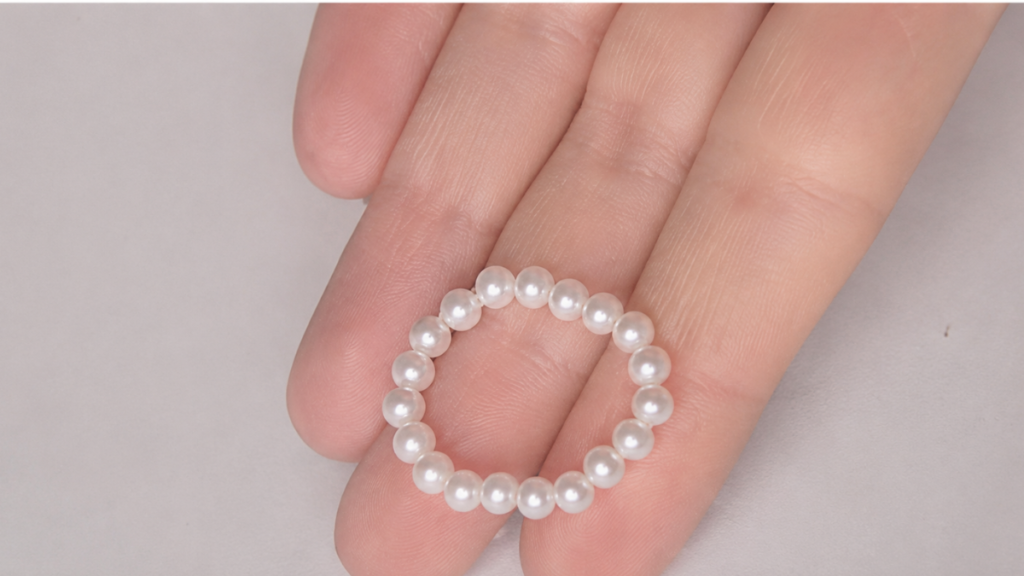
- Step 1: Thread thirteen gold beads onto the cord one by one, sliding them toward the center. Keep an eye on the open ends so nothing slips off.
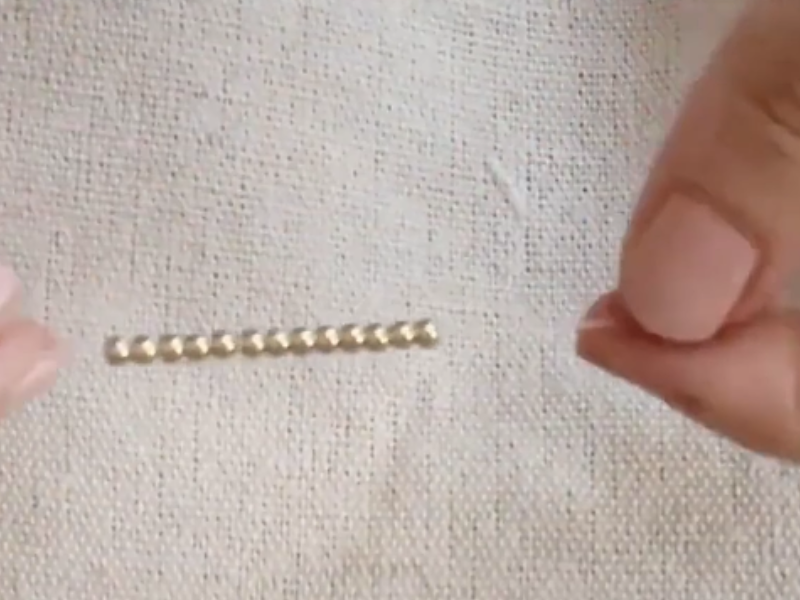
- Step 2: Bring both cord ends together and curve the beaded section into a teardrop shape.
- Step 3: Feed both cord ends through the flat gold spacer bead at the same time. This locks the teardrop in place.
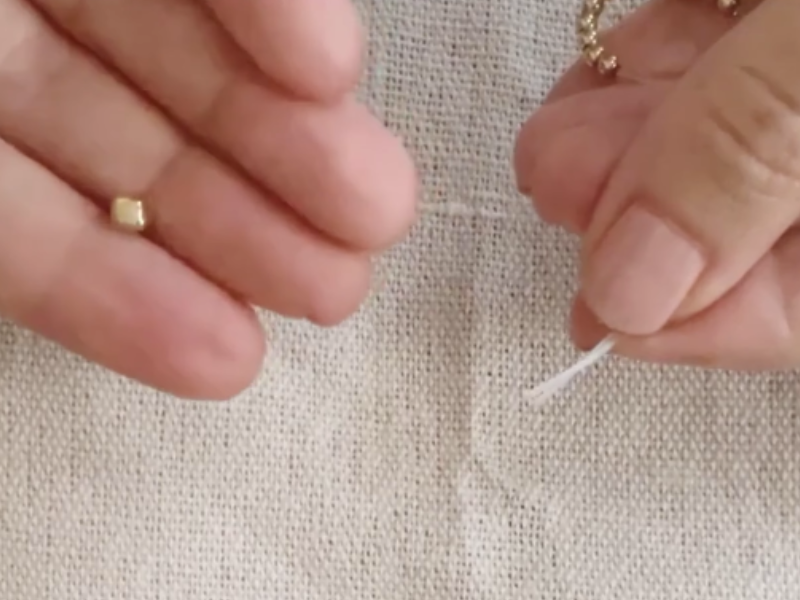
- Step 4: Slide a jump ring on, then thread each cord end back through the spacer bead in the opposite direction. This creates a little security loop inside the bead that keeps everything from unraveling.
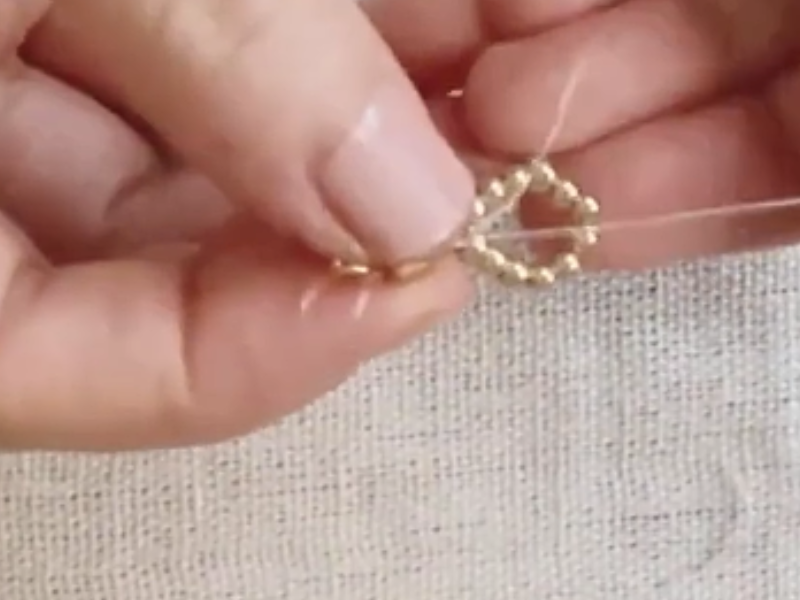
- Step 5: Give both cord ends a gentle tug to check that it’s firm and even. Tie a tight double knot right up against the spacer bead. For extra peace of mind, dab a tiny drop of jewelry glue on the knot.
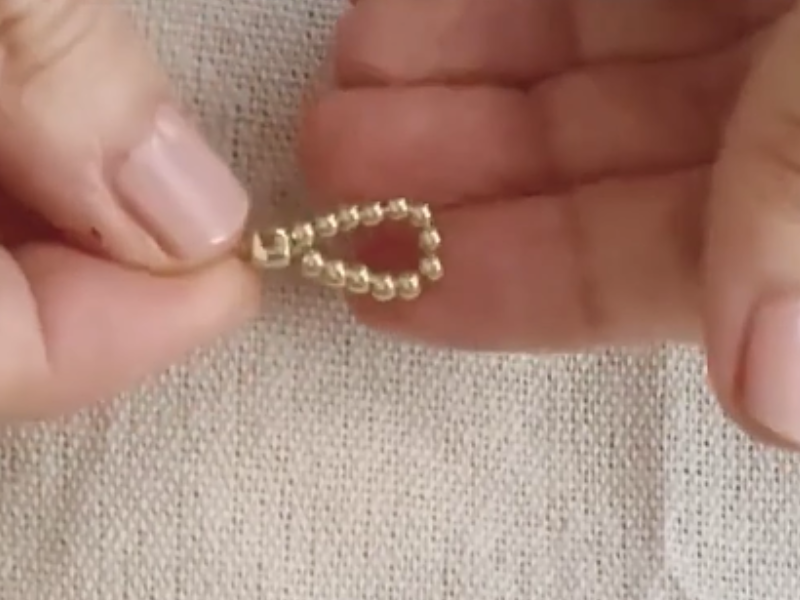
- Step 6: Once the glue is dry, trim the extra cord as close to the knot as you can. Open the jump ring, hook it through the top of the teardrop, add the earring hook, and squeeze it shut with your pliers. Done.
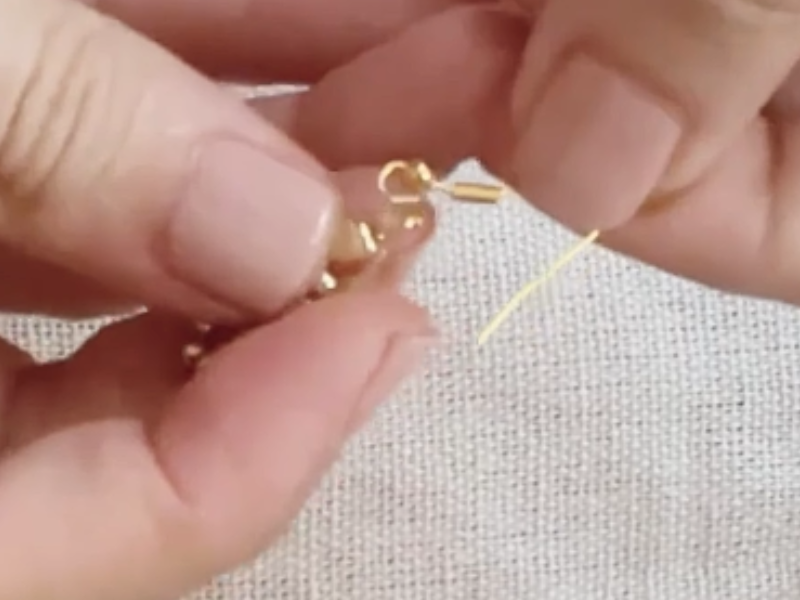
Here’s the full tutorial if you want to follow along:
Storing and Caring for Your Earrings
You put the work in, so make them last:
- Keep them dry: toss them in a dry jewelry box or small pouch. Keep them out of the bathroom. Humidity tarnishes metal fast.
- Hang them up: a wire grid organizer or earring stand keeps the hoops from bending under the weight of other pieces.
- Wipe them down: a dry microfiber cloth after each wear takes care of dust, oils, and sweat. Skip the harsh chemical cleaners.
If you’re more of a pearl person, I’ve got a post with a few more styles you can try.
Common questions about making earrings at home
How long does a pair take to make?
Depends on how quickly you get the hang of it. The hoop design takes under ten minutes. The teardrops need a bit more patience with the cord and knotting, so budget about fifteen minutes per earring your first time.
My cord keeps fraying when I thread it through the beads. Help?
Classic problem, especially with fabric or cotton cord. Here’s the fix: dab a tiny bit of clear nail polish or a drop of glue on the tip and let it dry for a few seconds. Once it stiffens up, it slides through bead holes like butter.
Can I switch up the colors or bead sizes?
Go for it. Swap crystals for pearls, use bigger hoops, mix silver and gold. The whole point of DIY jewelry is making something that’s yours. No rules.
Are these durable enough to give as gifts?
A hundred percent. Lock down the knots on the teardrops and close the jump rings tight on the hoops, and they’ll hold up great. Plus, a handmade gift hits different. Nothing store-bought comes close.
I’d love to know what you think. Are you trying these this weekend? Drop a comment and tell me what colors you’d go with, or share your own crafting hacks.
I read every single one!