How to make a beaded pearl ring step by step. An elegant, easy, personalized accessory you can create with your own hands. A complete guide with materials, tips, and care advice.
There’s something lovely about making your own jewelry. It isn’t only the result, it’s the moment itself, that quiet stretch of time you give yourself while a handful of tiny pearls turn into something delicate and one of a kind.
This is one of those crafts you enjoy from start to finish, and it’s wonderfully relaxing on top of that. You don’t need to be an expert or own many tools, just a little patience, the willingness to try, and your own two hands.
I’ll also share my tricks for getting them right, how to care for them so they last, and how to pair them with your other accessories. If you feel like tuning out the noise for a while and doing something pretty, you’re going to love this project.
The Charm of Handmade Jewelry
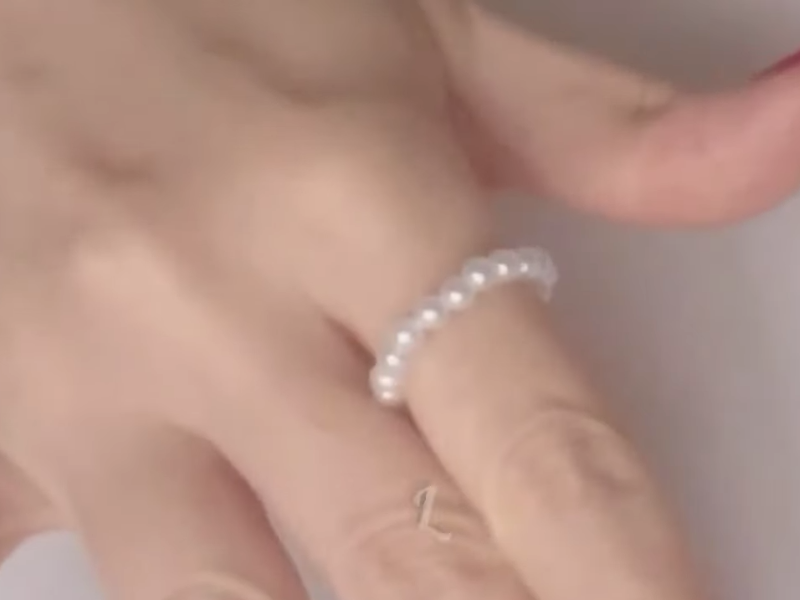
Making a pearl ring with your own hands carries a particular meaning. It isn’t simply a pretty piece, it’s something that holds your energy, your time, and your personal touch. Every time you look at it, you’ll remember the moment you made it, the calm you felt, and the thrill of seeing it finished.
Handmade jewelry has a different kind of magic. No two pieces are identical, and that’s exactly what makes them special. When you choose the colors, the shapes, and the materials yourself, everything lines up with your style and who you are. You don’t need advanced skills or professional tools. The desire to experiment is enough. Best of all, you can make a different ring for every day of the week, or one to give away.
What You’ll Need
Before you start, gather everything you’ll be using. It isn’t much, and you probably have some of it at home already.
The basics:
- Small pearls, which can be crystal, glass, or acrylic.
- Elastic beading cord, around 0.4 or 0.5 mm.
- Small scissors.
- A ruler or tape measure.
- Clear glue or nail polish, optional, for sealing the knot.
If you want to customize:
- Metallic or colored beads.
- Small pendants or charms.
- Tiny seed beads for creating patterns.
I usually go with white or cream pearls since they match everything, though I also love mixing in pastels or gold for a different feel.
Step by Step: How to Make Your Pearl Ring
Let’s get to it. You’ll see it’s easier than it looks.
Cut the cord
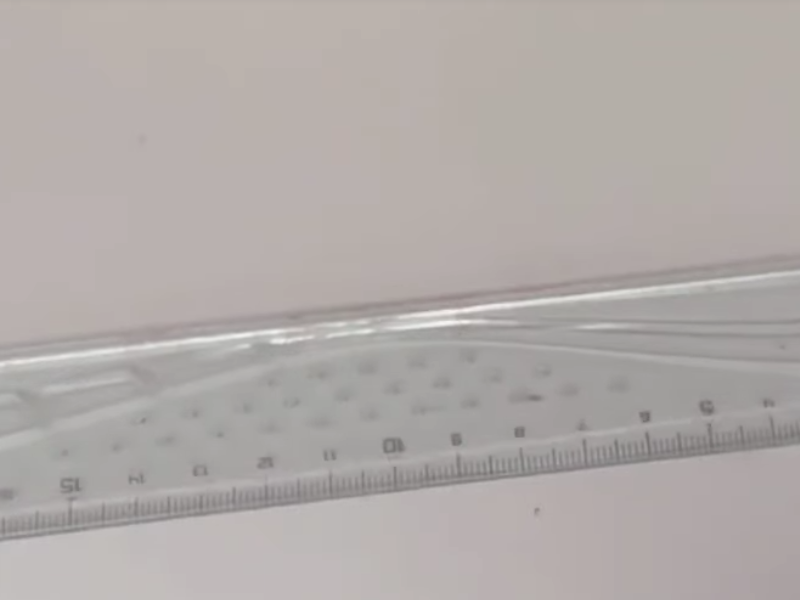
Grab a tape measure or ruler and measure out about 8 inches of cord. Add another half inch for safety, since elastic cord always tightens up a little.
String the pearls
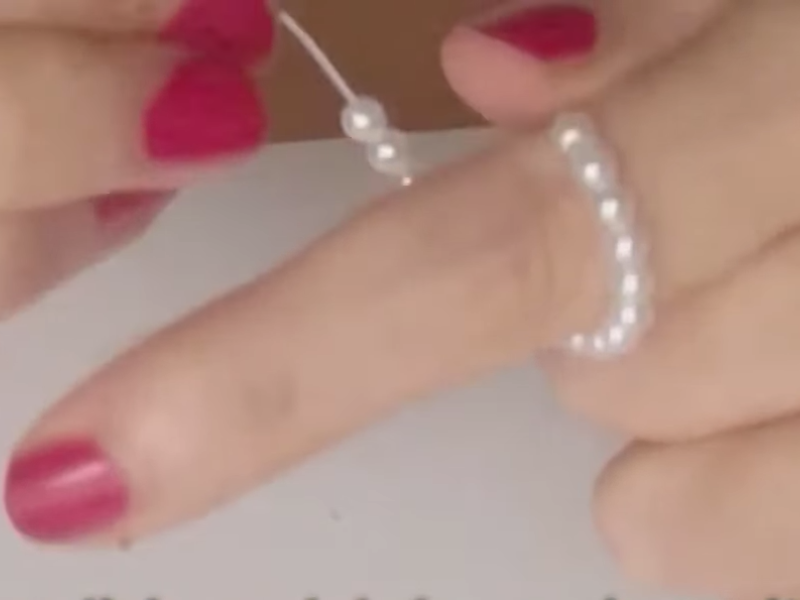
Now for the fun part. Thread the pearls onto the cord one at a time. You can follow a pattern, one white and one gold for instance, or simply go with your instinct. If the pearls are very small, use a fine needle or a piece of wire folded over the end of the cord to help.
Keep adding pearls until you have enough length to go around your finger.
Try it on and adjust
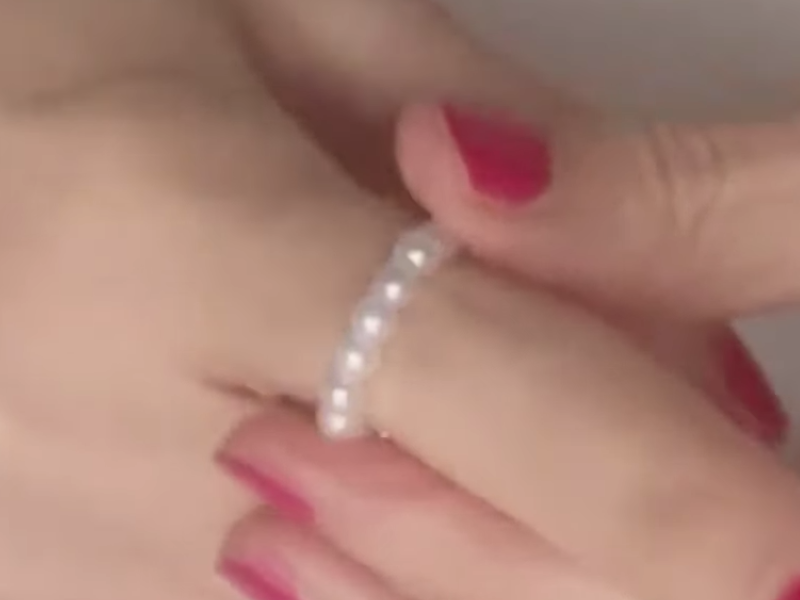
Before closing it up, try the ring on. It should feel comfortable, neither loose nor tight. If it pinches, add one or two more pearls. If it slips off, take one away.
Work the cord to close the ring
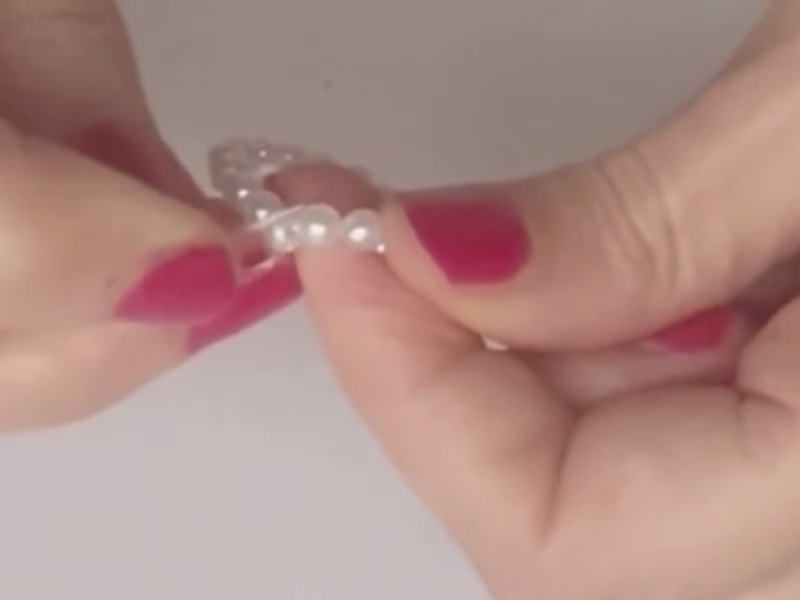
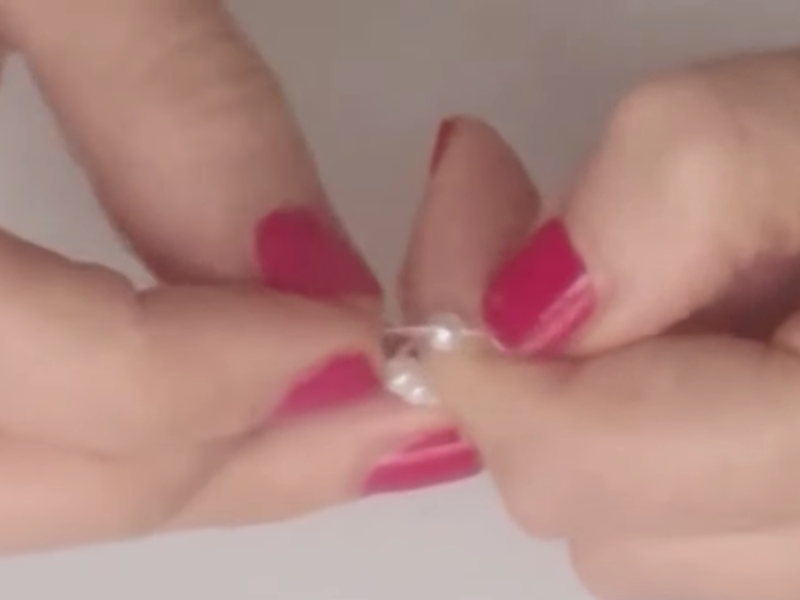
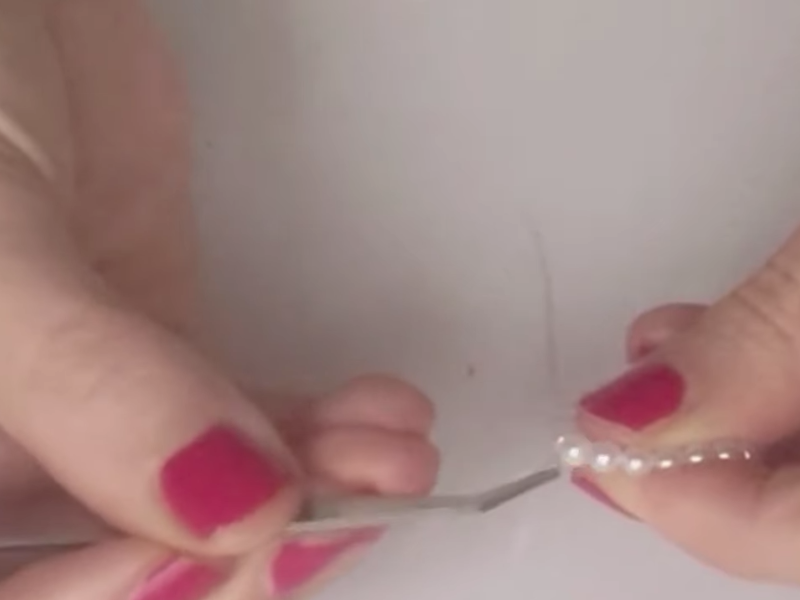
Once the size is right, cross the two ends of the cord. In other words, pass one end back through all the pearls and the other end through all of them as well, going the opposite direction. Run the cord through the pearls as many times as you can manage, which is what makes it hold tight. On the last few passes, a pair of tweezers helps.
Trim the excess
When you can’t fit another pass through, trim off the leftover cord. You’ll see the ring holds together perfectly.
You can see more detail in the video.
Ideas for Personalizing Your Ring
This is where you get to be creative. There are a thousand ways to do it and they all look good ^^
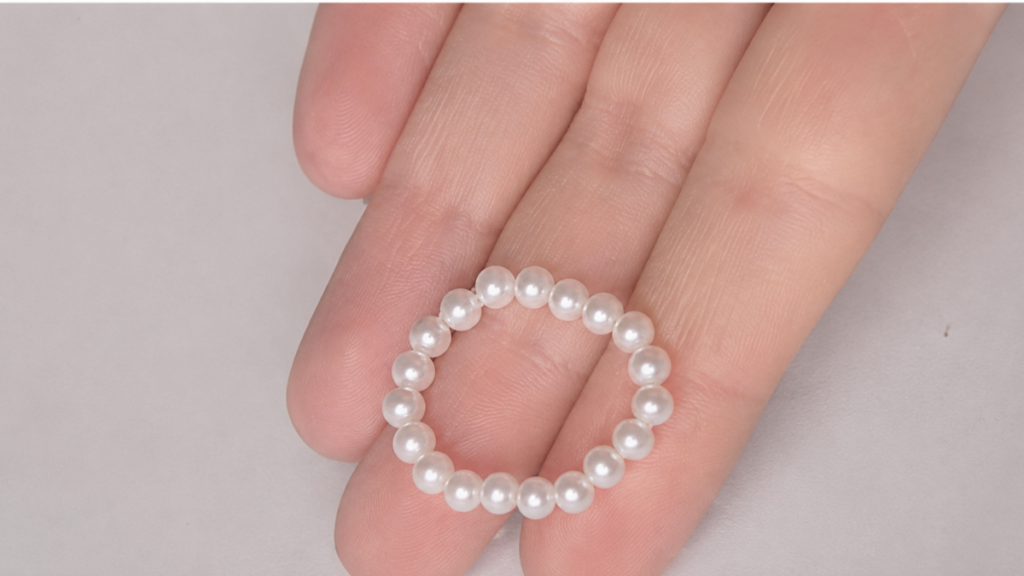
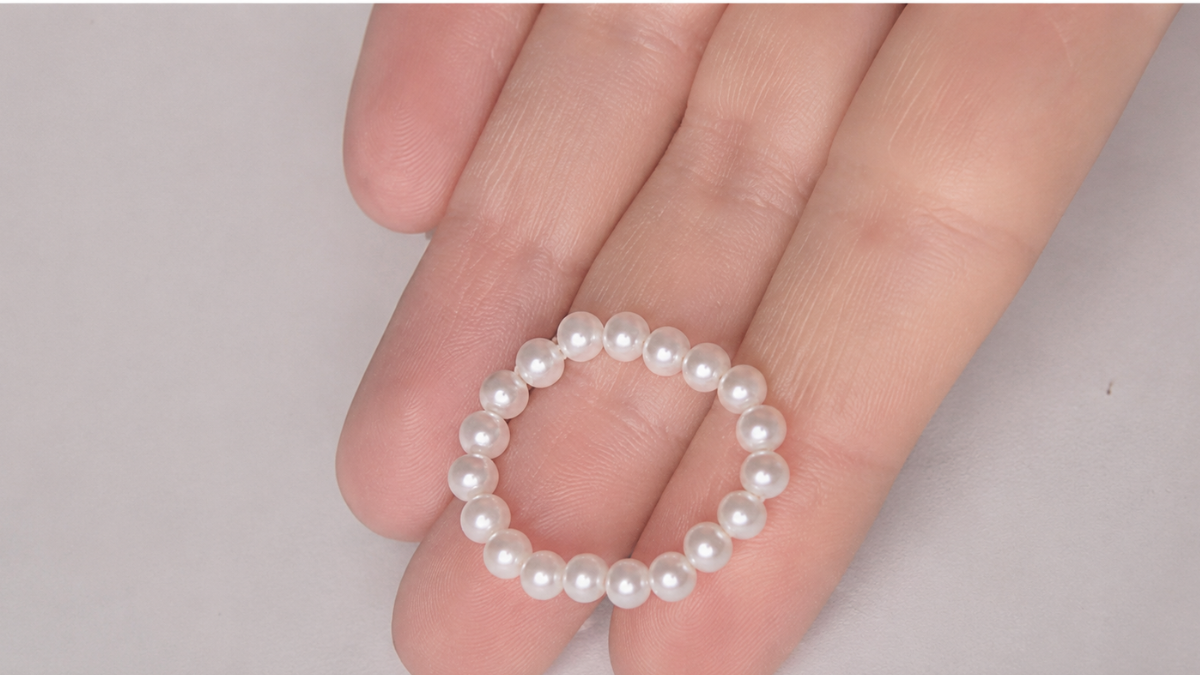
- Classic, with small white pearls (the one I show in the video).
- Romantic, mixing cream, pink, and gold.
- Boho, combining pearls with colored beads.
- Modern, alternating pearls with metal pieces.
- Minimalist, a single row of tiny pearls.
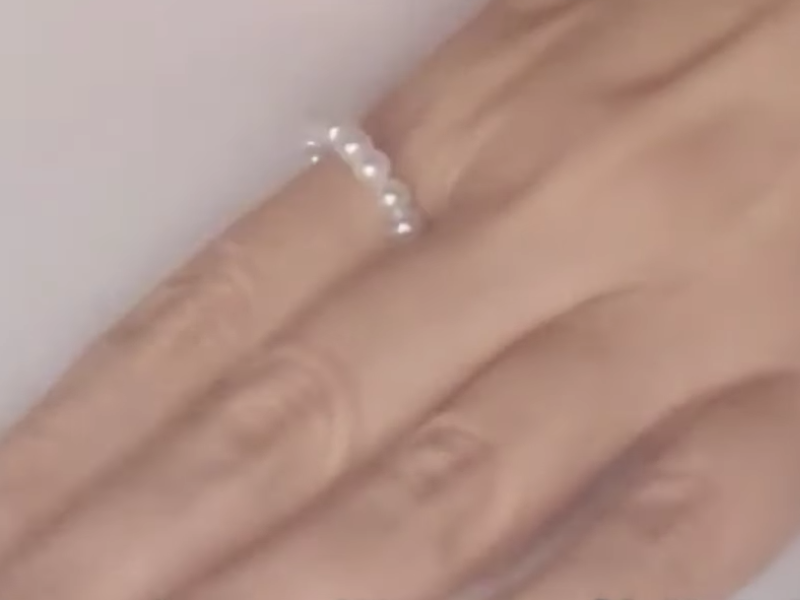
You can also make several and stack them. They look beautiful when you mix styles or sizes. If you’re feeling ambitious, put together a set with a matching necklace or earrings.
Tricks That Make the Difference
After making a lot of these rings, there are a few things I’ve learned that will save you time and frustration.
- Don’t use cord that’s too thin, since it can snap easily.
- Don’t cinch the pearls too tightly as you string them. Give the cord a little room to move.
- Check that none of the pearls have sharp edges.
- Use sharp scissors so the ends cut cleanly.
- Save your leftover cord and pearls. They always come in handy.
Above all, enjoy it. This isn’t a race, it’s time for you. When you work calmly, the pieces come out better and the whole process gets far more pleasant.
How to Care for Your Pearl Rings
They may look delicate, but with a little care they’ll last a long time.
Keep them dry and take them off before showering, washing dishes, or putting on lotion. Store your rings in a small box or fabric pouch to protect them from scuffs.
Don’t leave them in the sun or anywhere very warm either, since the cord can lose its stretch over time.
If the cord does loosen, no harm done. You can restring the ring in a few minutes and it’ll be as good as new.
What Pearls Symbolize
Pearls have always had something special about them. For centuries they’ve been associated with purity, calm, and elegance. They’re timeless, they never go out of style, and they always bring a touch of light.
They have a softness that works with any style, from classic to modern. Make them yourself and the meaning runs deeper still. It isn’t only a ring, it’s a small work of art made by your own hands.
Why I Love Making My Own Jewelry
Making your own jewelry is a beautiful way to reconnect with yourself. While you pick the colors and place each pearl, your mind settles. There’s no rush and no distraction, only you, your hands, and the cord.
It’s almost therapeutic. It helps you focus, tune out the noise, and enjoy a moment that belongs to you.
When you finish and see the result, a quiet sort of pride washes over you. You made something from scratch, something pretty and meaningful.
How to Style Your Pearl Rings
Fair warning: once you start, stopping is hard. They’re so pretty and so easy to make that you’ll want one for every occasion.
You can wear several at once, mixing colors. If you like a romantic look, try soft tones. If you prefer something bolder, pair gold with black or silver pearls.
You can also add a larger pearl at the center or a small charm. If you feel like making them as gifts, they’re the perfect little something.
Frequently Asked Questions
Which cord works best?
Elastic beading cord in 0.4 or 0.5 mm is perfect. It’s strong, flexible, and easy to work with.
Can I use other kinds of beads?
Absolutely. You can combine pearls with crystals, stones, or seed beads.
How do I keep it from breaking?
Don’t pull the cord too tight and make sure none of the pearls have edges that could cut it. You can seal the end with clear nail polish.
Can I wash them?
Getting them wet isn’t recommended. If they get dirty, wipe them with a soft, dry cloth.
What if it loosens up?
Just cut it, adjust the size, and restring it. You can reuse the same pearls.
how to make a beaded pearl ring step by step
Cut the cord
Use about 8 inches of elastic cord
String the pearls
Add as many pearls as you need to go around your finger
Work the cord
Cross the two ends of the cord, passing one end back through all the pearls and the other through all of them in the opposite direction. Run the cord through the pearls as many times as you can so it holds tight
Finish off
Trim the excess cord flush
Tools:
- pliers
- scissors
Materials: cord pearls
Making a pearl ring is one of those small things that just make you feel good. It’s easy, it’s pretty, and it’s deeply satisfying. Every one you make will be different, because each carries your personal touch. It’s a small gesture with something special in it.
So find your pearls, put on some soft music, and let your hands work. Before you know it, you’ll have made something that shines and pulls a smile out of you.
Will you give it a try? Tell me how your ring turned out, which colors you picked, or whether you tried a different design. I’d love to hear from you and swap ideas. If you enjoyed this post, share it with someone who loves making beautiful things. Sometimes one small craft shared inspires far more than you’d imagine.