
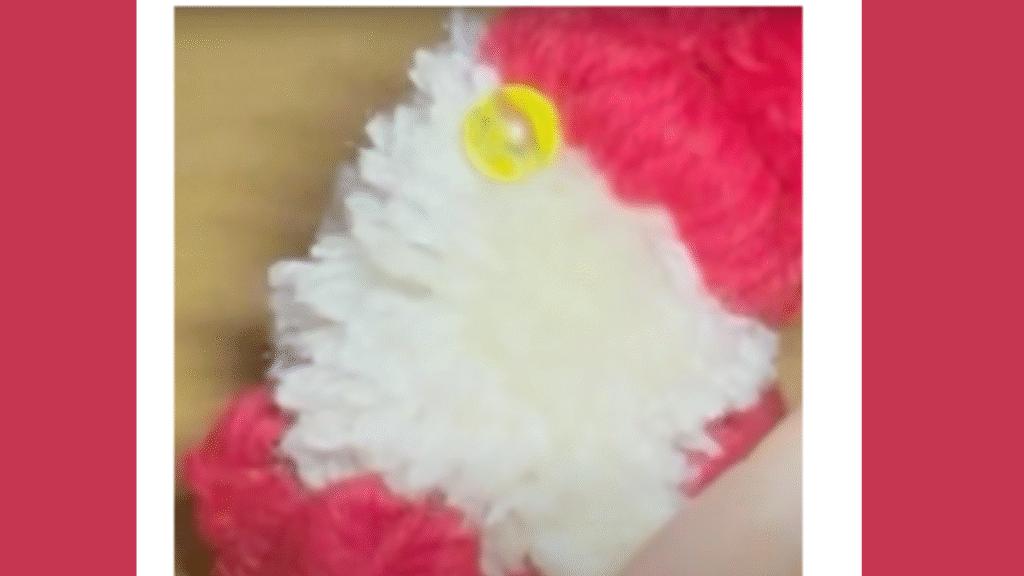
Learn how to make a Christmas yarn gnome step by step. A complete guide with materials, creative ideas, tips, and frequently asked questions for a magical handmade ornament.
I’ve always loved Christmas, but the part I look forward to most isn’t the presents or the food (though I’ll admit I’m a fan of both). What really fills me up is the moment I get to decorate the house with things I’ve made myself. Out of all the holiday crafts I’ve tried, one has a charm all its own: little Christmas gnomes made from yarn.
They’re small, adorable, and carry that storybook kind of magic. Best of all, they come together from very basic materials in almost no time. It doesn’t matter whether you’re a beginner or an old hand: once you see how easy this is, you won’t be able to stop at one.
I’m going to walk you through making your own yarn gnome step by step, with a few techniques, ideas for personalizing it, and tricks for getting it just right. We’ll also cover how to keep them looking good year after year, plus the questions that always come up when we dive into something new.
So get comfortable, grab your leftover yarn, and join me on a Christmas project that I’m certain you’ll fall for.
Why Make a Christmas Gnome Out of Yarn
Before we get into the steps, let me tell you why this craft feels so special to me:
- Unlimited creativity: every gnome can be different, from the color of the hat to the size of the beard.
- Sustainability: you’re using up leftover yarn you already have around the house.
- Budget: it’s an inexpensive craft, ideal when you don’t want to spend much on decorations.
- Tradition: Christmas gnomes are symbols of joy, luck, and protection.
- Family fun: it’s perfect for making with kids, with supervision of course.
What You’ll Need
For one basic gnome you’ll need:
- Yarn (in colors like green, red, white, or gray, though any color you like will work).
- Craft scissors.
- A hot glue gun or liquid craft glue.
- One small bead for the nose.
- Optional: beads, buttons, jingle bells, or sequins for decorating.
How to Make a Christmas Yarn Gnome Step by Step
1. Make the hat
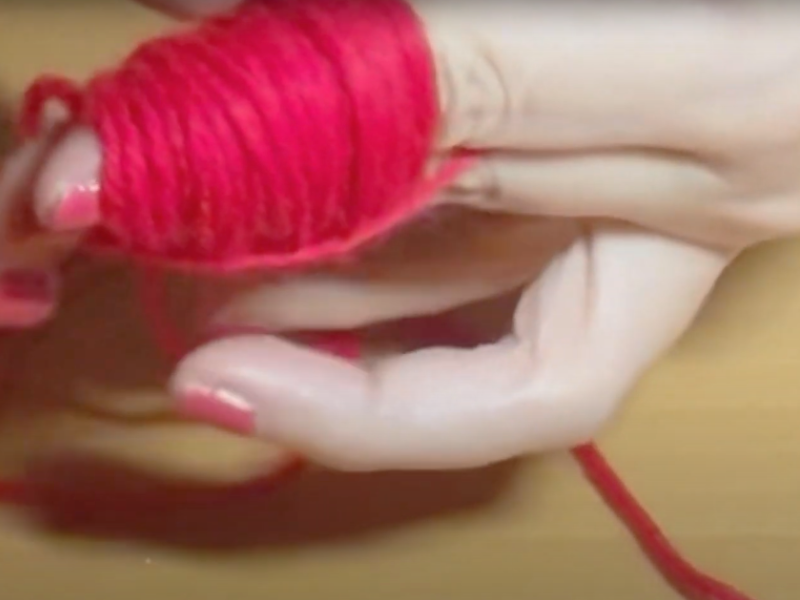
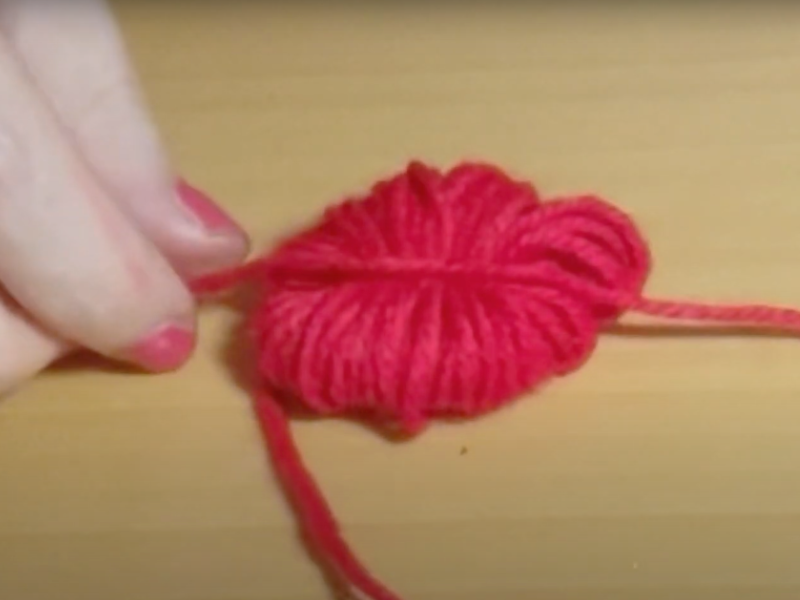
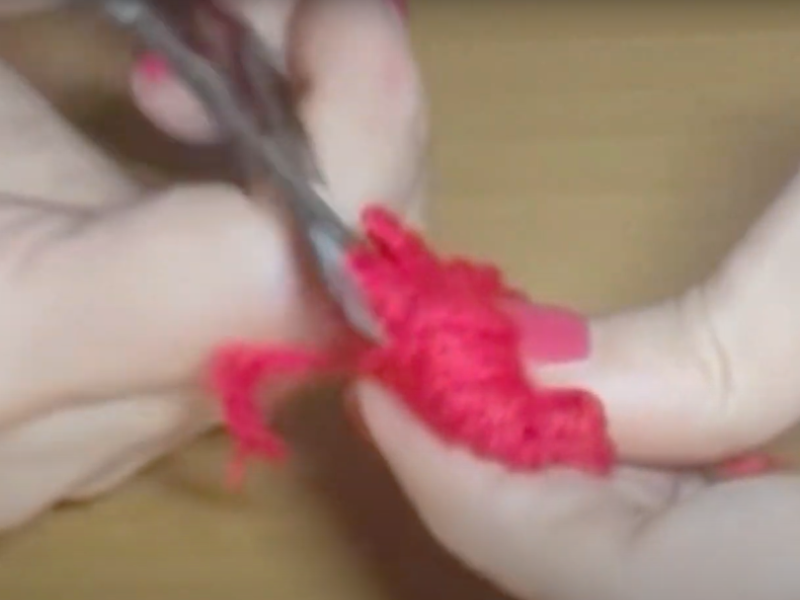
Take your red yarn and wrap it 60 times around two fingers. Tie it off at the center and snip the loops open with your scissors to form a pom-pom.
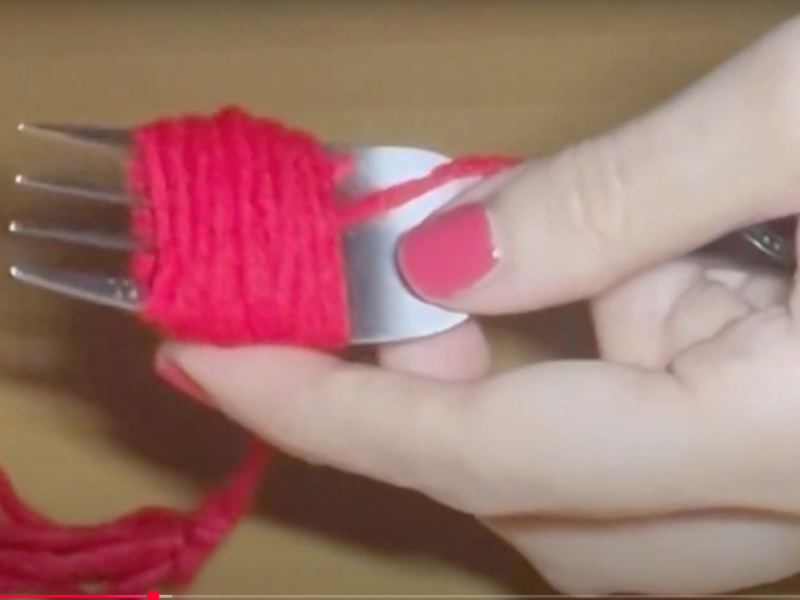
Make a second pom-pom in the same color using a fork, again with 60 wraps. Glue it to the first one to build your hat.
2. Make the head
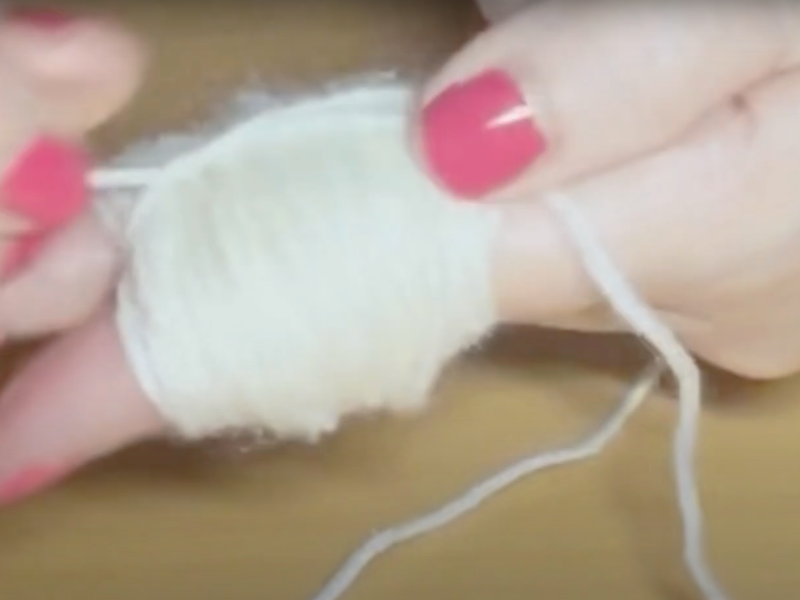
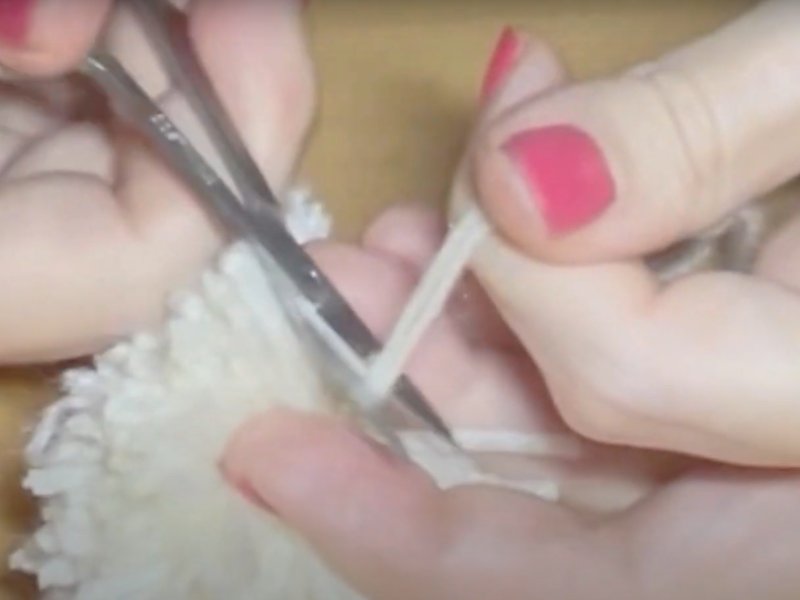
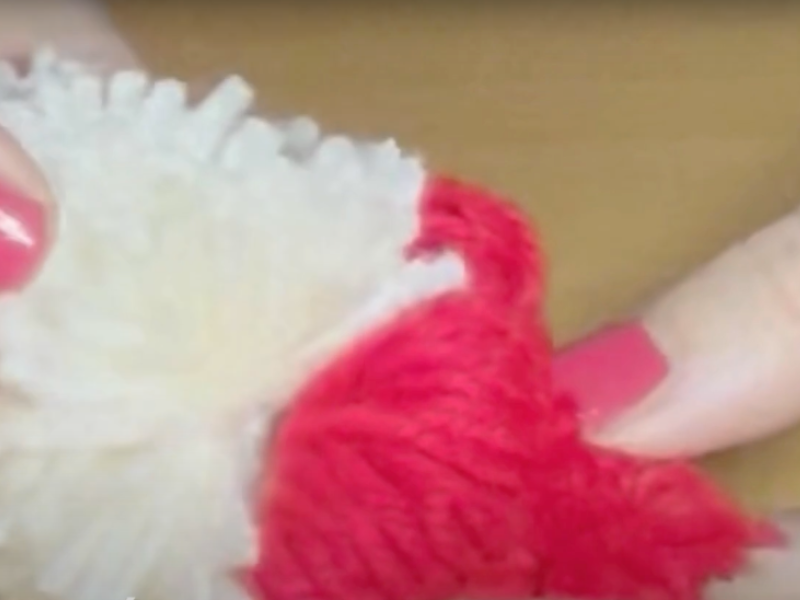
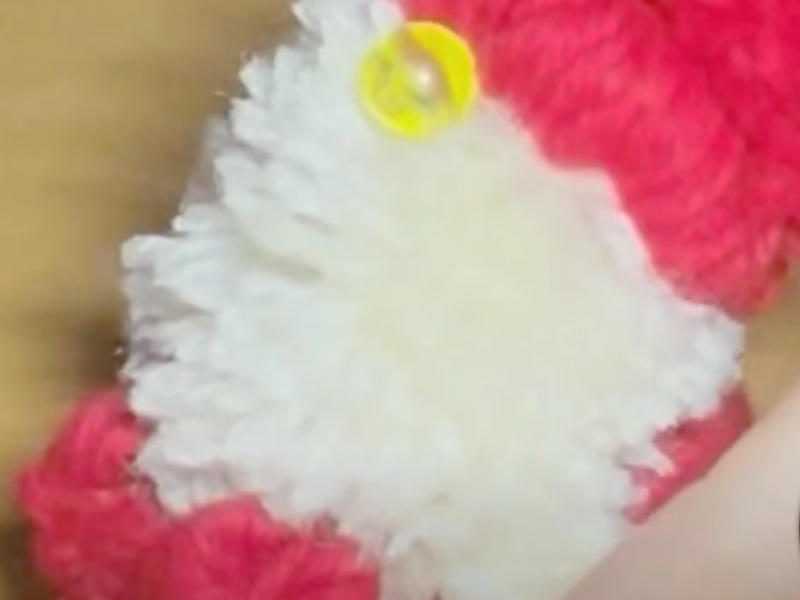
Using two fingers again, wrap white yarn 80 times to create the head. Snip it open into a pom-pom the same way and glue it to the hat.
3. Make the body
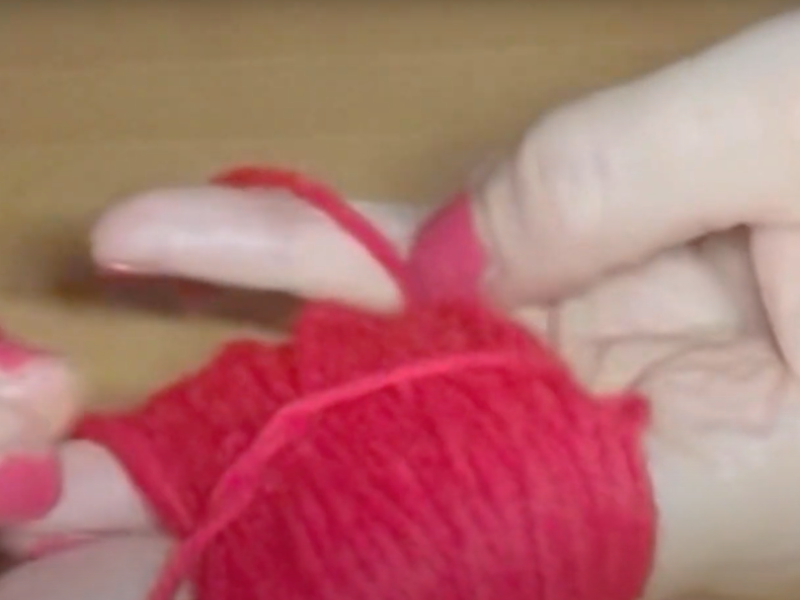
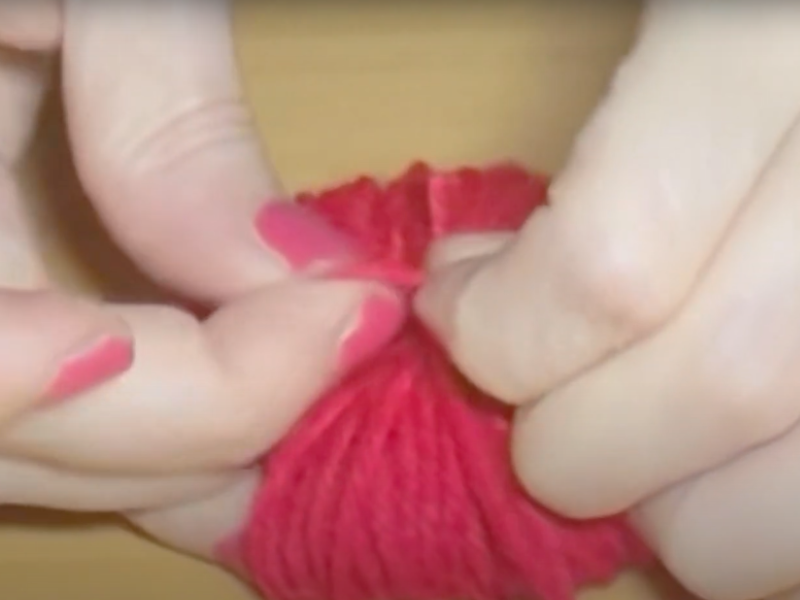
Back to the red yarn. This time use three fingers and wrap 100 times, then tie it off at the center without cutting the loops open. Glue it to the pieces you’ve already made to form the body.
4. Make the hands
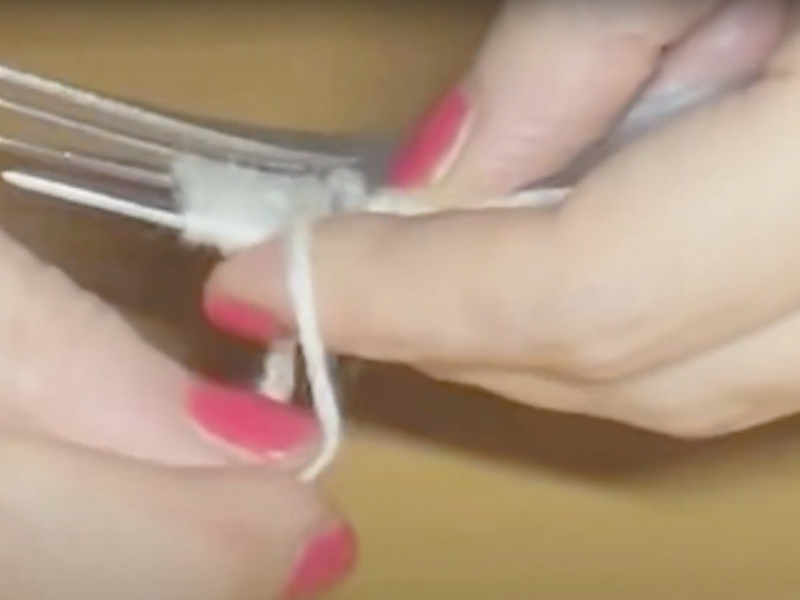
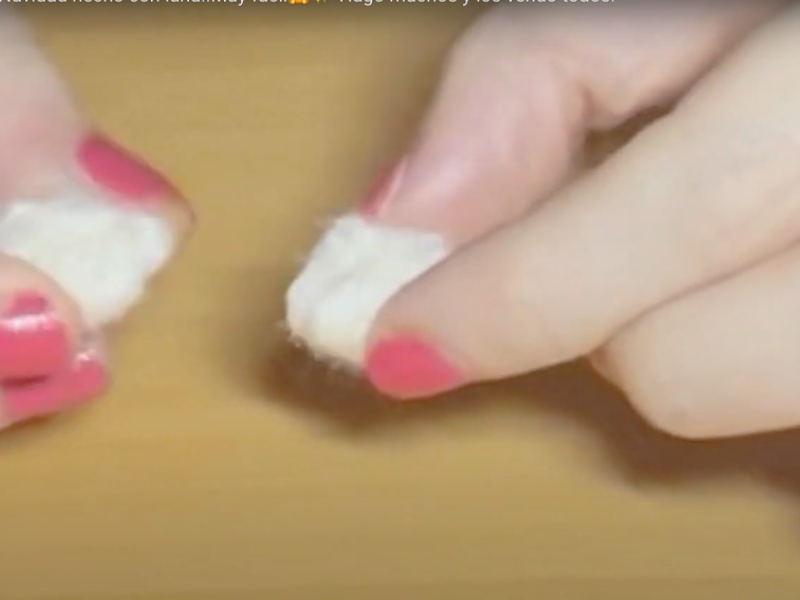
Wrap white yarn 30 times around two tines of a fork and tie it off at the center.
Make two matching ones for the hands.
5. Make the feet
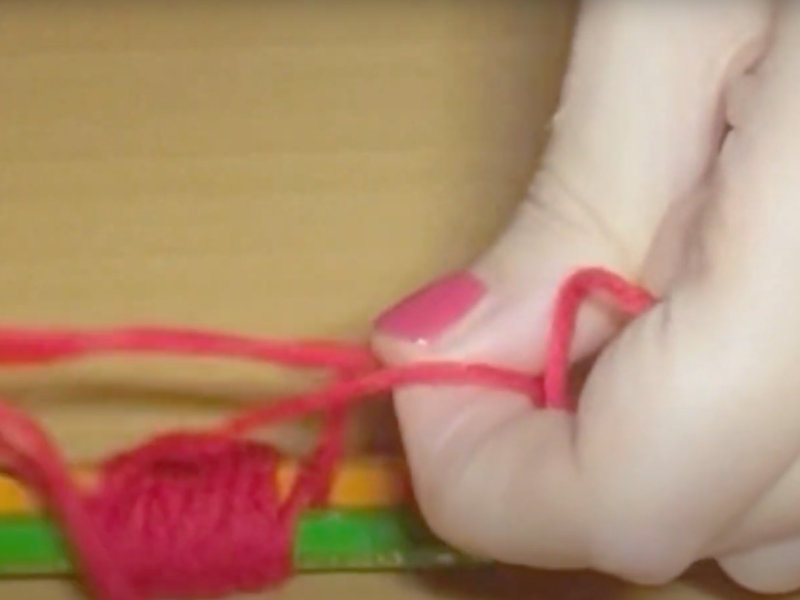
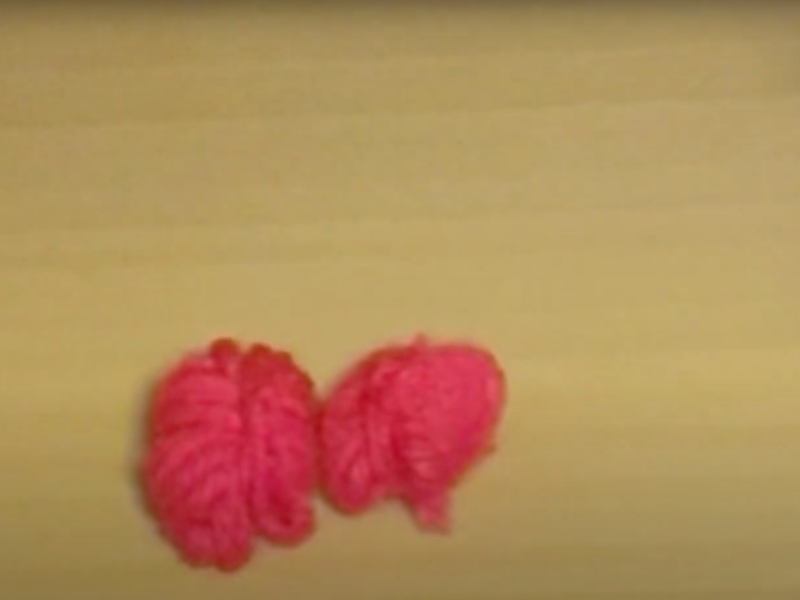
For the shoes, wrap the yarn 30 times around a pair of pencils.
Tie it off at the center again, leaving the loops uncut.
6. Finishing touches
Glue the hands and shoes to the body, then add a small bead for the nose.
Your gnome is finished.
Watch the video if you’d rather follow along:
Creative Variations on the Yarn Gnome
Classic Christmas gnome
Red hat, white beard. The most traditional version, and a fit for any corner of the house.
Nordic gnome
Grays and whites, a long beard, and a pointed hat that flops to one side.
Colorful gnome
Great for kids, with hats in green, blue, or even a fun print.
Mini gnomes
Smaller versions, perfect for hanging on the tree as ornaments.
Where to Put Your Christmas Gnomes
- By the front door, as a welcome to guests.
- Next to the tree, as part of the display.
- On the Christmas table, one at each place setting.
- On bookshelves or mantels, to bring a little magic to every corner.
- As a special gift, tucked inside a handmade holiday box.
Why Making Gnomes by Hand Is Worth It
Every time I sit down to make a gnome, it feels like I’m giving myself a pocket of calm. It’s a small meditation: cutting, gluing, choosing colors, everything just flows. There’s also a particular satisfaction in seeing them finished and placed around the house, knowing you made them yourself.
They aren’t only for you, either. Making these gnomes is a lovely way to spend time with your family, build memories, and pass the Christmas magic along.
How to Store Your Yarn Gnomes
- Pack them carefully, use a cardboard or fabric box, never an airtight plastic container, since wool needs to breathe.
- Keep them dry: store them somewhere without moisture so they don’t pick up a musty smell.
- Protect them from dust: wrapping them in tissue paper before storing works well.
- Check them each year: if a piece has come unglued, fix it before putting them back on display.
Frequently Asked Questions
Can I make them without glue?
Yes, you can stitch the pieces together instead, though it’ll take a bit longer.
Can they be washed?
I wouldn’t recommend it. Your best bet is cleaning them with a soft brush or a dry cloth.
How old should kids be to help?
Age 6 and up can join in, as long as an adult supervises the scissors and the hot glue.
How long does one take to make?
A simple gnome comes together in 30 to 40 minutes.
Can I sell them?
Of course, as long as you make them yourself. They tend to be a big draw at craft fairs and holiday markets.
I remember the first yarn gnome I ever made. I had the last of a gray skein and a scrap of red felt, and no real expectations. When I finished it and set it on the shelf, though, that little figure seemed to have a life of its own. Ever since, I make a new one every year, and it’s grown into a small family collection we bring out with great affection each Christmas.
Making a Christmas gnome out of yarn is much more than a craft. It’s an act of creativity, of reuse, and of connection to a bit of holiday magic. Being a beginner doesn’t matter here: with a handful of materials you can shape an adorable little character that will fill your home with charm.
These are also projects that bring people together, whether you’re making them with kids, with friends, or on your own, enjoying the quiet time we all need so much. Gnomes aren’t the only option, either. There’s also the crochet Christmas wreath, for instance.
So now tell me, are you up for making a yarn gnome this Christmas? Which style appeals to you more, the classic red and white or something more colorful and playful? Leave me your answer in the comments. I’d love to hear from you and swap ideas. If you enjoyed this guide, share it with anyone who loves crafting as much as we do.

