
Let me show you how I make a pincushion out of fabric scraps. A complete guide with supplies, a step-by-step walkthrough, creative ideas, and frequently asked questions.
Some of the sewing projects I enjoy most are the small details that make life at the sewing table easier. And if there’s one essential for anyone who sews, it’s pins. But where do you keep them so you don’t lose them and always have them within reach? The answer is simple: a pincushion.
Today I’m bringing you a way to make a pincushion using those fabric scraps we all hold on to “just in case.” It’s an easy, quick project, and it’s also sustainable, inexpensive, and beautiful when it’s done. Best of all, it’s perfect whether you’re just starting out with sewing or you’ve been at it for years.
Why a handmade pincushion is so special
A pincushion isn’t simply a “cushion for pins.” It’s a practical accessory that keeps you organized, prevents accidents, and lets you work more comfortably.
Making your own also comes with extra benefits:
- It’s a short, rewarding project, ideal for beginners.
- It lets you reuse fabric and be a little more sustainable.
- You can personalize it with whatever colors and shapes you love.
- It makes a unique gift for anyone who loves to sew.
What you’ll need
Before you start, gather everything you’re going to need:
- Fabric scraps (cotton, linen, or whatever you have on hand).
- Needle and thread.
- Stuffing (batting, fabric scraps, cotton, wool, or even rice).
- Scissors.
- Optional: embellishments like buttons, ribbon, or embroidery.
Step by step: making a pincushion from fabric scraps
1. Choose your shape
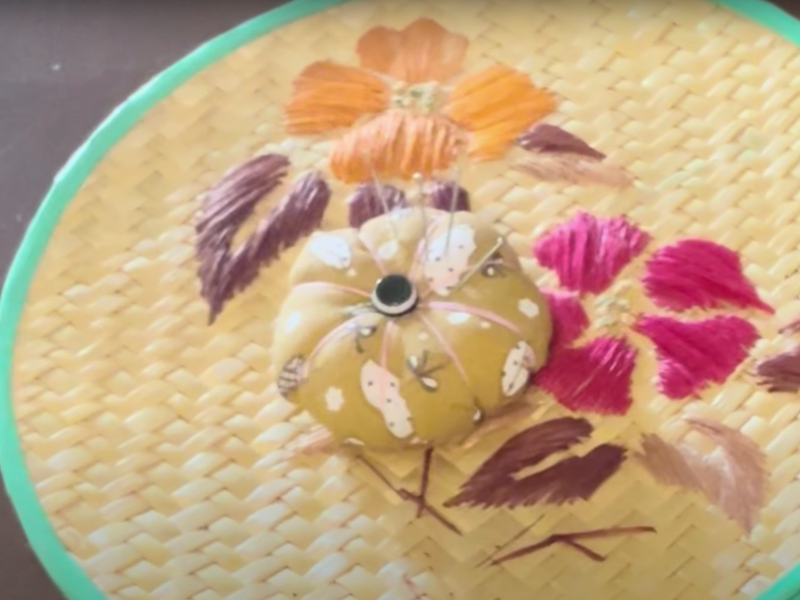
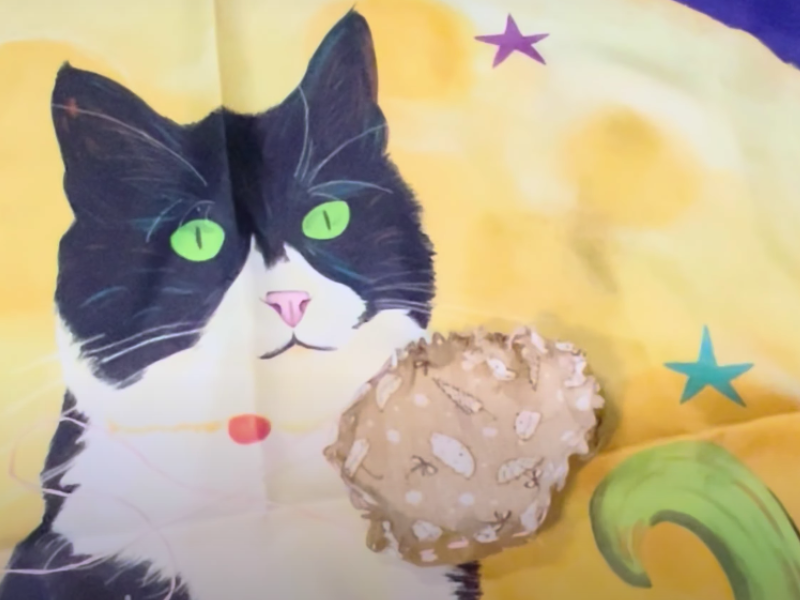
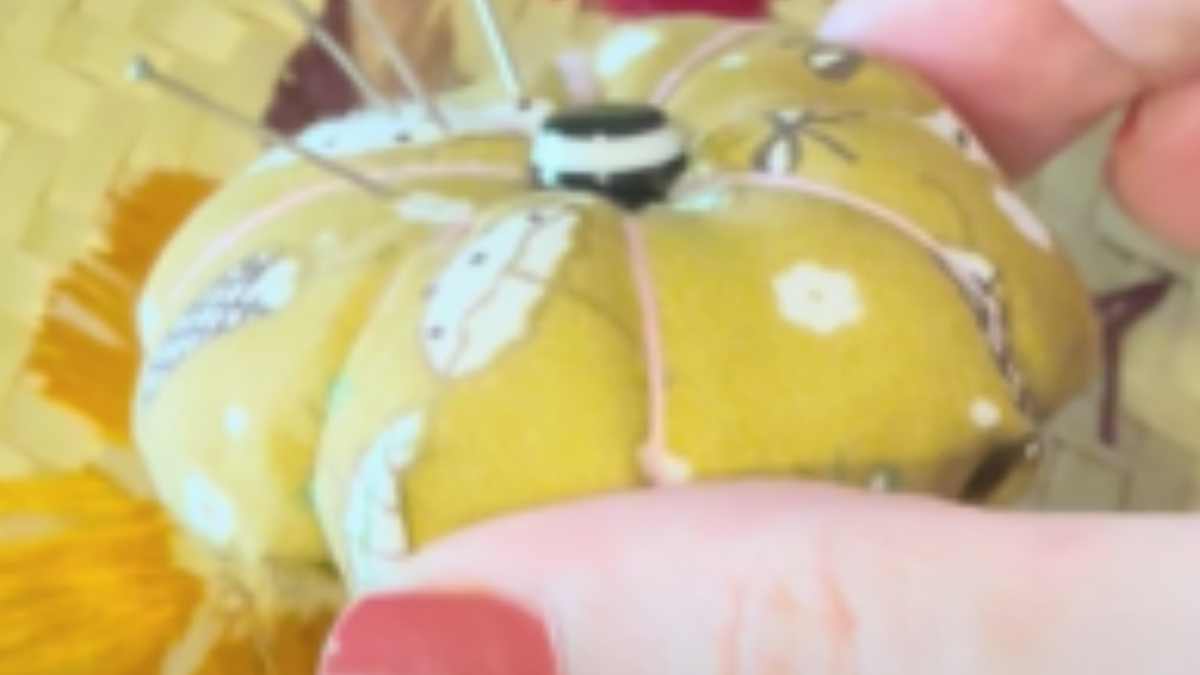
The classic pincushion is usually square or round, but you can also try fun shapes like a heart, a flower, or even a little animal. I’m going to make a small flower.
2. Cut your pieces
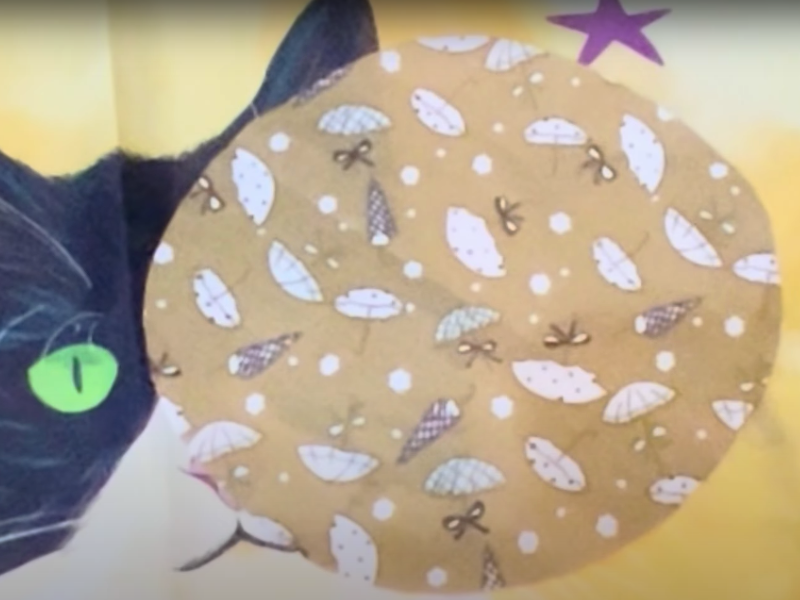
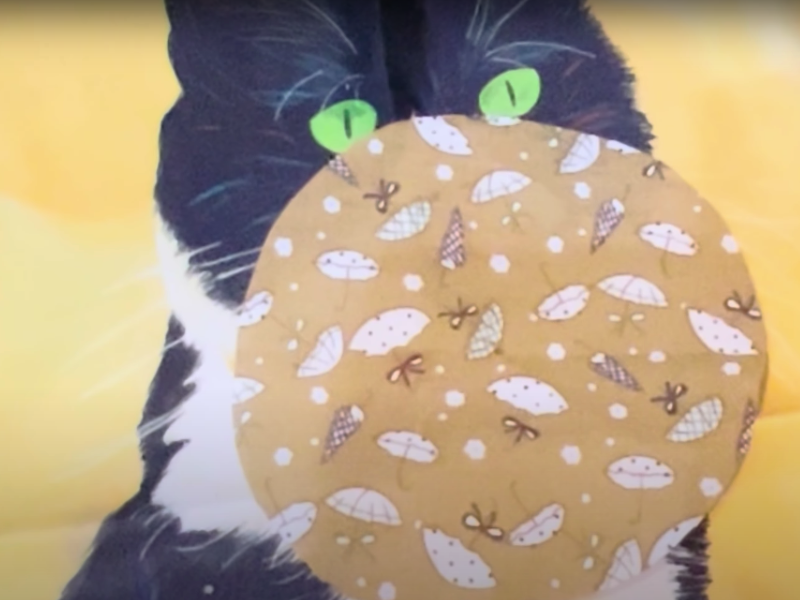
Cut a circle of fabric about 5 inches across (or whatever size suits you best).
Mark the center of the fabric with a pen or marker.
3. Run a thread around the edge
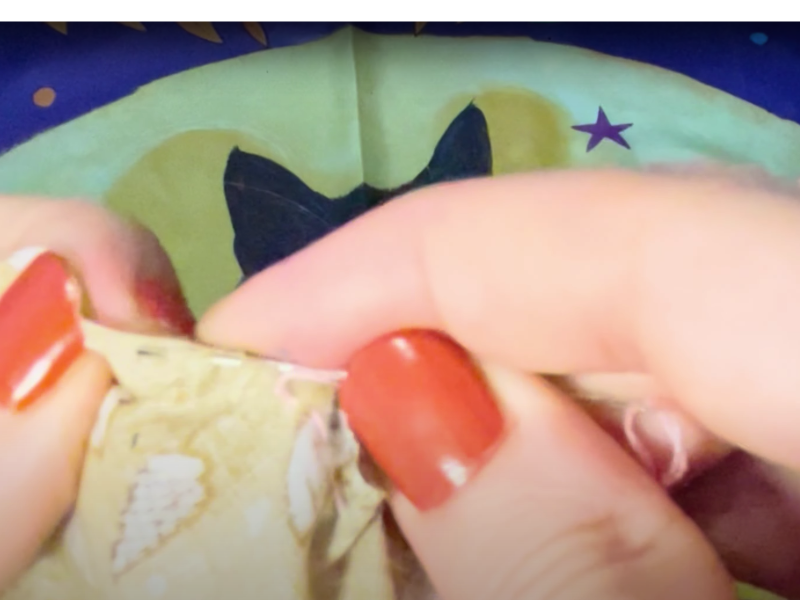
Work your needle and thread around the edge of the fabric, going in and out in a zigzag. Leave a long tail at the beginning and the end so you can pull it closed.
4. Stuff the pincushion
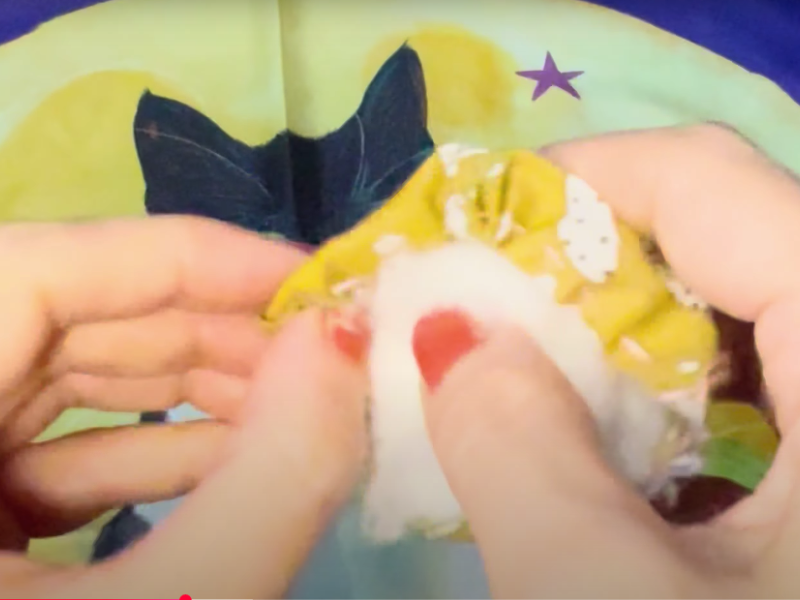
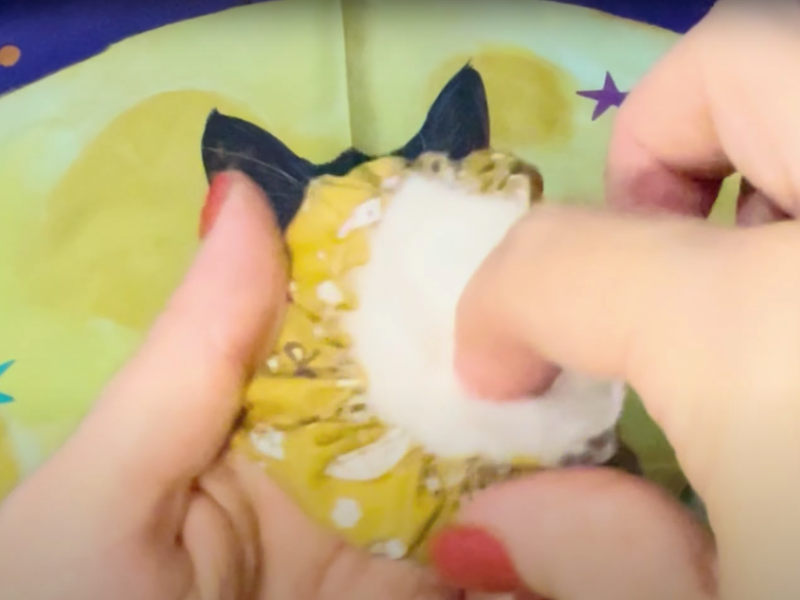
Pull the thread to gather the fabric into a little pouch, then stuff it. I used cotton for mine. Don’t pack it too tightly, or you won’t be able to push the pins in afterward.
5. Close it up and decorate
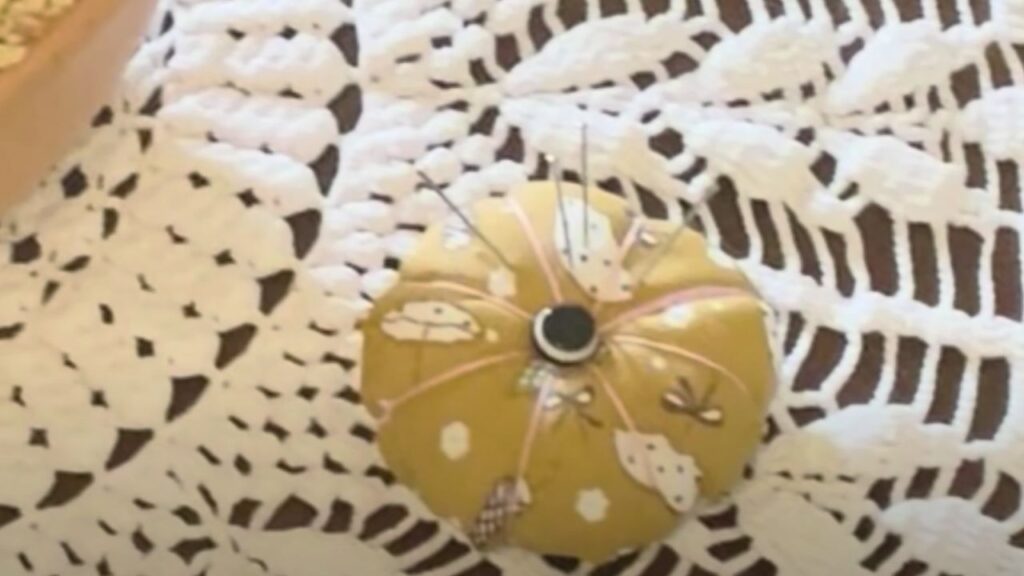
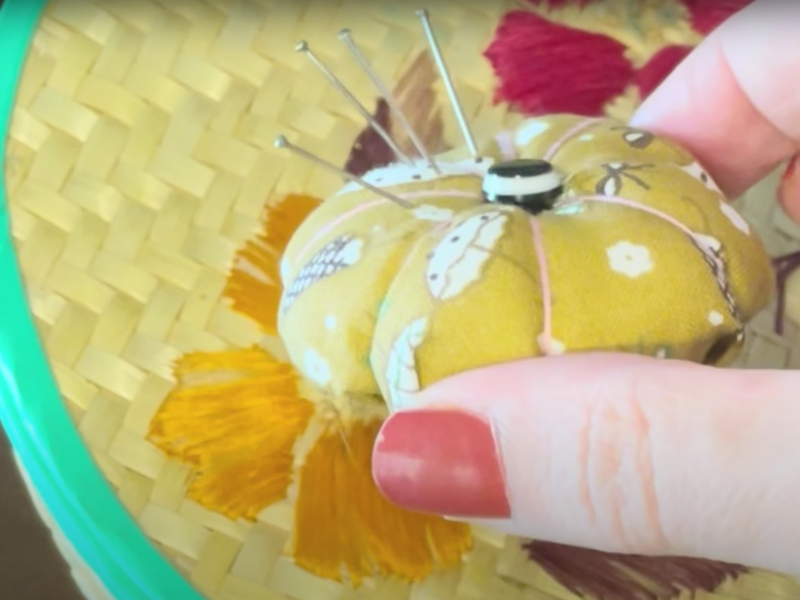
Pull it fully closed and stitch the opening shut by hand. To give it a flower shape, run a thread from the center outward, dividing the circle into sections like a pie.
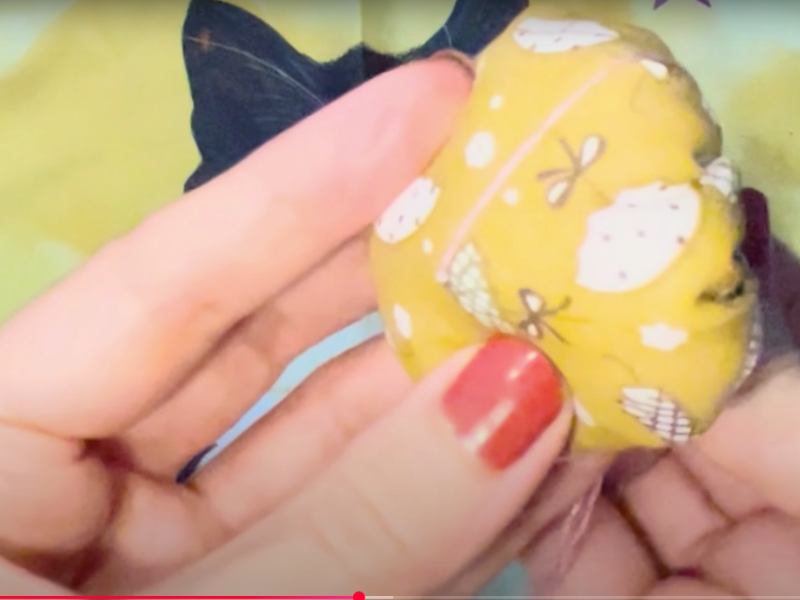
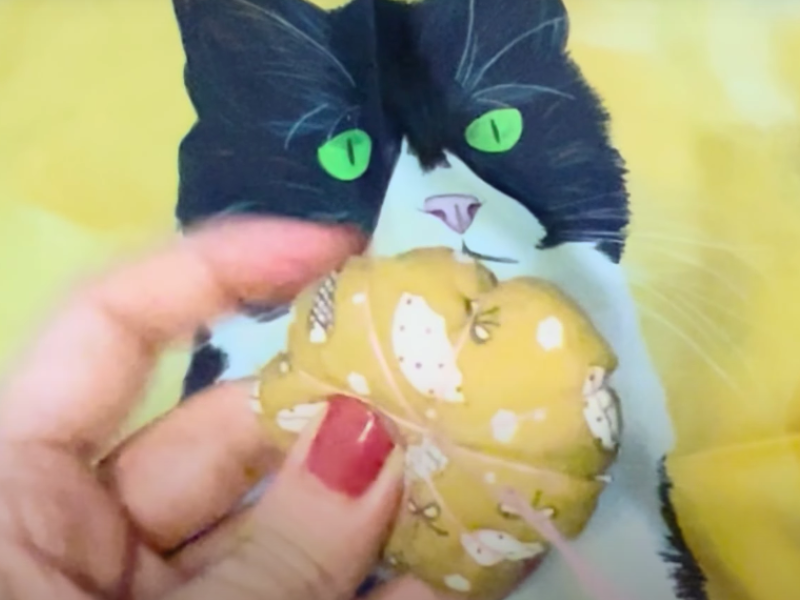
Decorate the center with a button or a bead, for example. You can cover the bottom with felt, craft foam, or something else, even a sticker.
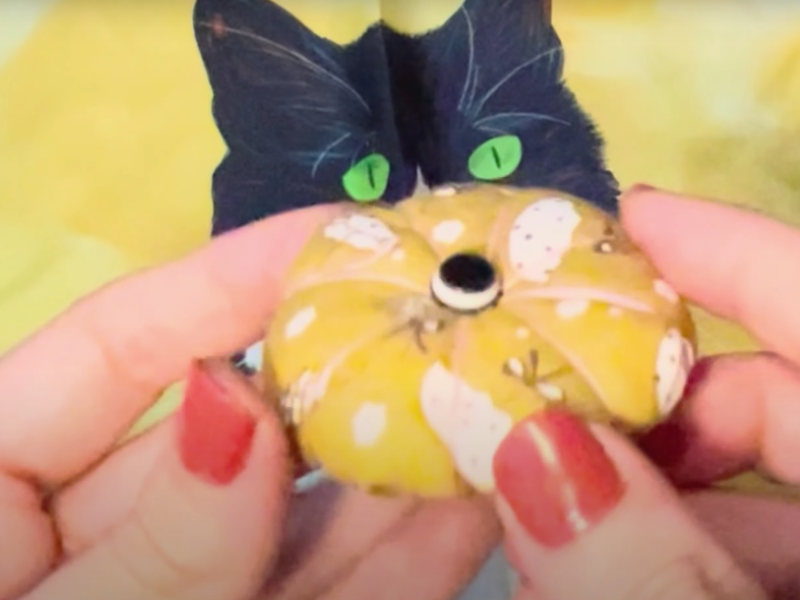
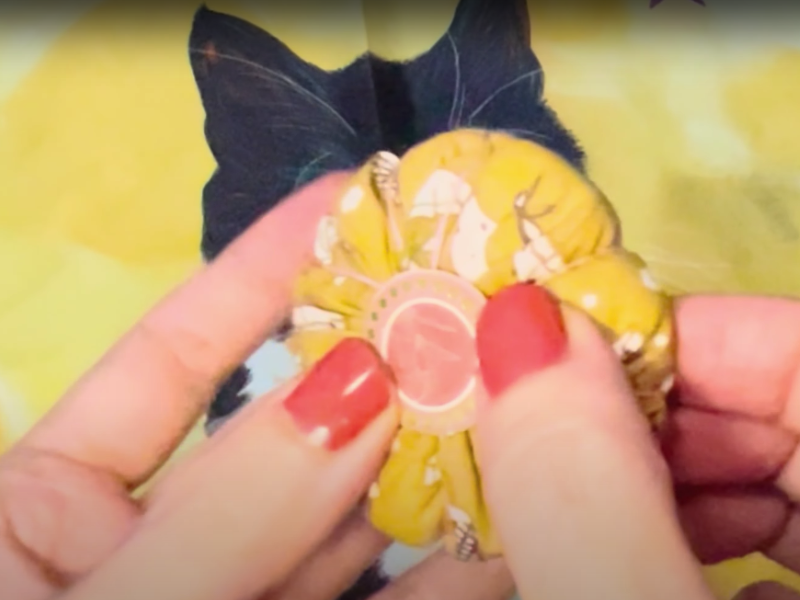
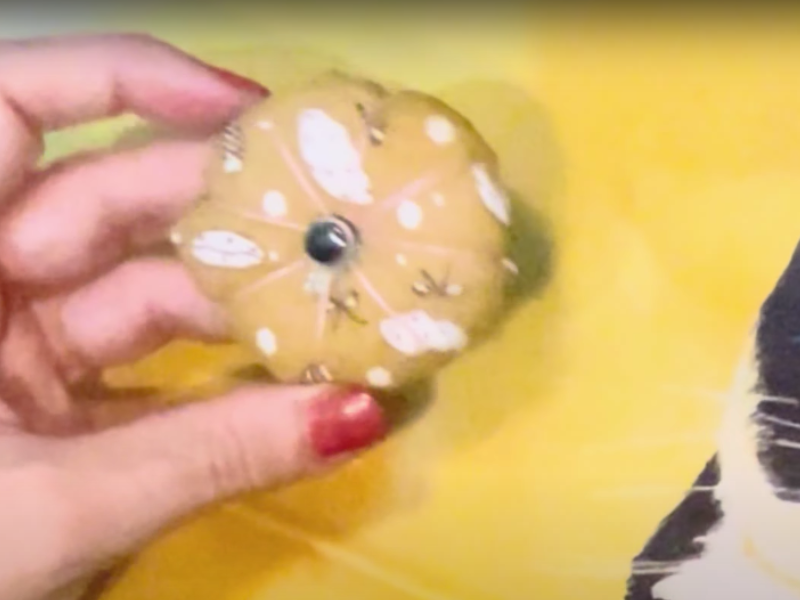
All done! Now you have your own pincushion, made with love.
Creative variations on your pincushion
- Wrist pincushion: add an elastic band so you can wear it on your wrist while you sew.
- Vintage pincushion: use lace and antique buttons for a romantic feel.
- Patchwork pincushion: combine several scraps in different colors and prints.
Caring for your pincushion
It may seem like a minor detail, but looking after your pincushion will make it last longer:
- If it gets dirty, wash it by hand in cold water with mild soap.
- Avoid the washing machine, especially if it has delicate embellishments.
- Always store it somewhere dry and free of dust.
- If you used rice or seeds as stuffing, keep it away from moisture so it doesn’t grow mold.
You can watch the video for all the details:
Frequently asked questions
Which stuffing works best?
Batting is light and practical, and so is cotton, but if you want more firmness you can use rice or even wool.
Can you make a pincushion without sewing?
Yes, there are glue-based methods using a hot glue gun, though they aren’t as sturdy as a sewn one.
What size is ideal?
It depends on how you’ll use it. For the one I show in the video I used a scrap about 5 inches across.
Can I make a pincushion out of felt?
Of course. Felt is easy to work with and it doesn’t fray.
Cut your fabric
Cut a scrap into a circle about 5 inches across
Gather it with thread
Run a basting stitch around the edge and pull the thread to form a little pouch
Stuff it and close it
Fill it with cotton and pull the thread the rest of the way closed
Decorate
Finish with felt and buttons
Tools:
- needle
- scissors
Materials: fabric thread buttons cotton felt
Why it’s worth sewing your own
When I make a pincushion from scraps, I’m not only creating something useful, I’m giving a second life to fabric that seemed forgotten. It’s a quick project, perfect for a quiet moment, and it gives me that satisfaction of making something with my own hands that I’ll use every day.
Every time I push a pin into it, I’m reminded that small gestures are also a way of caring for the planet, saving money, and keeping creativity alive.
Making a pincushion out of fabric scraps is much more than sewing a piece of cloth. It’s creating something practical, pretty, and meaningful. A perfect project for beginners, for gifting, or simply for enjoying a creative, relaxing moment. It’ll make all your sewing projects easier, from embroidering flowers to full framed pieces ^^
Now I’d love to hear what you think: have you ever made your own pincushion? What stuffing do you use, and which shape is your favorite? Leave me a comment so we can share ideas ^^

