
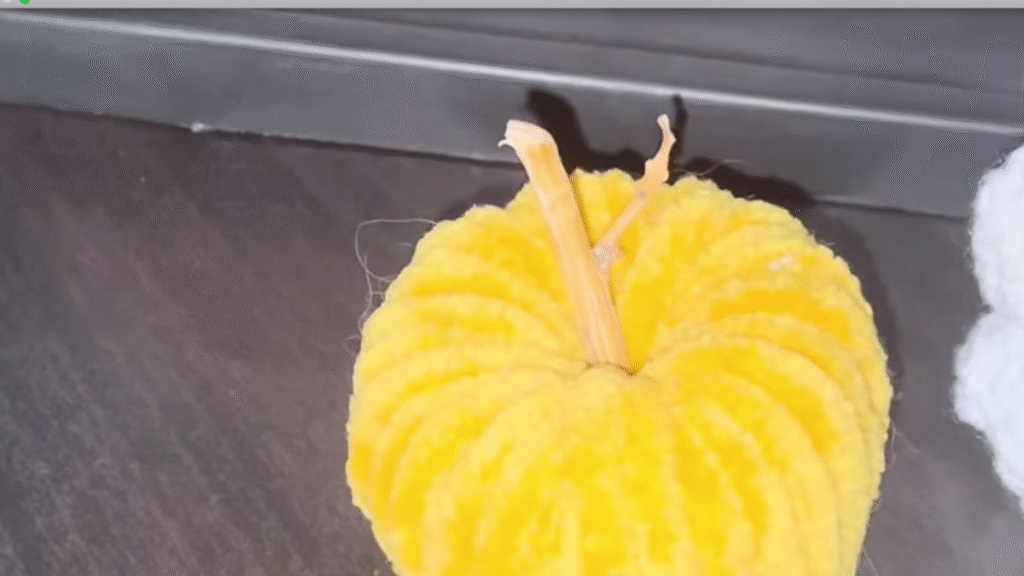
Learn how to make a yarn pumpkin using cardboard tubes. An easy, inexpensive, and beautiful fall craft for decorating your home with style and warmth.
There’s something special about fall, isn’t there? The days get shorter, the air smells like damp earth, and the evenings practically beg you to stay home under a blanket and enjoy a quiet moment. If one craft captures that feeling of home and warmth, it’s making a yarn pumpkin. You get to reuse materials too, which is always a plus ^^
With a cardboard tube you were about to throw out, some leftover yarn from other projects, and a few quiet minutes, you can create a handmade decorative pumpkin that looks like it came from a fall boutique, except with your own personal touch. So if you’re in the mood for some creative calm, get comfortable, grab your coffee or tea, and come along with me.
Why I Love Yarn Pumpkins
I don’t know if you feel the same, but pumpkins have something endearing about them. That round shape, those warm colors, the sense of home they evoke. They put me at ease.
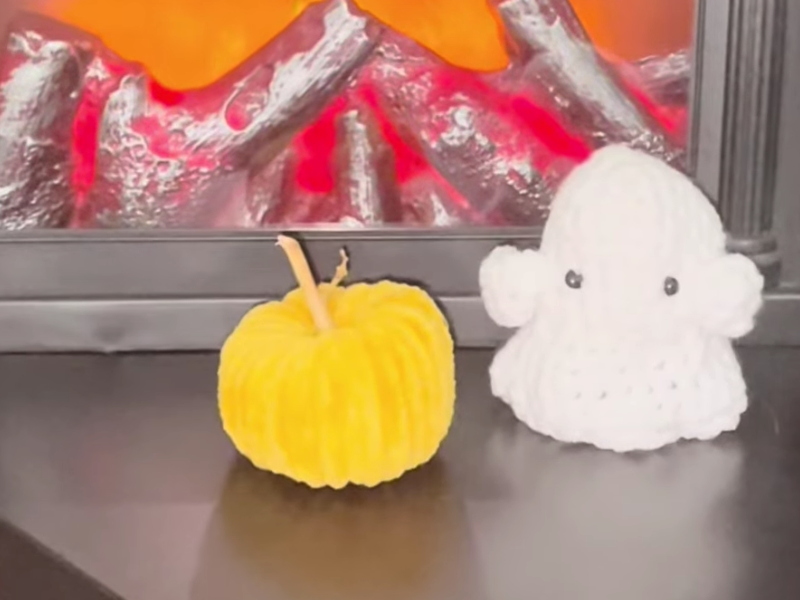
Making a yarn pumpkin is a beautiful way to decorate for almost nothing, with a result that has real soul. Every one comes out different: some smaller, some plumper, some in soft tones and others full of color. You can adapt them to your taste, and they all bring warmth and a cozy feel to any corner.
The other lovely thing about this craft is that you’re reusing materials. Using toilet paper or paper towel tubes as the base is a creative, sustainable way to give new life to something you’d normally toss. You turn the everyday into something decorative, made by your hands and with care. If what you have on hand is fabric scraps instead, you can make this lovely little tree!
Honestly, I love the process too. Putting on music, picking up the yarn, spending a quiet stretch of time. It’s one of those crafts that settles the mind and lifts the mood.
What You’ll Need
One of the most practical things about this project is that you almost certainly have everything at home already.
The basics:
- A toilet paper tube, or half a paper towel tube.
- Yarn in whatever color you like (orange, beige, white, gray, mustard, or even pastels).
- A stick or twig for the stem.
- Twine, thread, or decorative ribbon if you want a prettier finish.
- Scissors.
How to Make Your Yarn Pumpkin Step by Step
This craft is simple, quick, and very rewarding. The moment you finish one, you’ll want to make another.
1. Prepare the base
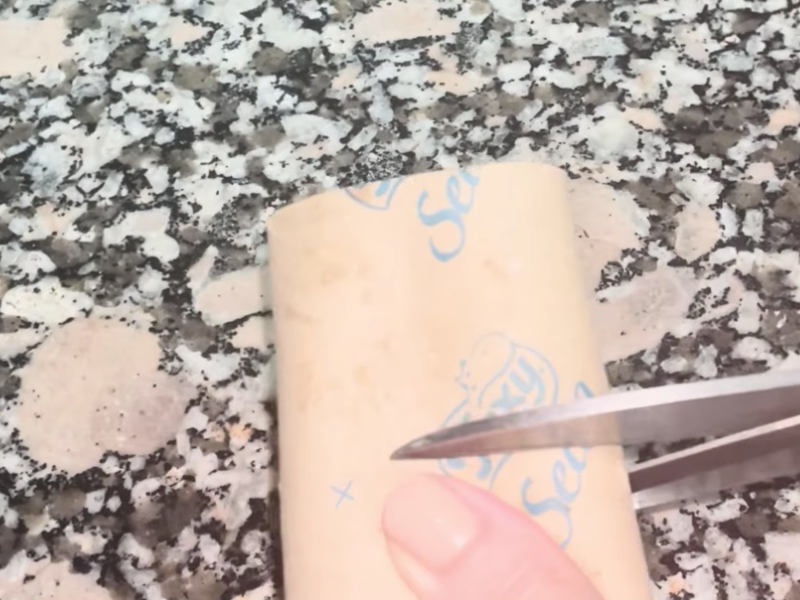
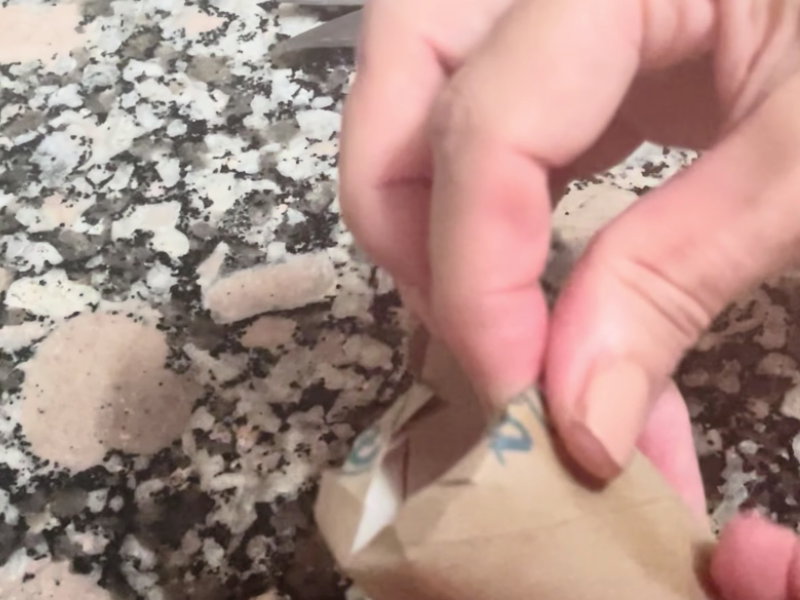
Take your cardboard tube and cut it to the size of the pumpkin you want. In the video I use half a toilet paper tube. Make small snips along both edges and fold the cardboard inward. That’s what gives your pumpkin its shape.
2. Choose your yarn
Here’s where the fun starts. Use bulky yarn for a softer, plumper texture, or fine yarn for a more refined finish.
Earth tones, orange, and mustard are the most autumnal, though white or gray pumpkins look gorgeous too, especially if you like a Scandinavian or minimalist style.
3. Wrap the yarn
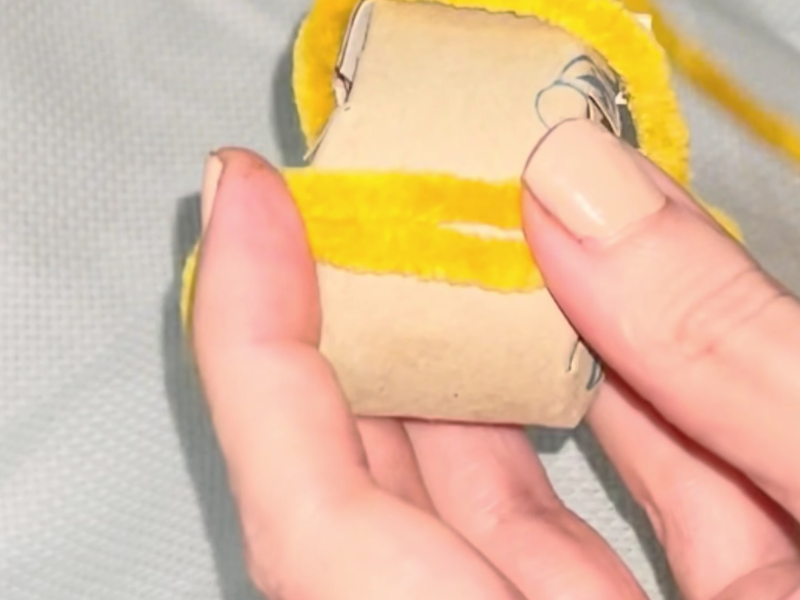
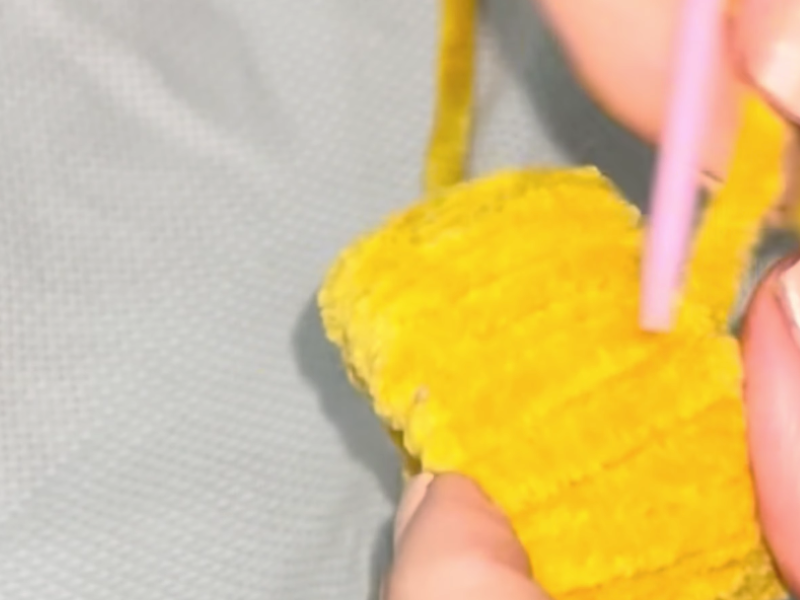
Start by passing the yarn through the center of the tube, from top to bottom. It looks a little messy at first, but don’t worry, it takes shape as you go. A tapestry needle makes this easier.
Keep covering until no cardboard shows through. The more yarn you add, the plumper and prettier the pumpkin will be.
If the yarn shifts around, tuck the ends under the previous strands to hold it in place. It’s a small trick that helps a lot.
4. Add the stem
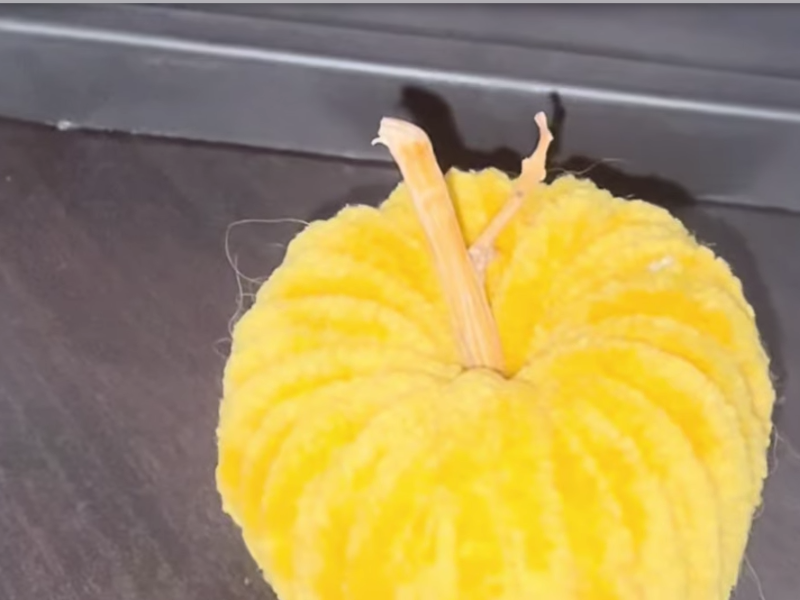
Once the tube is fully covered, set a twig or small stick into the center opening. That’s your stem. Wrap it with twine or tie on a small bow if you want to dress it up a bit.
5. Add the finishing details
Now let your creativity loose. Glue a dried leaf to the stem, wind on a bit of gold thread, or add a small tag with a word you love, like home or fall. And there it is, your yarn pumpkin, ready to brighten up any corner of the house.
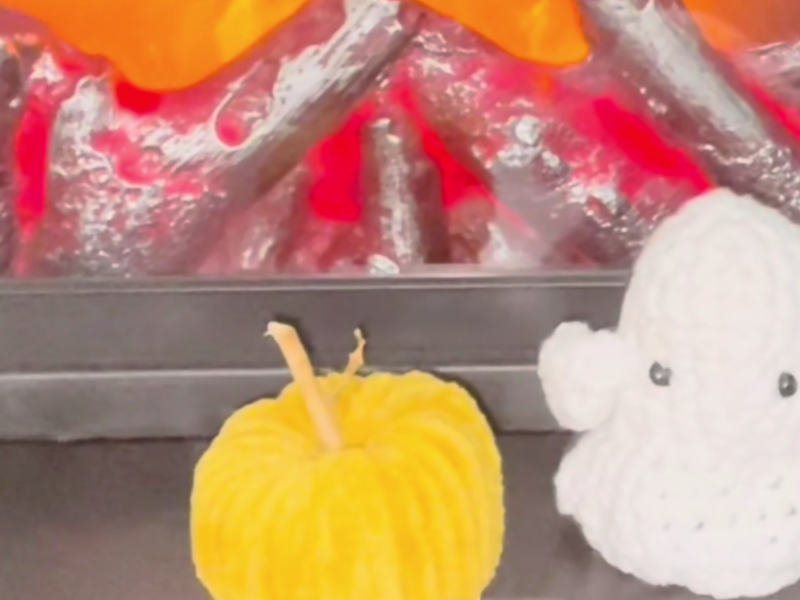
If you’d rather follow along on video:
Make Your Pumpkin Your Own
The best part about this craft is that no two come out alike. Every pumpkin reflects your style and your mood.
A few ideas to get you started:
- Natural: orange or brown yarn, a wooden stem, and dried leaves.
- Scandinavian: white or gray yarn with jute twine.
- Boho: beige yarn with gold thread or soft ribbons.
- For kids: pastel yarn, felt eyes, and a little smile.
Make several in different sizes and group them in a basket or on a tray. They look beautiful together and create a cozy feel with almost no effort.
Tips for Making Your Pumpkin Last
These pumpkins are sturdy, but a few small habits will keep them looking good for years.
- Keep them out of damp spots, since yarn can lose its shape or its loft.
- Clean them with a dry brush or a soft cloth if they gather dust.
- When the season ends, store them in a fabric or cardboard box rather than plastic.
- If you’re using real leaves, make sure they’re thoroughly dried.
- Store them without squashing them so they hold their shape.
I usually wrap mine in tissue paper before putting them away. Every fall, when I pull them back out, I get this lovely feeling of home and continuity.
Why Make Your Own Decorations
In a world moving this fast, making something with your hands is almost an act of resistance. It’s a way of returning to the present, of connecting with yourself and with simple things.
When you make a yarn pumpkin, you aren’t only decorating your home, you’re also giving yourself a little time. It’s a moment of calm, of unplugging, of pause. Then, when you see it finished, you feel proud, not because it’s perfect, but because you made it with your time and your effort, and that shows.
How to Keep Your Yarn Pumpkin for Years
Treated well, it can last you many autumns. Here are a few simple pointers:
Keep it away from moisture
Store it somewhere dry and well ventilated. Yarn absorbs moisture easily, and that can distort its shape.
Keep it out of direct sun
Constant sunlight can fade the color over time.
Protect it in the off-season
When fall is over, pack your pumpkins in a fabric or cardboard box. Don’t stack them on top of one another, so they keep their shape.
Freshen it up
If it flattens a bit over time, reshape it with your fingers or add a little more yarn to the sunken areas.
Repair it when needed
If a strand works loose, tuck it back among the others with a needle or secure it with a drop of glue.
Ways to Decorate with Yarn Pumpkins
There are a thousand ways to work them into your decor. Here are some of my favorites:
- On a wooden tray on the table, alongside candles and dried leaves.
- In the entryway, in a wicker basket or next to a bunch of dried flowers.
- On the mantel or a bookshelf, mixed in with books and vases.
- As a place setting detail, one by each guest’s plate with a name tag.
- Strung into a fall garland, joining several with jute twine.
They also make a beautiful gift. Wrap one in natural fabric and add a handwritten note. Small gestures like that make anyone’s day.
Frequently Asked Questions
Can I use a different kind of yarn?
Yes, thick cotton or twine both work, though yarn has a softer feel and gives you that lovely plump effect.
Which colors work best?
It depends on the look you’re after. Warm tones like orange, brown, and mustard are the most autumnal, though neutrals like white or gray look gorgeous too.
How long does one take to make?
Between 10 and 20 minutes, depending on the size and the type of yarn.
Can I wash them if they get dirty?
I wouldn’t recommend it. If they get marked, clean them gently with a dry or barely damp cloth.
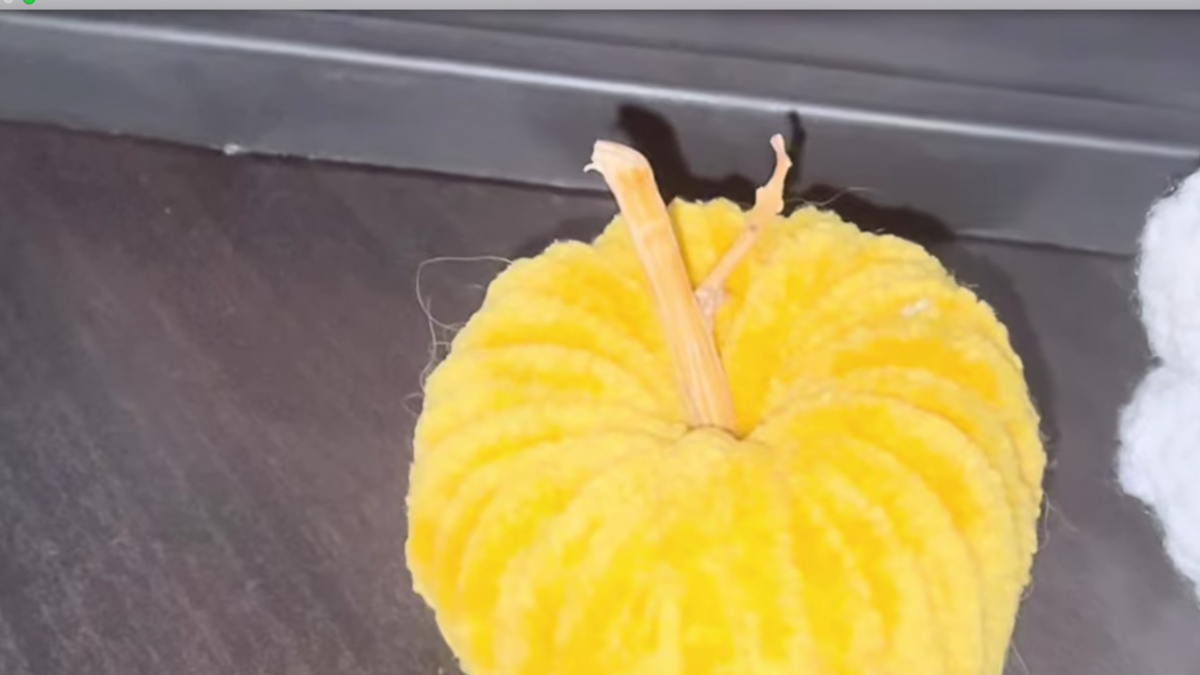
How to make yarn pumpkins by upcycling cardboard tubes
Total Time: 20 minutes
Prepare the cardboard
Cut the cardboard tube to the height of the pumpkin you want and fold both edges inward
Wrap the yarn
Wrap the yarn around until the cardboard is completely covered
Add the stem
Use a twig, or make one out of yarn or felt
Tools:
- scissors
Materials: yarn or thread cardboard tube
I love making these in the first days of fall. It’s my little welcome ritual for the new season. I sit down, light a candle, pull out the yarn, and let time slow down for a while. When the pumpkin is finished, I look at it and smile, not because it’s perfect, but because it has something of me in it. That, in the end, is what gives handmade things so much value.
If you’ve never tried it, I’d encourage you to. All you need is a cardboard tube (yes, the one you were about to throw out), some yarn, and a quiet moment. I promise that when you see your finished pumpkin, you’ll feel that small satisfaction of having made something with your own hands!

