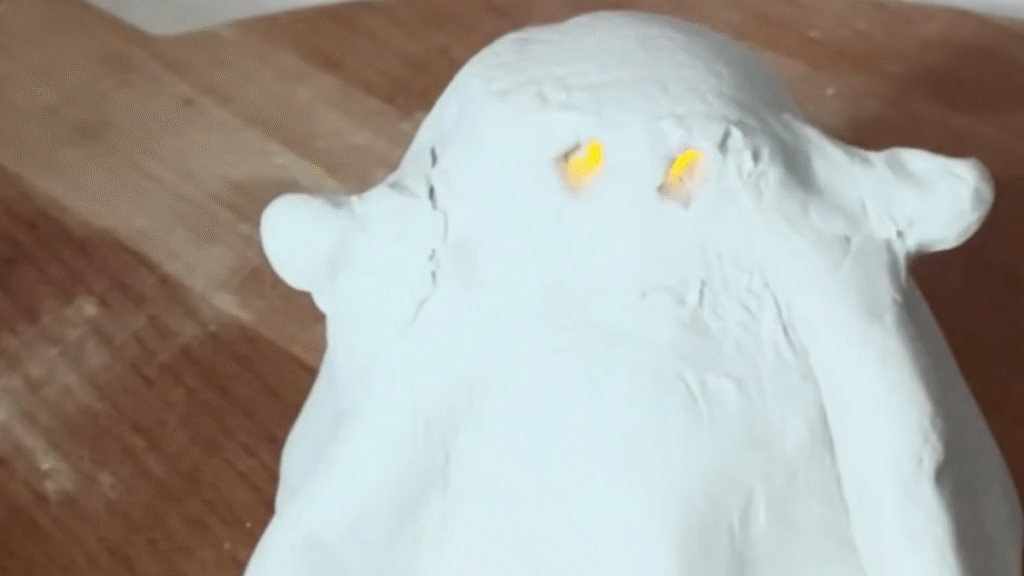
An air-dry clay ghost, step by step. A complete guide with materials, tricks, and tips for creating a one-of-a-kind decorative figure. Ideal for gifting, decorating, or simply enjoying a creative, relaxing moment.
There’s something lovely about getting your hands a little dirty to make something from scratch, that feeling of shaping an idea, of turning a lump of clay into something with form, texture, and life. If one project has me completely charmed for its simplicity, it’s this air-dry clay ghost.
I make several every year, mostly for Halloween. Some I paint, others I leave entirely white. Some have a cheerful little face and others a more serious expression, but they all share something: they radiate calm, sweetness, and a touch of magic.
Here’s how to make your own clay ghost step by step. It’s a simple project with no complications, perfect for unwinding or for sharing with someone.
Why Make a Clay Ghost
There are plenty of crafts you can do with your hands, but few have this much charm. Working with clay is almost hypnotic. It invites you to concentrate, to slow down, to listen to the sound of the clay moving between your fingers.
This kind of project also works at any age. Kids love it because they get to play and experiment with shapes, and adults enjoy it as a way to release tension and step away from the daily grind.
The result has something endearing about it whether you make it as a Halloween ornament, as fall decor, or simply for the pleasure of it. Every little ghost ends up reflecting something of you, something that gives it a personality of its own.
What You’ll Need
Before you start, it’s a good idea to have all your materials ready, so you can focus on enjoying yourself instead of hunting for things halfway through.
The basics:
- Air-dry clay, preferably white or a light shade.
- A small rolling pin, or a smooth bottle, for rolling out the clay.
- A dull knife or a modeling tool.
- A straw or a toothpick.
- Matte or gloss varnish (optional, for protection).
I usually use white clay because the finish comes out clean and bright. If you want something more rustic, you can leave it unpainted entirely.
How to Make a Clay Ghost Step by Step
This project is easy and relaxing. The goal isn’t perfection, it’s enjoying yourself while the clay takes shape.
1. Prepare the clay
Knead the clay with your hands until it’s smooth. If it feels dry, add a drop of water and keep kneading. This step matters, since it works the air out and prevents cracks as the piece dries.
I love this moment because it has something meditative about it. You feel the material, the weight, the moisture, and little by little you settle into a calm rhythm.
2. Roll out the clay
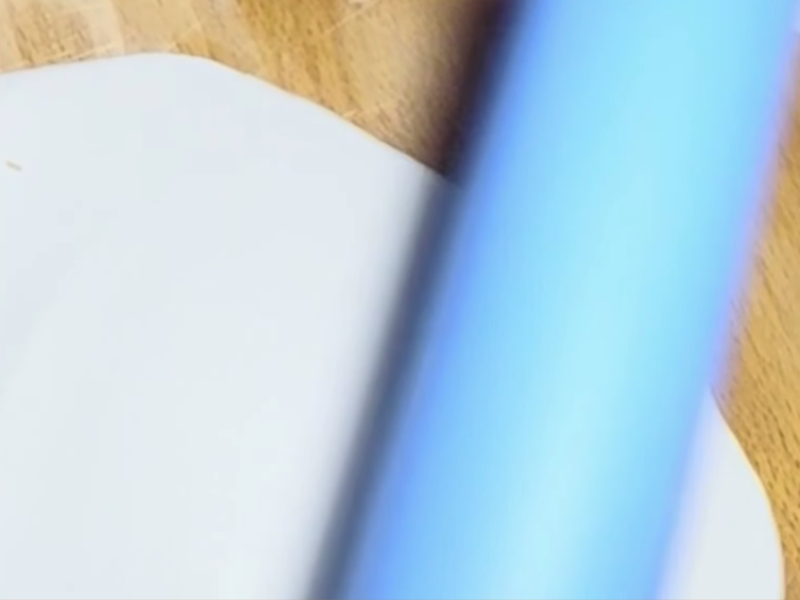
With your rolling pin or a smooth bottle, flatten the clay to about an eighth of an inch thick. Any thinner and it’ll crack as it dries.
3. Cut the shape
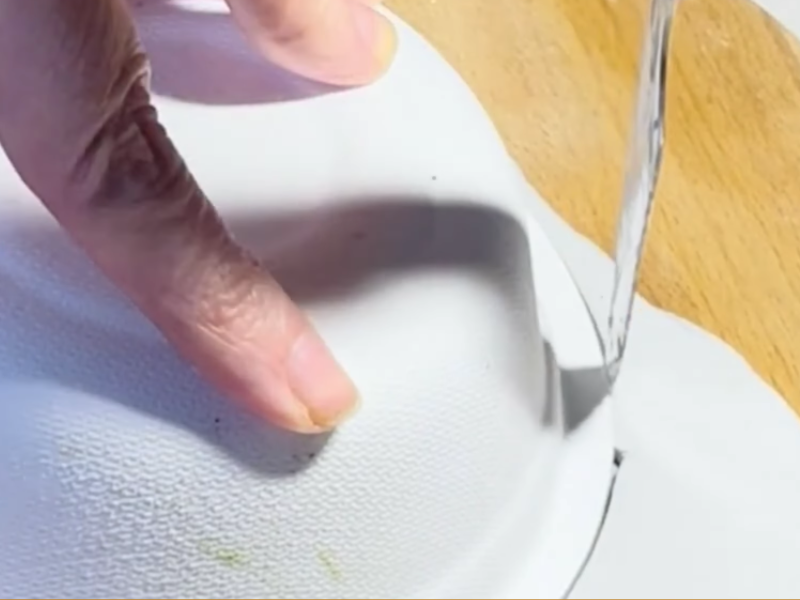
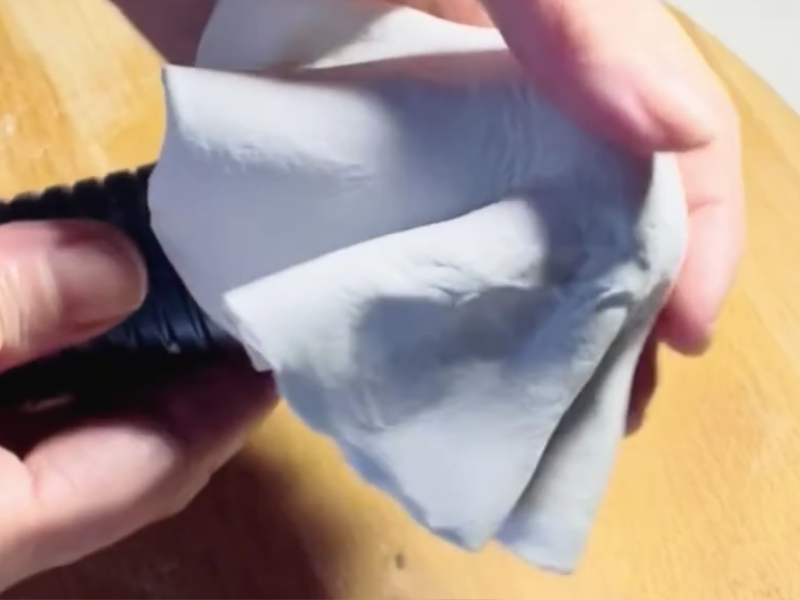
Cut out a roughly circular or oval shape with your knife or modeling tool. Don’t worry if it isn’t perfect. The irregularities are exactly what makes each ghost unique. You can use something as a form to shape it over. In the video, I used a small whisk.
Leave the bottom edge wavy or curved so it looks like the ghost is floating.
4. Add the eyes and the expression
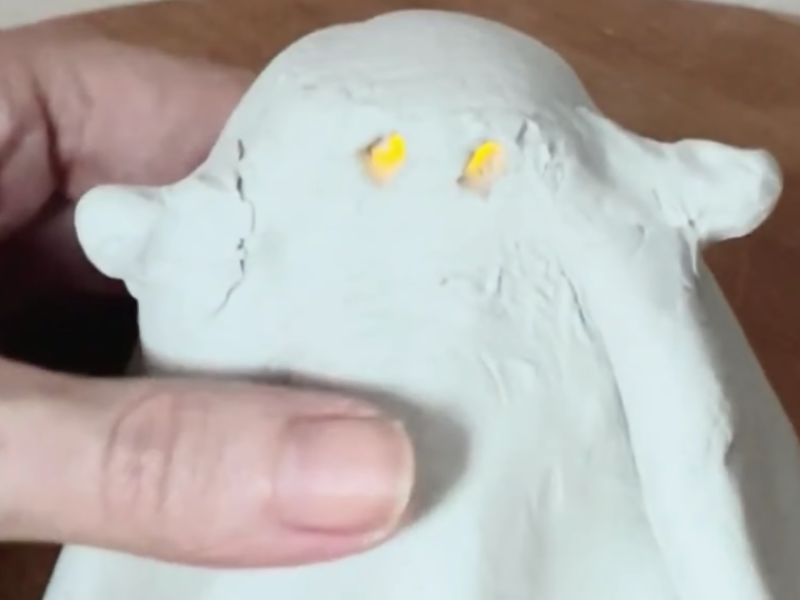
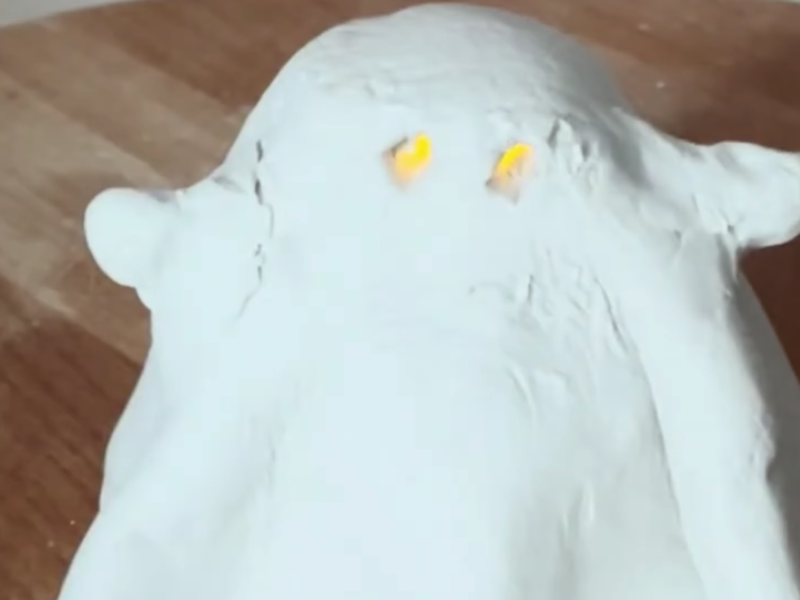
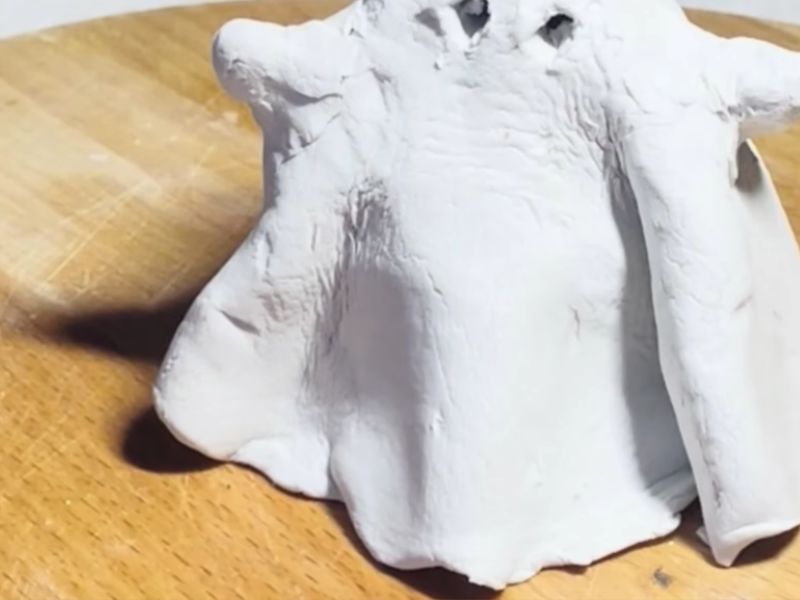
Make two small holes with the tip of a pencil or a toothpick, spaced however looks balanced to you. Round or elongated both work, depending on the style you’re after.
Add a small smile if you like, or stick with just the eyes. Sometimes simplicity has more charm.
5. Add a hole for hanging
If you’re planning to hang your ghost, make a small hole at the top before the clay dries. A straw or a toothpick does the job.
6. Let it dry
Set the ghost on a flat surface lined with paper or cloth and let it air dry for at least 24 hours. Thicker pieces may need 48. Don’t rush it, and keep it away from direct sun or a radiator, since heat can crack it.
You’ll watch it gradually change color and grow lighter. It’s a lovely process to observe.
7. Paint and decorate
Once it’s completely dry, the most fun part begins: making it yours.
Leave it white, warm it up with a hint of cream, or add soft shadows with acrylic paint. For an especially sweet touch, try a bit of pink blush on the cheeks.
8. Seal the piece
When the paint has dried, you can apply a coat of matte or gloss varnish. This protects the surface and gives it a more durable finish.
And that’s it! You now have your own little clay ghost, light, pretty, and full of personality.
See all the details in the video
Tips for a Flawless Ghost
After making a few of these, some small details stand out:
- Knead the clay thoroughly before you start to avoid cracks.
- Use very little water, only enough to smooth the surface.
- For a smooth finish, run damp fingers over the surface before it dries.
- For a more rustic style, leave your fingerprints in. It gives the piece a handmade feel.
- Once dry, you can sand it gently with fine sandpaper for a more polished look.
You can also experiment with different shapes. Some ghosts might have their arms outstretched, others a wavier drape. Each one will tell its own story.
What This Project Gives You
Making a clay ghost is more than creating a decorative figure. It’s a small ritual of calm.
While you shape it, your mind quiets, time seems to stretch out, and every movement hands you back a little peace. When you finish and look at it, you realize it isn’t only a figure. It’s something you made, and that gives it a different kind of value. It doesn’t have to be perfect. Its charm lives precisely in the small imperfections.
I have several around the house. Some I made when I needed a distraction, others when I was happy. Each one has its own energy, as though the clay kept a little of how you felt while making it.
How to Care for Your Clay Ghost
Air-dry clay is sturdy, though it does need some care to last for years.
- Keep it dry and away from damp places.
- Clean it with a dry or barely damp cloth.
- Don’t store it in plastic bags. Open boxes or fabric ones work better.
- If it cracks, you can repair it with a drop of white glue and some paint.
- If it collects dust, a dry brush or a soft paintbrush will take care of it.
If you sealed it with varnish, it’ll hold up better over time. If you didn’t, the natural texture stays every bit as lovely.
Ways to Use Your Clay Ghosts
This is my favorite part, because the options go on and on. Once your ghosts are ready, there are a thousand ways to use them.
- Hang them from string or fabric ribbon to make a mobile.
- Glue a magnet to the back and use them on the fridge.
- Attach them to a garland with dried leaves and hang it on a wall.
- Make several in different sizes and group them on a shelf.
- Give them as gifts with a handwritten note.
I usually put mine out in the fall alongside candles and small pumpkins. When the late afternoon light hits them, the whole room turns warm and quiet. You can also tuck a small light inside for a Halloween glow.
If you’re more of a needle-and-thread person, you might prefer making a crochet ghost instead. That one turns out beautifully too ^^
The Magic of Making Things by Hand
Working with clay reconnects you to something essential. It’s like going back to childhood, to that feeling of creating without overthinking it, purely for the pleasure of doing it.
In a world this fast and this full of screens, stopping to shape something with your hands is an act of care. It makes you look, feel, and focus on what’s in front of you. Best of all, there’s no way to get it wrong. Every ghost comes out different, with its own shape, its own expression, its own soul. That’s what makes it unique.
When you finish, you have a keepsake, a moment that belonged to you, quiet and creative.
Frequently Asked Questions
Which clay should I use?
Air-dry clay is the best option. No kiln needed and it’s very easy to handle.
How long does it take to dry?
It depends on thickness and weather, but usually somewhere between 24 and 48 hours.
Can I speed up the drying?
I wouldn’t recommend it. Heat or direct sun can crack the piece. Let it dry slowly.
How do I prevent cracks?
Knead the clay well before shaping it and go easy on the water. If a small crack appears, you can smooth it over with a damp finger.
Can I paint it before it dries?
No. Wait until it’s completely dry so the paint adheres properly.
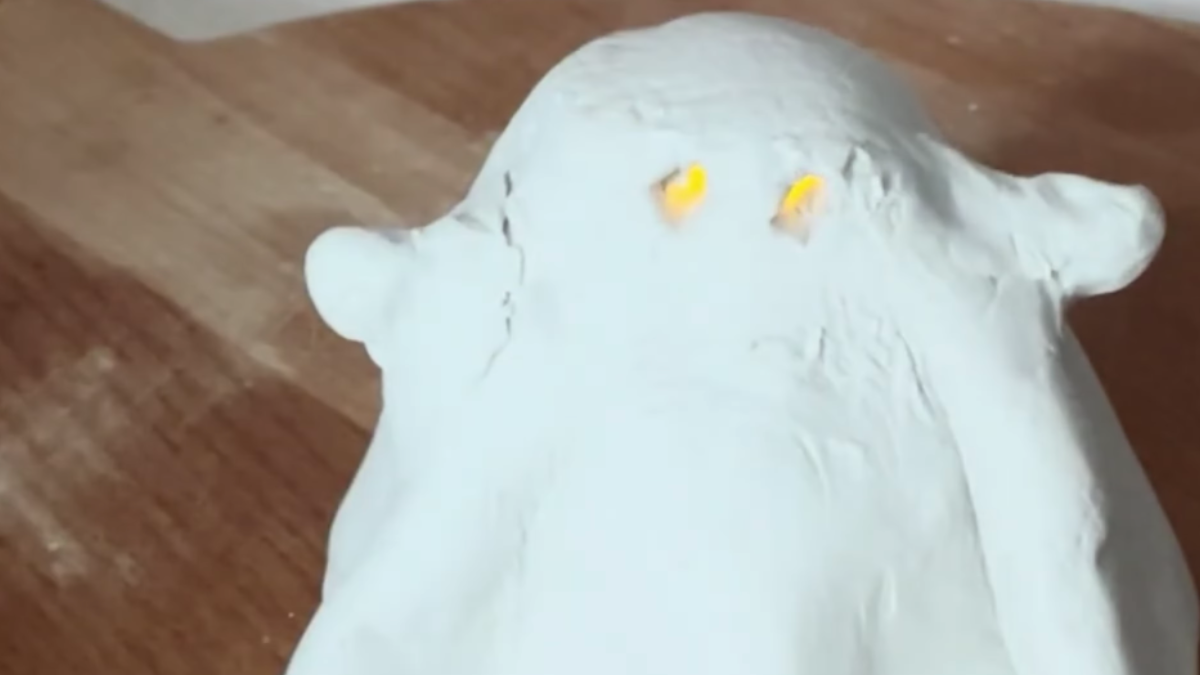
how to make an air-dry clay ghost step by step
Knead the clay
Knead and prepare the clay
Roll it out
Roll it out with a rolling pin to about an eighth of an inch thick
Cut a circle
Cut out a circle
Shape it and add the eyes
Drape it over a glass or mug to shape it, then make the eye holes with your knife
Let it dry
Leave it to dry for 48 hours
Tools:
- knife
- rolling pin
Materials: air-dry clay
Making an air-dry clay ghost is one of those crafts that reconciles you with simplicity. It’s cheap, it’s relaxing, and it’s deeply satisfying. Above all, it’s a way of giving yourself a moment of calm and creativity. When you finish, what’s in front of you is something made with your own hands, your own time, and your own care. Something that carries your energy.
I still make them every year, and each one brings back different memories. Some I give away, others stay with me, decorating small corners of the house. They all remind me of the same thing: it takes very little to make something lovely, only the desire to do it.
Will you give it a try? I’d love to know how your ghost turned out, which colors you used, or whether you added a special detail. Tell me in the comments and let’s swap ideas.
If you know someone who loves crafting, or who could use a little time away from everything, pass this post along. Sometimes a lump of clay and a quiet moment can turn a whole day around.