Discover the best cross-stitch methods explained in detail. Master the Danish method, the English method, parking, and advanced techniques for a flawless back. Take your stitching to the next level today!
When we sit down in front of our canvas with a threaded needle, we aren’t always aware that the way we choose to move that needle can change the outcome of our work. It isn’t just about filling little squares with color, it’s about strategy, flow, and how to make the most of every millimeter of floss.
It’s surely happened to you: you buy a gorgeous pattern, you start stitching with all the energy in the world, and a few rows in you notice the floss twisting on itself, the corners of your crosses not quite lining up, or the back starting to thicken in a slightly suspicious way. That happens because we often learn the basic cross and dive straight in without knowing the different structural methods that exist.
I’m fascinated by experimenting. Some days I need the mental speed of a rhythmic method, and other days the pattern is so complex that I need the security of closing each stitch as I go. Today we’re going to look closely at the cross stitch methods out there, from the traditional ones our grandmothers used to the more modern thread management techniques experts rely on for large-scale projects. Let’s dig into the technique!
This post contains affiliate links. If you buy through them, you’re supporting my work (at no extra cost to you)
The Danish method: speed and symmetry turned into stitching
The Danish method is without a doubt one of the most popular cross stitch methods in the world, especially in Europe. If you have a pattern ahead of you with big monolithic blocks of color (the background of a landscape, a clear sky, or the body of a large motif), this system will be your salvation.
The Danish method step by step
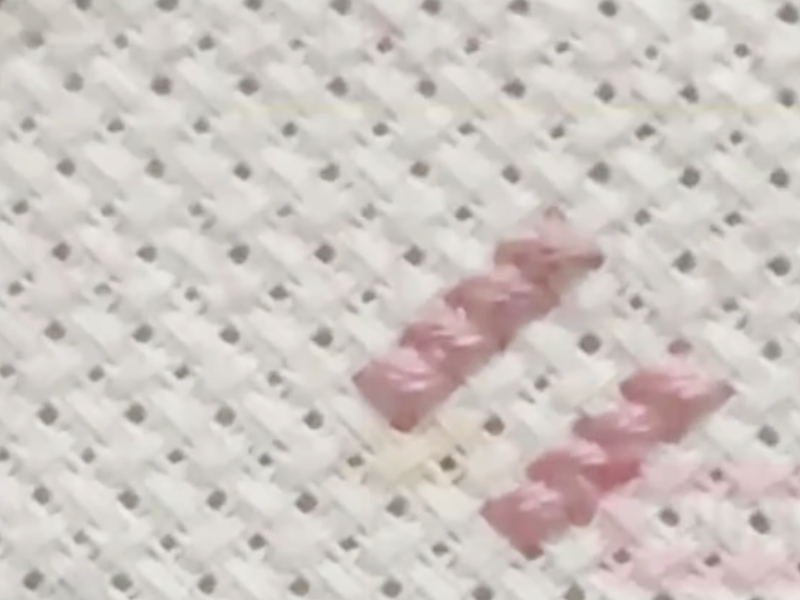
Learn the Danish technique for stitching full rows of cross stitch quickly, saving floss and achieving a flawless back.
The journey out
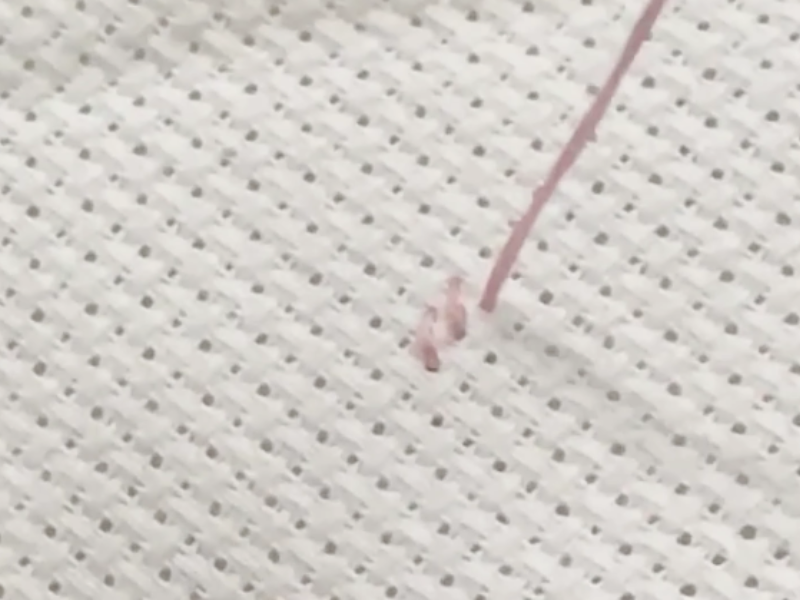
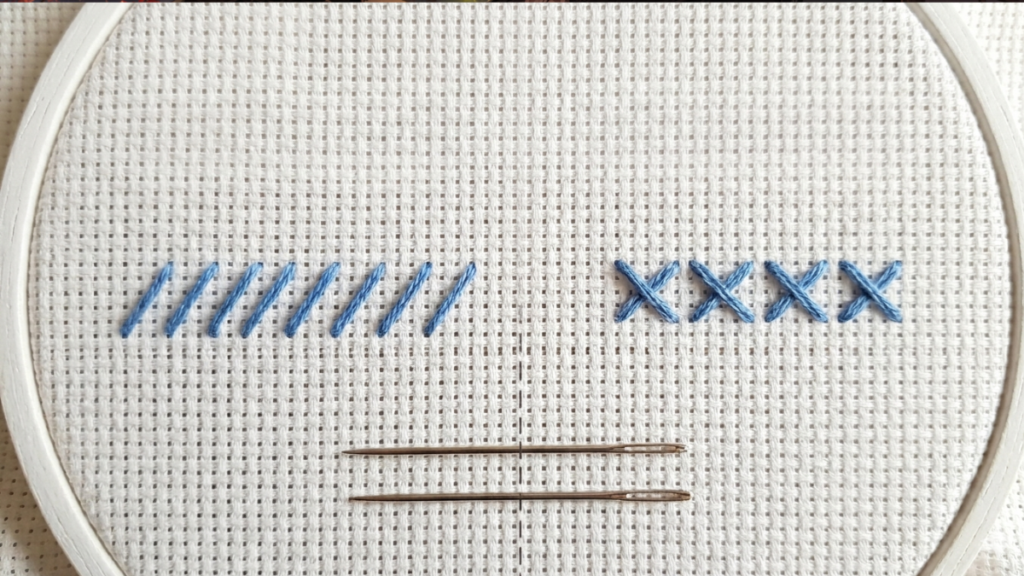
Bring the needle up through the lower left hole of the first square and take it down through the upper right. That’s your first diagonal bar (/). Without turning the needle or making odd movements behind the fabric, bring it up through the lower left hole of the second square and take it down again at the upper right. Repeat this to the right until you’ve covered every stitch of that color in the row.
The journey back
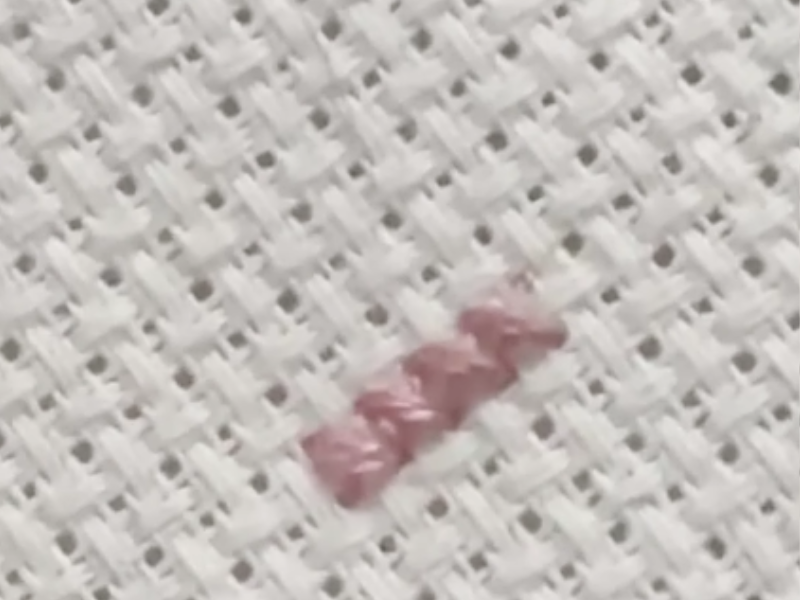
Once you reach the end of the block, it’s time to retrace your steps and complete the cross (X). Bring the needle up through the lower right hole of the last square you stitched and take it down at the upper left. Then move leftward, coming up at the lower right of the next stitch and going down at the upper left.
Tools:
- Tapestry needle (blunt tip), Embroidery scissors.
Materials: Aida or linen fabric, Six-strand floss (2 strands).
How the floss behaves on the back with the Danish technique
One of the reasons purists love this method is how neat the back turns out. Follow the steps strictly and you’ll see that not a single diagonal line crosses the back of your fabric.
What forms on the reverse is a perfect succession of parallel vertical bars (||||). That isn’t just beautiful, it also keeps the work as thin as possible, which is crucial if you plan to frame the piece behind glass, since it prevents lumps and uneven tension in the fabric.
Technical advantages and limitations of the Danish method
- Material savings: because you’re not doubling up on diagonal paths across the back, the Danish method makes the most of your floss. It’s estimated to use 10% to 15% less than other techniques.
- Stitching rhythm: once the out-and-back motion becomes mechanical, your brain slips into a kind of autopilot. The speed you reach is impressive.
- The confetti danger: its big limitation shows up when a pattern has widely scattered colors (what we call confetti stitches). Try the Danish method while jumping from row to row for just one or two stitches and the back goes completely out of control, losing every advantage.
The English method: individual precision for complex designs
The English method, known to many stitchers as the traditional one-cross-at-a-time approach, tackles stitching from a completely analytical perspective. There’s no promise of finishing the row before you see the result here. Each cross is born, grows, and closes independently before you move to the next one.
How the English method works technically
The execution is very direct, though it does require keeping consistent tension in your fingers so the floss lies well.
- Make the first diagonal from the lower left to the upper right (/).
- Immediately after, without leaving that same square of fabric, bring the needle up at the lower right and take it down at the upper left (\). Your cross is complete.
- To move to the next stitch (assuming you’re working rightward), carry the needle diagonally across the back of the fabric to come up again at the lower left hole of the next square.
The English back: a different map
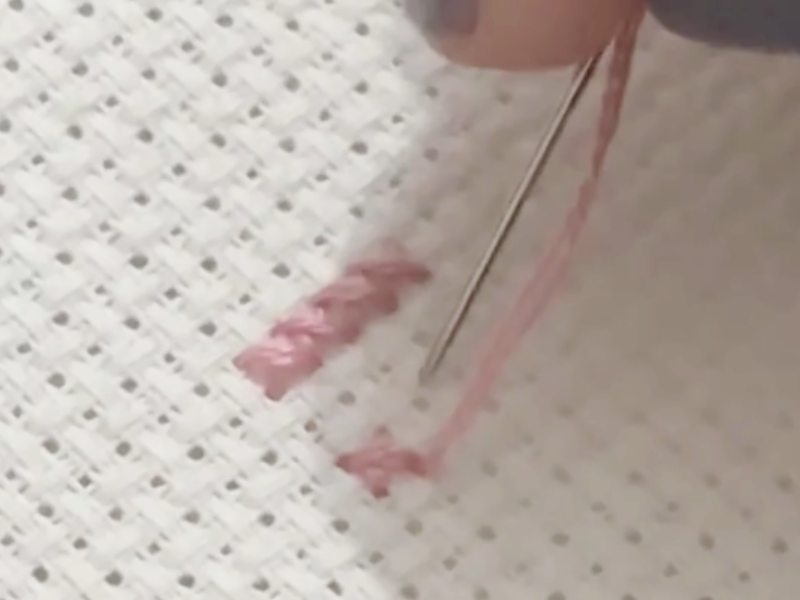
Looking at the reverse of work done with the English method, you’ll notice a big difference from the Danish. Instead of clean vertical lines, you’ll see small slanted stitches or thicker vertical bars, caused by the angled movement the needle makes behind the fabric to reach the start of the next square.
It doesn’t look bad at all, though it does use a bit more floss and the back feels slightly denser to the touch.
When is the English method mandatory?
- Highly detailed areas: when you’re stitching charts where the color changes in every square (the details of the eyes in a portrait, say, or the shading in a textured flower), the English method gives you absolute control. You know exactly which stitch is closed and avoid the risk of forgetting to complete a return row.
- Working with variegated or overdyed floss: pay attention to this one! If you ever buy floss that shifts shade along the skein (variegated floss), you have to use the English method. With the Danish method, the journey out would be one shade (light pink, for instance) and the journey back another (dark pink), so the floss’s soft gradient effect would be lost and you’d end up with a strange optical result. With the English method, each cross keeps the exact color transition of the stretch of floss you’re using.
You can watch it on YouTube if you’d rather
Ways to direct your stitching: vertical columns
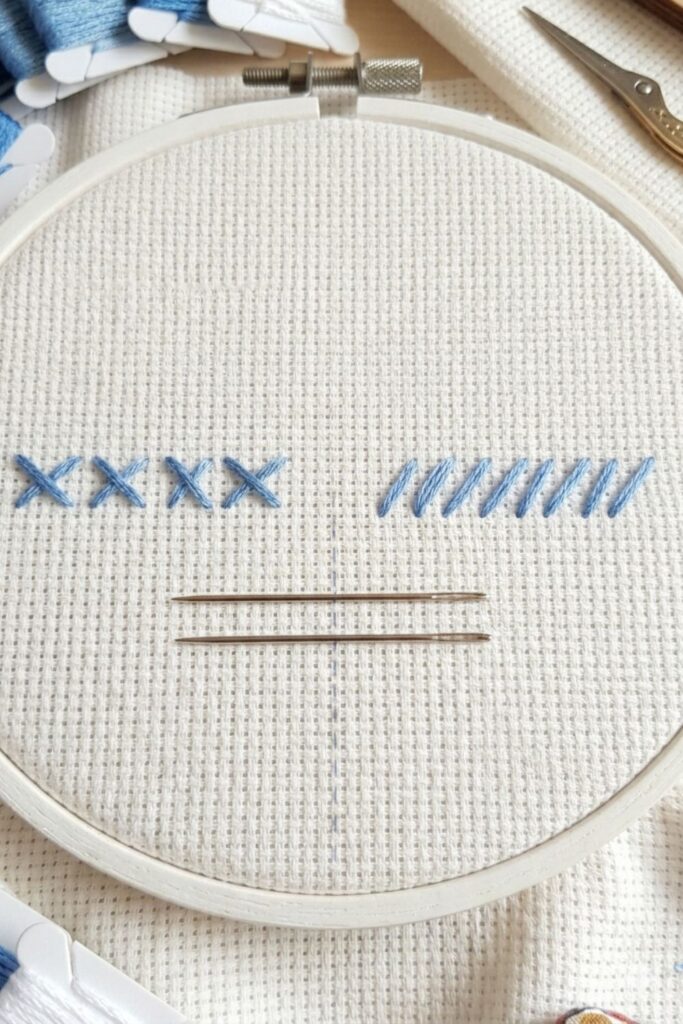
Most of us learn to stitch horizontally because that’s how we read: left to right. Some pattern structures develop from top to bottom, though. Stitching a vertical column with a horizontal mindset tends to be awkward. That’s why the vertical method exists, with its own golden rules.
Stitching downward with the vertical Danish system
If you have to work a column of several stitches in the same color going down, you can apply a variation of the Danish method, paying close attention to where you insert the needle so you don’t undo the previous stitch.
- Going down: come up at the lower left and go down at the upper right. To make the next half cross downward, travel vertically across the back and come up at the lower left of the square below. Repeat this downward.
- Coming back up: when you reach the end of the column, work your way up closing the crosses by coming up at the lower right and going down at the upper left.
Done right, the back of this column will show perfect horizontal lines. It’s an excellent mental exercise for stepping out of your comfort zone and solving vertical areas of a pattern without physically turning your hoop sideways.
Hybrid and mixed methods: flexibility on the canvas
In real life, a pattern is rarely one big wall of a single color, and rarely absolute chaos of scattered stitches either. Usually it’s a mix of both. That’s why experienced stitchers rarely use one method 100% of the time. What we do is move fluidly from one to another as the design demands.
The diagonal method (ideal for avoiding demarcation lines)
When you work on large projects divided into pages or blocks of 10×10 squares, being very strict and finishing all your stitches exactly where the block ends means that once you take the fabric off the frame you’ll notice a kind of ghost line or visible seam. That happens because thread tension shifts slightly when you start and end rows in the same place.
To solve it, use the diagonal method. Instead of filling the 10×10 grid squarely, stitch in a staircase or diagonal shape (one stitch in the first row, two in the second, three in the third, and so on). Breaking the rigidity of straight lines makes the transitions between one block of the pattern and the next completely invisible, giving you a museum-worthy finish.
The parking method: total thread management
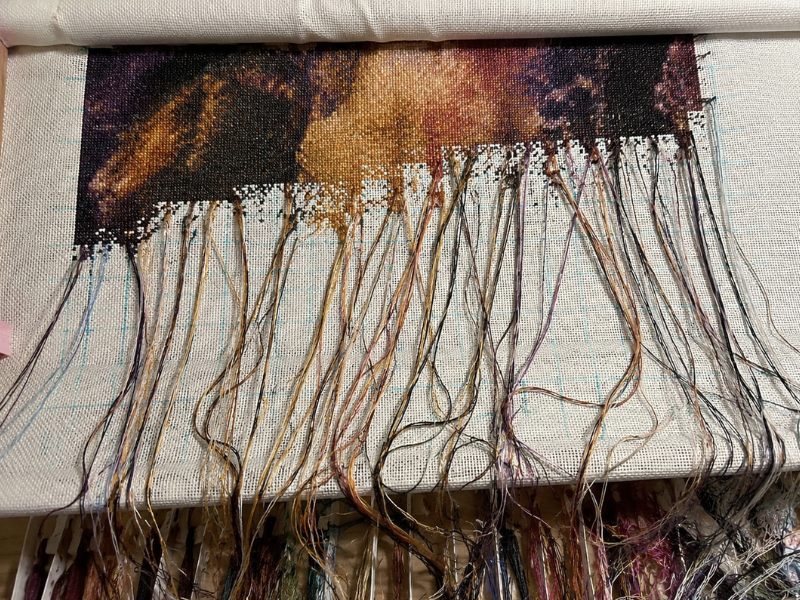
If you’ve ever watched a video of someone stitching a complex design (the kind with 80 different colors on a single page), you’ve surely noticed an absurd number of threads dangling from the fabric. They aren’t there by accident, they’re using the parking method, the definitive organizing technique for full coverage projects.
How the logic of parking works
Instead of walking a single color all over the map, parking forces you to work strictly geometrically, usually in blocks of 10×10 stitches, advancing row by row from top to bottom or left to right.
- Look at the first stitch in the upper left corner of your block. Imagine it’s the “arrow” symbol (blue).
- Thread the blue, work that full cross (using the English method).
- Before finishing off the thread, look at where the “arrow” symbol appears next in the pattern. If it shows up three rows down in column four, carry the needle across the back and bring it up to the front exactly where that future cross should begin (the lower left hole of that square).
- Take the needle off that thread and leave the strand hanging loose on the front of the fabric. That thread is now “parked” in its square, waiting its turn.
- Move to the next symbol in the current row, thread its color, work the cross, and park that thread in its next position.
Types of parking: by block or by row?
- Strict block parking: you only park threads within the 10×10 square you’re working in. You don’t move to the next square until that one is complete.
- Continuous row parking: you work along the entire horizontal row of the pattern regardless of blocks. It flows better, but it requires managing a colossal number of threads (you can end up with 40 or 50 hanging at once!).
Tools that keep parking from driving you crazy
For this method not to turn into a tangled nightmare, the right accessories are vital:
- Needle organizers: they hold dozens of threaded needles with their symbols so you don’t waste time changing floss constantly.
- Needle minders: they help you hold parked threads up or off to the sides so they stay out of the area where you’re currently working.
The cross country method: absolute freedom for free spirits
If parking feels like too rigid a structure, or seeing all those loose strands floating on your fabric stresses you out, cross country is your path. This method is the favorite of people who need to watch one specific color advance to feel the design coming to life organically.
Strategy for clean cross country stitching
Cross country means exactly what it sounds like: traveling across the terrain. You take one color of floss, find an area of the pattern, and start stitching every cross in that specific color, roaming across the fabric.
For this method to succeed rather than ruin your work, you need to follow strict navigation rules:
- The five square rule: avoid long runs of floss across the back. If the next cross in your color is more than 5 or 6 squares away from where you are now, don’t drag the thread. Finish off, cut, and start again in the new area. Dragging floss long distances leaves taut cords on the back that can pucker your Aida or, worse, if the floss is dark and the fabric is white, those lines will show through the front and spoil the final result.
- Use existing thread paths: when you need to jump 3 or 4 empty spaces, try running the needle under threads of other colors already stitched on the back to camouflage the trip. That way the floss stays anchored instead of floating.
Cross stitch methods compared
So you have a clear, quick view of which technique suits the project in your hands, here’s a comparison table:
| Stitching method | Ideal for | Floss usage | Learning curve | State of the back |
| Danish method | Large backgrounds and solid blocks | Very low (economical) | Very easy | Ultra clean (vertical lines) |
| English method | Confetti-heavy areas and variegated floss | Moderate to high | Easy | Acceptable (small diagonals) |
| Vertical columns | Borders, edges, and vertical motifs | Low | Medium | Very clean (horizontal lines) |
| Parking | Giant full coverage pieces | High | Advanced | Dense but highly structured |
| Cross country | Medium patterns with defined shapes | Moderate | Easy to medium | Variable (requires care) |
Frequently asked questions about cross stitch methods
Does the floss get damaged if I drag it too far across the back with the cross country method?
Yes, completely. Beyond the visual problem of it showing through the front, leaving long strands floating on the back means you risk catching them accidentally with your needle while stitching nearby squares later. That creates unwanted loops on the back that pucker the front and are extremely hard to fix once you’ve moved on.
With the Danish method, my return crosses sometimes come out at a different tension than the outgoing ones. How do I fix that?
It’s a very common problem at first. It usually happens because the wrist motion on the way out (left to right) is more natural, while coming back (right to left) we tend to pull the floss at a different angle or with more force. The trick is not tightening the floss at the end of the stitch. Let it settle gently onto the fabric. If you notice a big difference, try using a frame that keeps the fabric very taut so it absorbs some of that pressure.
Can I combine the English and Danish methods in the same row?
Of course! Imagine a row with four consecutive stitches of one color, then three of other colors, then a single isolated stitch back in the first color. You can work those first four using the Danish method (out and back) and solve the isolated stitch at the end with the English method. Flexibility is the key to enjoying your stitching.
With the parking method, don’t the hanging threads end up fraying from being handled so much?
If you use quality floss, it shouldn’t fray. Since they’ll be exposed for weeks or months while you finish the piece, though, they can tangle with each other. That’s why it’s vital to keep them combed downward and, if they’re bothering you, use small clothespins or sewing clips to group the parked threads you won’t need in the next few hours and keep them out of your working area.
What’s the best method for someone starting today?
The Danish method in horizontal rows, without a doubt. It gives you the fastest gratification, helps you make the needle motion automatic, teaches you to control tension in your hands, and gives you a clean back almost effortlessly. Save methods like parking or the diagonal for when you feel ready for bigger challenges.
Analyzing how every small decision with the needle shapes the final result is something I’m passionate about, and it completely changes how we enjoy our stitching hours. In the end, the beautiful thing about this craft is that there’s no single rule carved in stone. Each of us finds our own rhythm, our favorite method, and that magic combination of techniques that makes us feel comfortable and happy.
Now I’m dying to know what you think. Which of these methods do you feel most comfortable with day to day? Has parking caught your curiosity, or are you one of those people who prefers the total freedom of cross country? Is there a habit or technical trick you use that we haven’t covered today?
Tell me everything down in the comments! I love reading about your experiences and talking floss and needles with people who share this same creative obsession. I’ll be reading with a coffee in hand!