Discover with me all the secrets of the convent stitch in this guide to mastering an ancient technique that will lift your embroidery to a whole new professional level.
You’ve surely stood open-mouthed in front of an embroidered vestment or an antique tapestry in a museum, wondering how anyone achieves that net-of-light effect that looks almost impossible to do by hand so perfectly.
Most of the time, that spectacular effect comes from the majestic convent stitch, known in English embroidery as trellis couching or laid work. It’s normal for it to intimidate you at first, because it seems reserved for expert hands with decades of practice or for workshops with centuries of history. I promise it’s far simpler than it looks at first glance, though.
At the end of the day, what we’re doing isn’t just stitching to join two pieces of fabric, it’s building a surface that plays with shine and volume in a way nothing else in my experience can match.
This post contains affiliate links. You can find more information in our disclaimer.
The essential materials for practicing the convent stitch
Choosing your frame and getting the fabric taut
Your frame is your best ally in this adventure, and this is not the place to cut corners on quality. You need the fabric as tight as a drumhead, with not a single wrinkle anywhere across your working surface.
If the fabric goes slack even slightly, the convent stitch will pucker beyond repair and the result will be a complete disaster that discourages you fast, because the thread won’t sit properly on the base. Ideally you’ll use a large floor frame, or one you can clamp firmly to a very stable, solid work table.
This is crucial because stitching this technique well requires both hands free at all times, no exceptions. One hand guides the thread above the fabric while the other receives the needle underneath with total precision.
Recommended threads and ground fabric
For the ground fabric, I recommend something with body that stands up well to the constant passage of the needle and the silk thread. A tightly woven linen or a high quality cotton twill are fantastic options for your first successful practice pieces. Keep in mind that we’re going to lay a considerable amount of thread on top, and the fabric has to carry that weight without distorting or forming strange folds that no amount of finishing will fix.
The threads are where the magic really happens and where you can let your creativity loose. For the laid threads, the ones that cover the surface of your design, natural silk or good quality metallic threads that won’t fray with friction are best.
For the couching thread, the one that takes the tiny stitches holding everything to the fabric, you can use the same shade or a contrasting one to create surprising visual effects.
Step by step guide to mastering the convent stitch
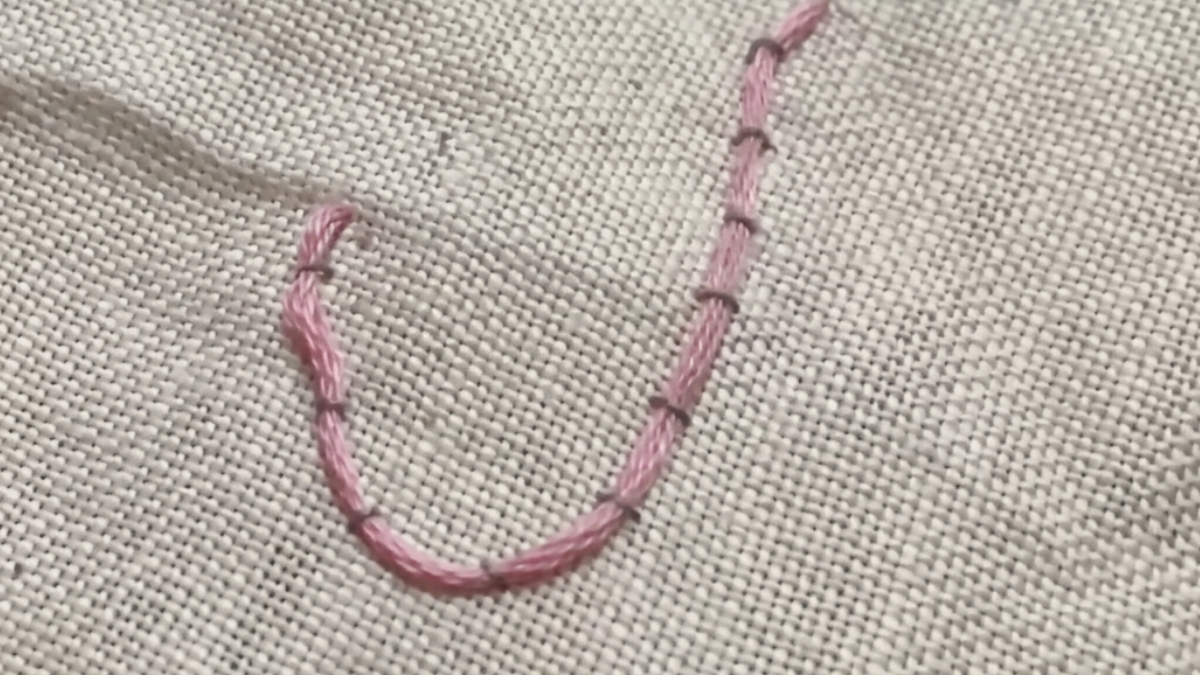
Learn the ancient convent stitch technique step by step to create spectacular fillings with silk or gold thread without wasting material. This guide covers preparing your frame, laying the base threads, and securing the decorative trellis for a professional finish with unique texture and shine in your traditional embroidery.
Laying the base threads over the design
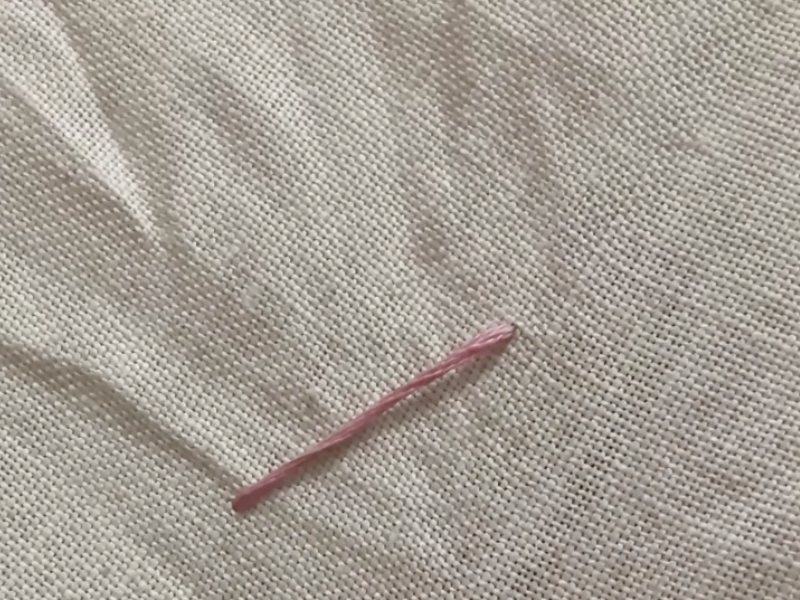
The first step is what we call laying the base threads over the design. Bring the needle up at one edge of the design and carry it smoothly in one long stroke to the opposite edge.
The thread should stay on top of the fabric throughout this pass that crosses the whole design from side to side. When you take the needle down on the far side, don’t travel back underneath the fabric to the starting point as you would with other common filling stitches.
Instead, come straight back up right beside where you went down and lay the thread across to the other side again, parallel to the first pass.
Repeat this patiently until the whole shape is covered by a carpet of parallel threads packed so closely together that no fabric shows through at all.
Creating the crossing trellis
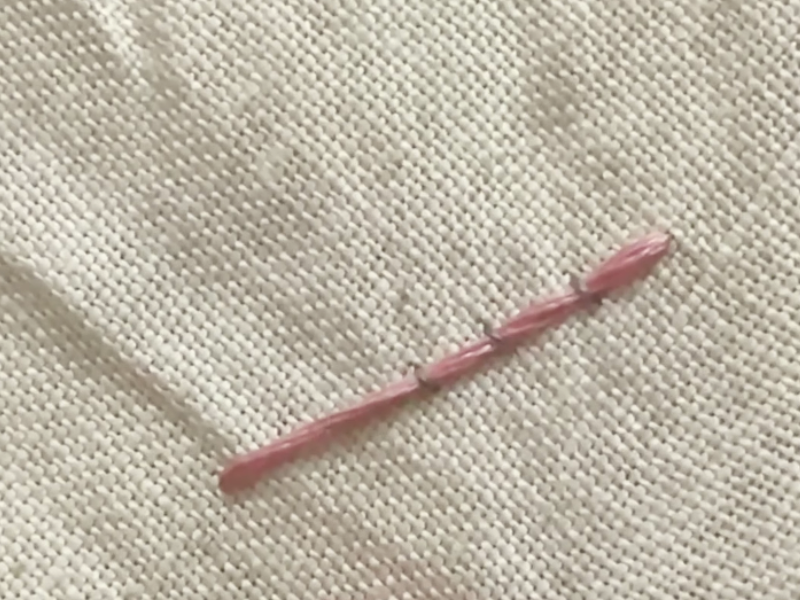
Once that gleaming base is completely finished and packed tight so nothing shifts, we move on to the crossing lines that give the piece its defining character.
Now you’ll lay threads perpendicular or diagonal to the first ones over the original design on the fabric in the frame. Unlike the base, these crossing threads aren’t packed together. You leave them an eighth of an inch or so apart to create the signature net or trellis pattern that defines the traditional convent stitch.
When you finish this phase, you’ll see a perfect grid formed over your design, floating above that first layer of silk or gold thread you laid so carefully.
It’s a very satisfying moment, because you start to sense the final texture your piece will have and how it will shine once you take it out of the frame to be framed.
Anchoring with couching stitches
The last step of the basic technique is the anchoring, the couching stitch that securely joins everything to the ground fabric. This is where we truly fix the work to the fabric so the embroidery is durable and won’t come apart with use or time.
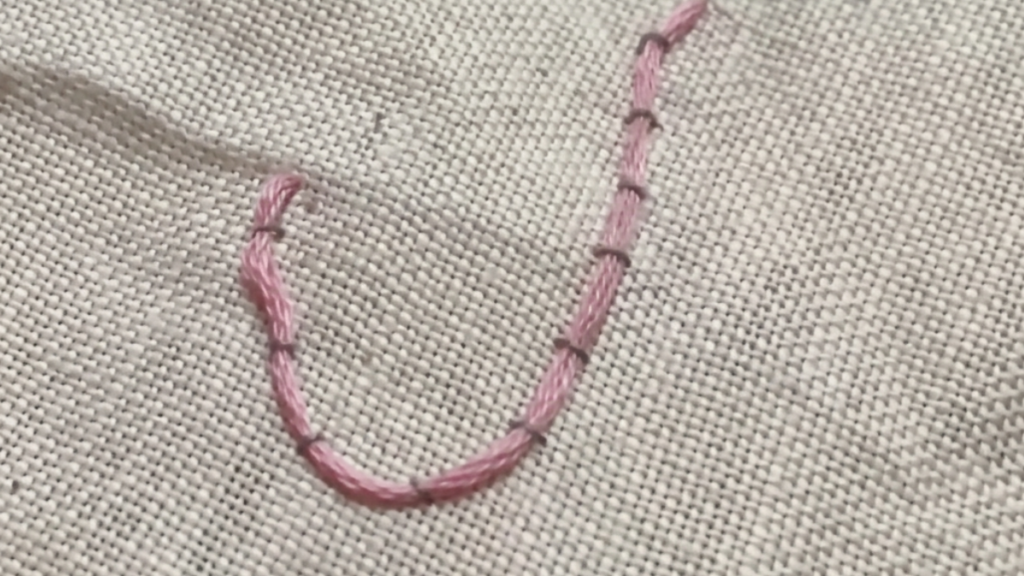
With a finer needle and a very slim thread, take a small stitch at every intersection where the base threads cross the trellis threads you just placed over the long laid work.
This stitch has to be firm enough to hold everything in place yet delicate enough not to strangle the fibers of the main thread and leave ugly marks that ruin the smooth visual effect.
It’s a meticulous process that has you working intersection by intersection, moving calmly and enjoying how the structure grows solid under your fingers little by little.
Tools:
- Floor or table frame with excellent stability.
- Embroidery needles in different sizes to suit your thread.
- Scissors
Materials: Linen or high density cotton twill fabric. Natural silk or gold thread for the base. Extra fine couching thread in a coordinating or contrasting color.
Advanced tips for perfecting the finish and durability of your convent stitch
Why the direction of light matters in embroidery
One thing that often gets overlooked when we start with the convent stitch is how light will strike the work once it’s out of the frame and displayed in its final spot.
Since we’re working with threads that mostly lie on the surface, the shine depends entirely on the direction of those strands relative to the light source. That’s why, before you lay the first pass of the base, it’s essential to plan whether you want a vertical shine or one that plays with diagonals to give the design more movement.
Change the direction of your laid base in different parts of the same flower and some petals will catch more light than others depending on the viewing angle, creating a natural three-dimensional effect that’s simply spectacular and separates a hobbyist from a true master of traditional embroidery.
Finishing off and caring for your work long term
Once you’ve taken the last couching stitch at the last intersection of your trellis, a critical moment arrives: finishing off on the back.
Impeccable work on the front counts for nothing if the back has loose threads or knots that can work themselves free over time and compromise the tension of the whole piece.
The ideal is burying the thread among the stitches on the reverse very delicately, making sure it holds firm without pulling so hard that you distort the fabric.
Once the piece is finished, I also recommend never washing it conventionally, since water could dull the luster of silk or metallic threads, or shrink the ground fabric slightly and leave the whole convent stitch rippled beyond repair.
Framing it properly behind glass to keep dust off is the best guarantee that your work will last for generations.
Frequently asked questions about the convent stitch technique
What do I do if I run out of thread halfway through a long laid pass?
What you must never do under any circumstances is tie a knot that ends up under the laid base, because it will eventually show as an ugly lump on the finished surface no matter how small it is.
Finish off the old thread on the back of the fabric with very fine stitches that don’t come through to the front, then start the new thread at exactly the point where the previous one ended.
Do it neatly and the join will be completely hidden by the parallel threads of the base carpet, and nobody will ever spot where you changed threads in the finished piece.
How can I keep the base threads from separating when I take the couching stitches?
It all comes down to the density of the carpet of threads you lay at the start. Your base threads should sit so close together that you almost have to push them apart with the tip of the needle to see the fabric underneath.
If they’re separating too much as you stitch, you’re most likely taking the couching stitches with too much sideways force.
Aim to bring the needle down in a perfect vertical into the ground fabric, without shoving the base threads right or left with the shaft of the needle. It’s a matter of touch, of sensitivity in your fingertips, and of not rushing to finish the row.
Why it’s worth reclaiming handwork done slowly
To close this conversation about stitching and tradition, I want to tell you that the simple fact that you’re interested in learning the convent stitch says a lot about your artistic sensibility and your love for things made with care.
In a world where everything seems to have to be instant, digital, and disposable, choosing to give hours of your own time to such meticulous handwork is an act of love for the art and for yourself, one that will bring you plenty of peace of mind and pride.
Hand embroidery lets us connect with a far more human, satisfying rhythm than screens or the quick consumption of mass-produced objects with no soul or story of their own.
Don’t rush to finish your piece quickly, because the learning process is as valuable as the final result you’ll have when you take it off the frame. Enjoy the sound of the needle passing through taut fabric and the peace of watching something beautiful come from your own hands, little by little, with every new stitch you take.
Every stitch you take in convent stitch is a small personal victory over the rush of daily life that sometimes suffocates us and keeps us from seeing the beauty in small, delicate things.
When someone sees your finished work and marvels at the complexity of the trellis and the shine of the thread over the ground fabric, they won’t just be seeing well-combined materials. They’ll be seeing your patience, your dedication, and your ability to create something unique that will endure as a family treasure.
If you have any questions, or you want to share how you’re getting on with silk or gold thread, don’t hesitate to leave me a comment below, because it makes me so happy to read about your experiences.