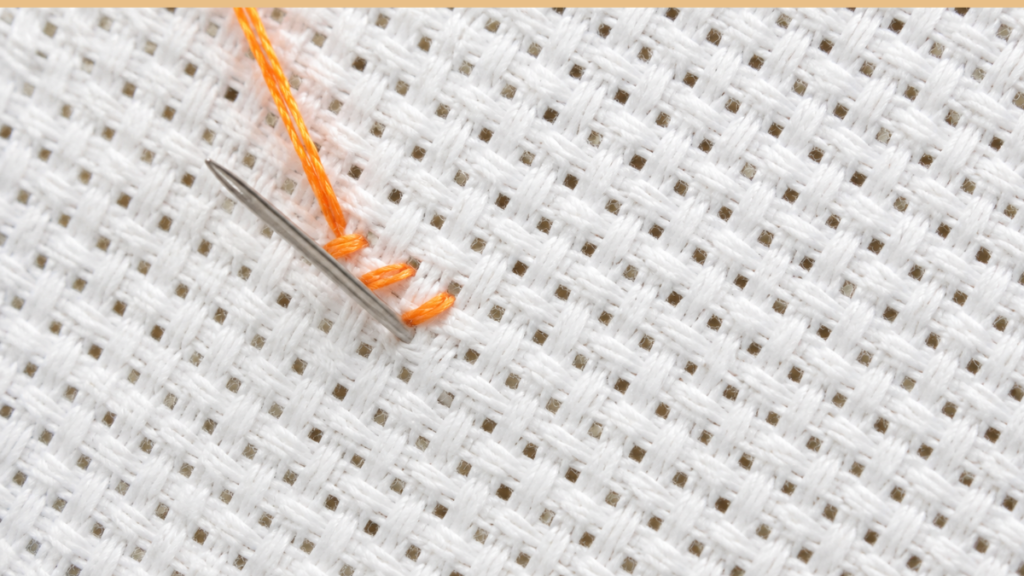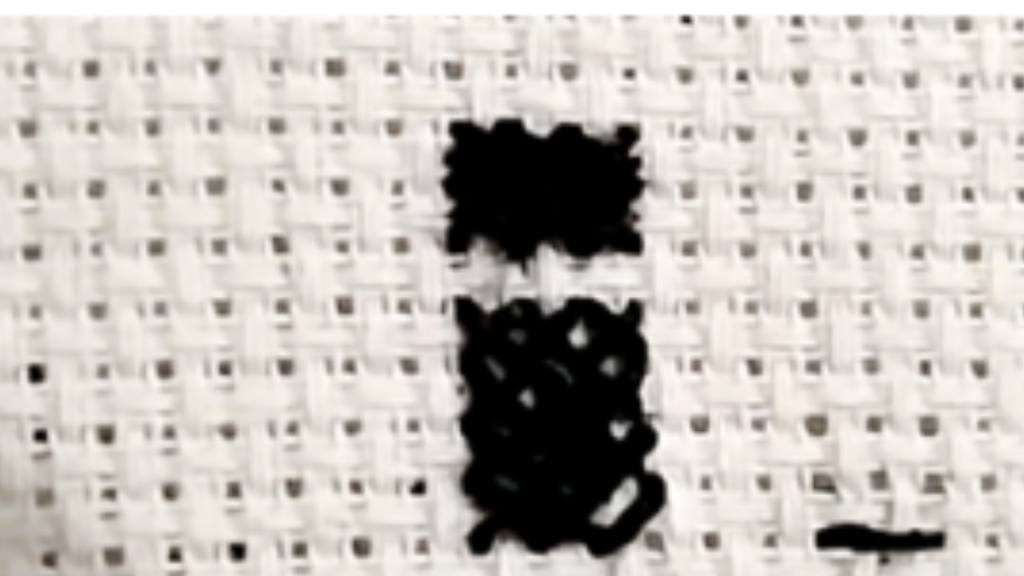
Discover the secret to full coverage in your cross stitch. I’m sharing everything about tramming: what it is, how to do it, and why your work will never look the same again. Say goodbye to fabric showing through!
Get out your floss, set up your hoop, and make yourself comfortable, because today we’re talking about something you’ll love if you’re as passionate about cross stitch as I am.
Have you ever finished a project, looked at it with all the love in the world, and suddenly noticed how much white fabric shows through the background? With dark colors especially, that grid effect can be a little frustrating, right? Today I’m bringing you the definitive solution, one of those techniques that seems like magic but is pure tradition: tramming.
This post contains sponsored links.
| Concept | Key detail | Main benefit |
| What is it? | A horizontal laid thread worked before the cross. | Eliminates gaps where fabric shows. |
| When to use it | On dark colors or large blocks. | Full coverage and vibrant color. |
| Material | The same floss number (1 strand). | A single consistent tone in the design. |
| Tension | Relaxed, without puckering the fabric. | A smooth, professional finish. |
| Ideal fabrics | Aida (14 count especially) and linen. | The grid effect disappears. |
| Difficulty | Low (it only takes patience). | Expert-level results. |
| Floss usage | Roughly 20% more. | A solid, high-quality finish. |
What exactly is tramming, and why do you need it in your life?
If someone had told me about this a few years ago, I wouldn’t have believed it. Tramming is a technique that, however new or technical it sounds, is older than the hills. It basically consists of laying a base thread before you work your crosses. Not just any thread, though, but one that acts as a shield against those little gaps that bother us so much.
Imagine you’re painting a wall. If the wall is very rough and you apply paint directly, you may end up with pinholes. Lay down a primer first and the finish comes out smooth and perfect. Tramming is that undercoat. It’s a horizontal line we lay across the fabric that gets trapped beneath our crosses, making sure the color reads solid and emphatic without a single millimeter of fabric peeking through where it shouldn’t.
I’ll confess I used to think that if the fabric showed, it was because I wasn’t using enough strands. So there I was, wrestling three and four strands through 14 count Aida, struggling to get the needle through and turning the back of my work into an absolute knot. It was a disaster. Then a friend, one of those people who’s been stitching since before she could read, watched me suffer and said: “Why don’t you try tramming?”
At first I had no idea what she meant. She explained that it wasn’t about adding bulk but about positioning the thread strategically. My friend, when I tried it on a night sky design, what a change. The navy blue read as a perfect, uniform block of color, with none of those little white dots that look like stars where there shouldn’t be any.
The advantages of diving into tramming
I know adding another step to our already slow work can feel like a drag. Let me convince you with the real benefits I’ve noticed in my own pieces, though.
First, coverage. That’s the star benefit. Nothing matches the solidity of color that tramming delivers. Second, less physical effort. Since you’re not forcing so many strands through the holes in the fabric, your hands tire less and the fabric doesn’t get stretched as much. Third, visual cleanliness. The design looks far more defined, as if it were printed on the fabric rather than stitched over it.
Is it right for every project?
Honestly, I don’t use it for everything. If I’m working a minimalist design with lots of empty space, it may not be necessary. If you’re tackling a full coverage piece (the kind that fills the fabric corner to corner), or a design with lots of solid dark areas, tramming is your best ally. It’s the difference between hobbyist work and a museum piece.
How to prep your materials and start off right
Before we start stitching, let’s talk about what you need. The good news is that you don’t have to buy anything special. What’s already in your sewing box is enough, you just need to know how to use it.
For tramming, the ideal is using the same floss you’ll stitch with. If you’re working with six-strand cotton, pull out one or two strands. I usually use a single strand for the laid thread when I’m stitching the crosses with two. That way the fill is subtle but effective.
The role of your needle and fabric tension
Here’s a piece of friendly advice: use a hoop or a Q-Snap that keeps the fabric drum tight. Since tramming means laying long threads, slack fabric almost guarantees uneven tension and a piece that ends up wrinkled. Taut fabric is the key to getting your laid thread to rest exactly where it should.
The technique step by step: let’s do it together
All right, everything’s ready. How do we do it?
- Bring the needle up in the space between two stitches on the fabric.
- Instead of making a cross, run the needle in a straight horizontal line to the end of the row you want to work, then take it back into the weave.
- Take the needle to the back. Now you have a long line running across your ten little squares.
- Now start stitching your crosses normally over that line. The line ends up centered inside the crosses.
Don’t miss the step by step on YouTube.
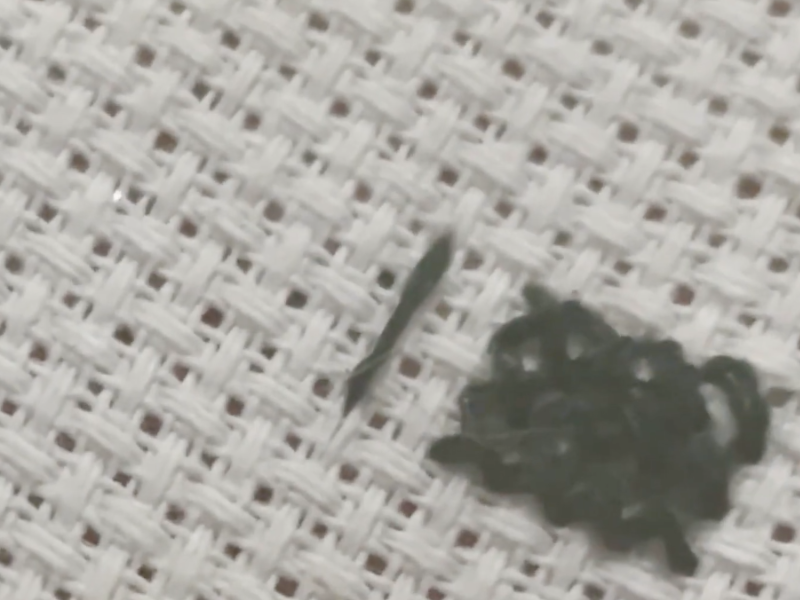
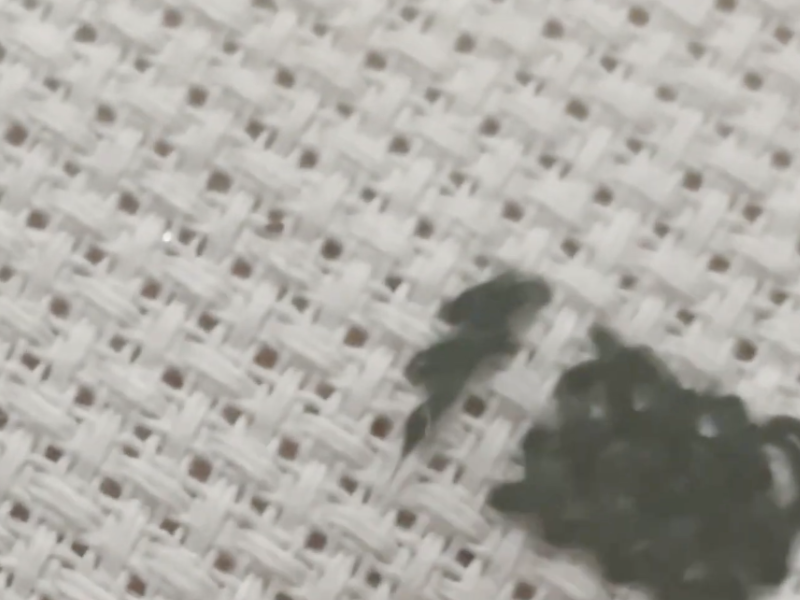
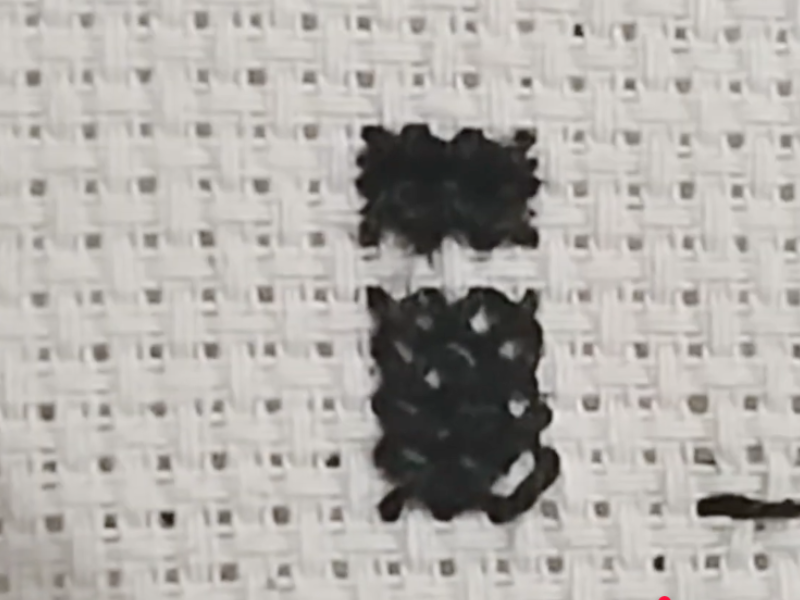
What happens is that, as you form the crosses, you’re wrapping around that horizontal thread. The laid thread sits right in the center of the cross, filling the space that’s normally left empty between the fabric threads and your stitching. It’s incredibly satisfying to watch the line disappear beneath the crosses and leave a perfect trail of color behind.
The trick for irregular areas
We don’t always have perfect rows, do we? Sometimes the color rises, drops, or skips a few stitches. In those cases, I follow the logic of the design. If I have three stitches here and two over there, I lay the thread just for those three. Don’t try to jump long gaps with the laid thread, because it can snag on the front or the back. Tramming is for block areas, where the color is in charge.
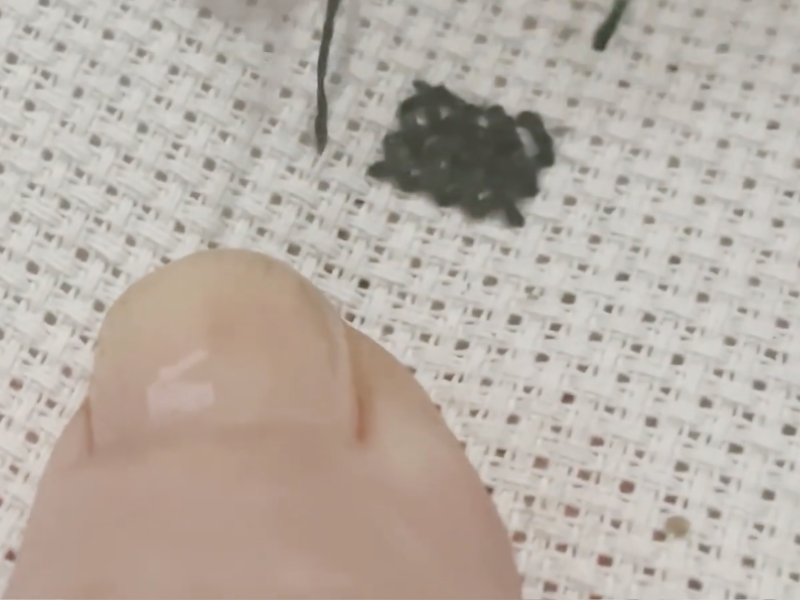
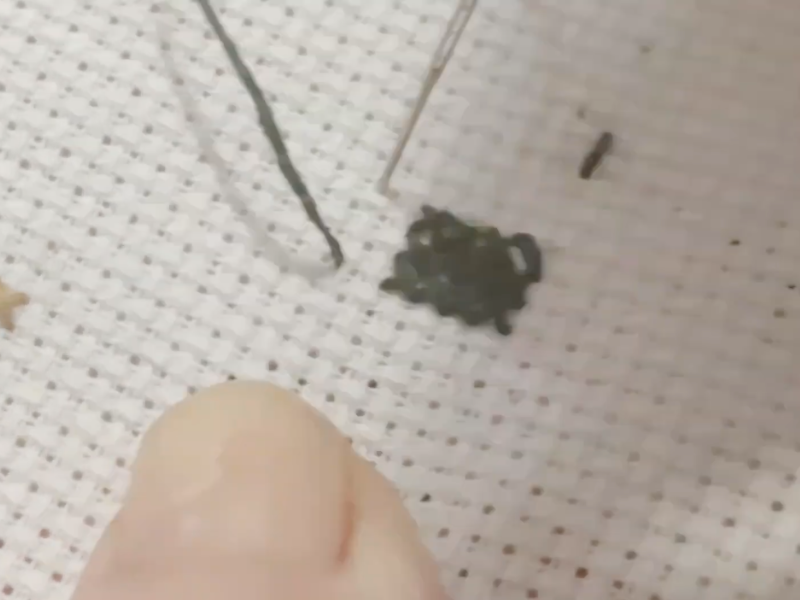
Frequently asked questions about tramming in cross stitch
I know you’re already thinking about a thousand details, so I’ve gathered the questions I asked myself along with the ones you ask me most.
Does it use a lot of extra floss?
I won’t lie to you: yes, it uses a bit more. It isn’t outrageous, though. Remember it’s just one straight line per row. If a chart calls for ten skeins, with tramming you might need eleven or twelve. In my opinion, the finish you get makes the extra material well worth it.
Can I tram on both Aida and linen?
Of course! Aida is where the change shows most because the holes are bigger. On linen or evenweave the effect is more subtle, but just as effective for unifying the color. The principle is the same: a base line so the cross can shine.
What happens to the back of the work?
Ah, the back! That eternal dilemma. With tramming, the back looks slightly different because you have those entry and exit points for the laid threads. If you’re careful and finish off well, though, it doesn’t have to look messy. It actually helps keep the back flatter, since you’re not piling unnecessary strands into the crosses.
Is it hard to unpick if I make a mistake?
This is where you have to be careful. If you make a mistake in a cross and need to undo it, watch out so you don’t cut the laid thread running underneath. My advice is to use a fine seam ripper or very sharp small scissors and take your time. Making mistakes is part of the process anyway!
My experience: a before and after
Since I added this technique, my relationship with cross stitch has changed. I used to obsess over whether the fabric wasn’t good enough or my tension was bad. Now I know I have a powerful tool for correcting those small visual imperfections that sometimes keep us up at night.
I remember a project of an autumn forest. There were so many browns and dark ochers. Without tramming, the forest looked like it was going gray thanks to the little white dots of fabric. Once I applied the technique, the colors came alive, turned deep, and the piece ended up looking like a photograph. That’s the moment I told myself: “I have to share this with everyone.”
Why isn’t this technique better known?
I think in the craft world we sometimes stick to the basics because we’re in a hurry. We want fast results. Tramming takes a little more time and attention, and maybe that’s why it isn’t taught in basic beginner kits. You’re not a beginner anymore, though. You’re an artist who wants her hands to create something exceptional.
Golden tips for tramming like a pro
If you’re going to try it tomorrow, hold onto these three tips that will save your life:
- Direction matters: always lay the thread in the same direction you work your rows. If you stitch left to right, lay the thread left to right. That helps it settle better.
- Watch out with light colors: with white or cream, tramming isn’t as necessary unless the fabric itself is dark. The goal is always avoiding that jarring contrast between thread and fabric.
- Enjoy the process: don’t see tramming as a chore. Think of it as the moment you’re preparing the canvas for your masterpiece. Watching that guide line vanish beneath your stitches is almost meditative.
Learn the professional tramming technique step by step to eliminate gaps in the fabric and achieve stitching with solid, deep color.
Total Time: 10 minutes
Prepare the laid thread
Cut a strand of floss in the same color you’ll use for the crosses in that area. A single strand is usually enough to fill without adding bulk.
Lay the horizontal guide
Find the row of stitches in the color you’re about to work. Bring the needle up through the weave between two holes in the fabric and carry it in a straight line to the end of that color section.
Set the thread tension
Make sure the laid thread rests naturally on the fabric. It shouldn’t be so tight that it puckers the fabric or so loose that it forms loops. It should sit there like a perfect guide line.
Stitch the crosses over the laid thread
Start working your crosses as usual over the line you just laid. As you insert the needle to form the X, the laid thread gets caught and centered right beneath your stitch.
Finish off and carry on
Once the row or block of color is done, secure your thread on the back as you always do. You’ll notice the color is now completely opaque and the fabric has disappeared under the floss.
Tools:
- Blunt tapestry needle (whichever you normally use).
- Hoop or Q-Snap (keeping the fabric taut is vital).
- Embroidery scissors
Materials: Aida or linen fabric. Six-strand floss (the same color as the crosses).
Shall we talk in the comments?
Now tell me, because I’m dying to know what you think. Had you heard of tramming, or did I just open up a whole new world? Maybe you were already doing it without knowing it had such a curious name.
Do you have a trick up your sleeve for perfect coverage in your stitching? Or maybe a question I haven’t covered in this giant post. Whatever it is, write to me below. I love reading about your experiences, learning from your mistakes, and celebrating your wins with the needle. I promise to answer as soon as I put down my hoop!
Stitching is sharing, and I hope this post helps make your next project the prettiest one you’ve ever done. Go for it!