an easy, fun guide
Learn step by step how to make a crochet scrunchie quickly and easily. A tutorial that’s ideal for beginners, with tips for personalizing your own unique handmade hair accessory.
If you love crochet and want to make something pretty and practical for your hair, you’re in the right place. Today I’m going to show you how to make a crochet scrunchie, an accessory that’s useful for pulling your hair back and also adds a really original, personal touch to your everyday look.
A crochet scrunchie is a quick project, ideal for beginners and very rewarding, because you can wear it yourself or give it to someone special. It’s also a great way to use up the leftover yarn you have around the house.
Why make a crochet scrunchie?
Before we get to work, let me tell you why I think a crochet scrunchie is worth making:
- Fully customizable: you choose the color, the yarn weight, the stitch, anything you can think of.
- A unique touch: no boring, generic scrunchies here. Yours will be one of a kind and made by you.
- Quick and simple: you don’t need much time or any expertise. You can have one done in an afternoon.
- A perfect gift: it’s pretty, practical, and made with love, ideal for giving away!
- Eco-friendly: you’re reusing leftover yarn.
All right, let’s get to the good part.
What you’ll need
Before you start, make sure you have:
- Yarn or thread: cotton works well for lighter summer scrunchies, wool for winter. Go for a medium weight, not too fine and not too bulky.
- A hair elastic: the ordinary kind, which forms the base of the scrunchie.
- A crochet hook: pick a size that suits your yarn. A 3.5 mm (E/4) or 4 mm (G/6) hook usually works well for medium yarns.
- Scissors
- A yarn needle: for weaving in and hiding the ends.
Step by step: making your crochet scrunchie
Note: this pattern uses US crochet terms.
1. Get the elastic ready
Before you pick up your hook, set the hair elastic in front of you. Make sure it’s fully closed with no breaks in it.
2. Work a base round around the elastic
With your yarn and hook, you’re going to work a base that covers the whole elastic. To do that:
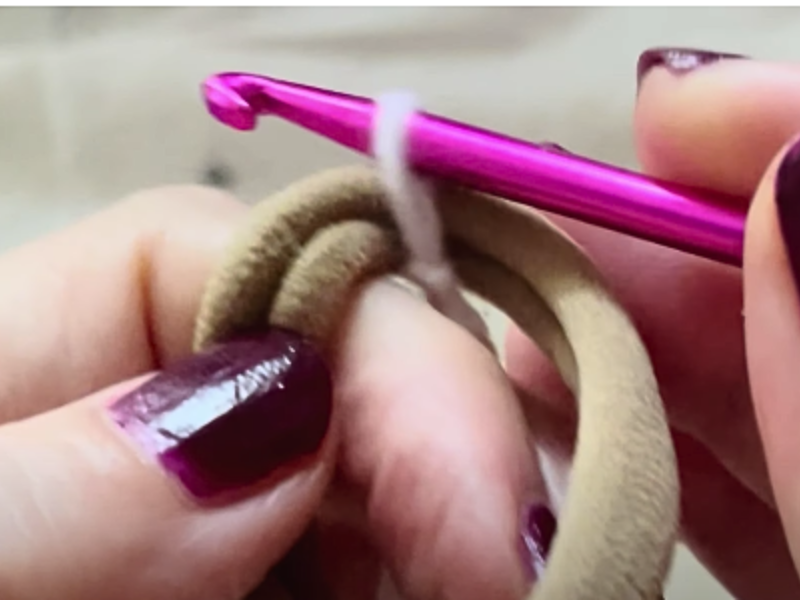
- Start by passing the hook through the elastic, catch the yarn, and work single crochet all the way around it.
3. Start working increases
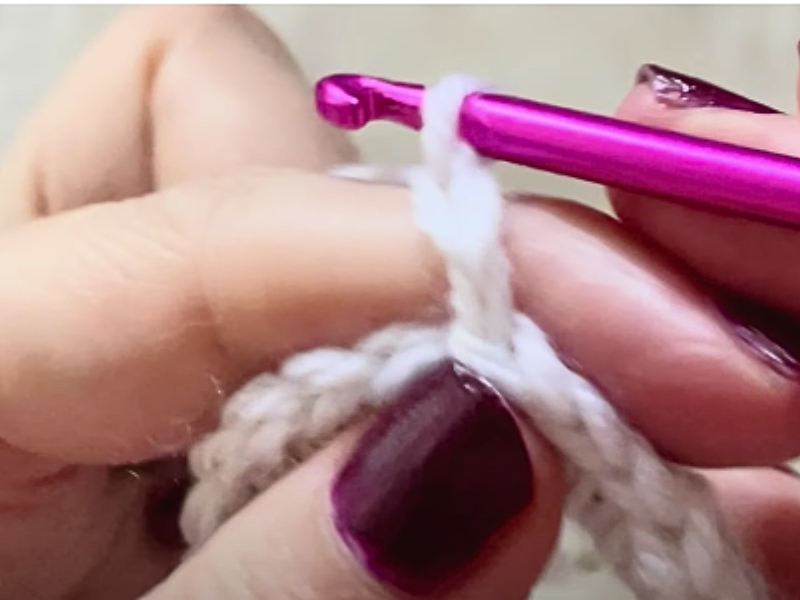
Now that you have your base round, work two double crochets into each single crochet.
- Start with a chain of three.
- Insert the hook into that same single crochet and work one double crochet.
- Keep working two double crochets into each stitch of the previous round, all the way around.
4. Keep going round by round
Keep working rounds of double crochet with increases, meaning two double crochets into every stitch of the previous round.
Add rounds until the scrunchie is as full as you like. Three or four rounds is usually enough for it to look plush and cover the elastic well.
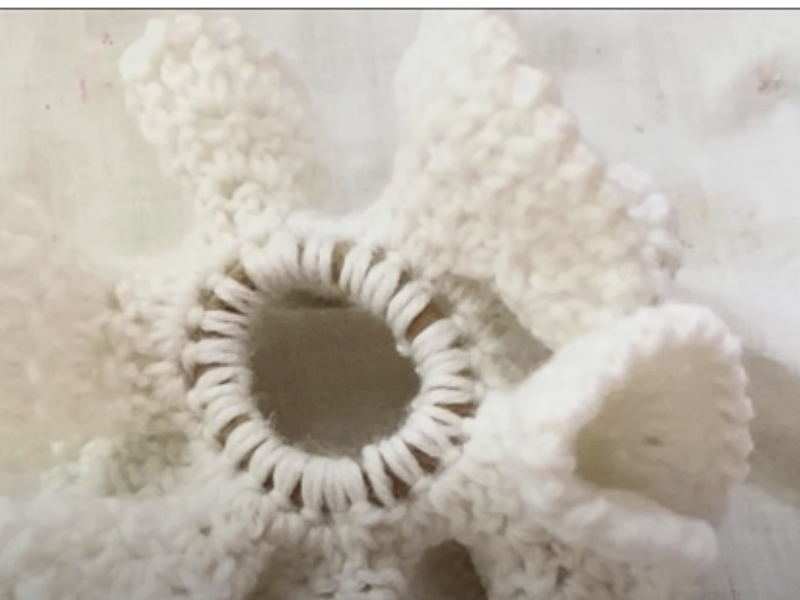
The last round is reverse single crochet (also called crab stitch). If you’re right-handed and normally work to the left, this round goes to the right instead, inserting the hook into the gaps between the double crochets (it’s easier to see in the video).
5. Fasten off and hide the ends
Once it’s the size you want, cut the yarn, leaving a good length for finishing.
Use your yarn needle to weave the leftover ends into the fabric, then trim the excess.
6. All done!
There you have it, your handmade crochet scrunchie, ready to wear!
Watch it on video
Tips for personalizing your scrunchie
- Mixed colors: use different colors of yarn for stripes or fun combinations.
- Different stitches: if you’re feeling adventurous, try textured stitches like the puff stitch or half double crochet for a different look.
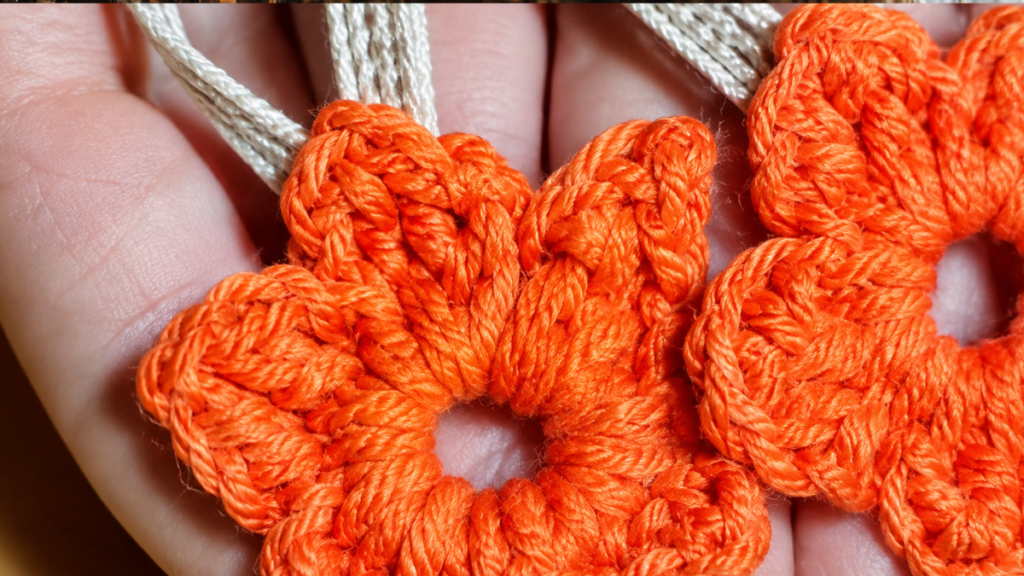
- Add embellishments: sew on a small crochet flower or a pretty button for extra personality.
- Vary the yarn weight: scrunchies made with fine yarn look more delicate, while bulky wool makes them warmer and plusher.
- Make them for the whole family: for little girls, teens, or even pets. It’s an adorable little gift!
How long does it take?
Generally speaking, a crochet scrunchie is a quick project. If you already know the basic stitches, you can have one finished in an hour or less. It’s perfect for those days when you want something simple that still leaves you happy with the result.
When to wear your crochet scrunchie
These scrunchies are perfect for:
- Everyday wear, to pull your hair back with a bit of style.
- Working out, since crochet holds up well and doesn’t pull too tight.
- Summer, in cotton yarn, for a fresh, casual look.
- Winter, in thicker wool, for a warmer touch to your hairstyle.
- Handmade gifts, as a more personal, original option.
Want more easy crochet ideas?
If you enjoyed this project, I can put together more simple tutorials so you can try other accessories, like headbands, bracelets, or small amigurumi.
how to make a crochet scrunchie with yarn and a hair elastic
Cover the elastic
Pass the hook through the elastic, catch the yarn, and work single crochet all the way around it
Work the first round of increases
Work two double crochets into each single crochet around the scrunchie.
Add more rounds until it’s full
Keep working two double crochets into each stitch of the previous round, for three or four rounds.
Fasten off
Once it’s the size you want, cut the yarn, leaving a good length for finishing.
Supply:
- yarn
- hair elastic
Tools:
- crochet hook
In short
Making a crochet scrunchie is a simple, fun way to give your hair a unique touch, use up leftover yarn, and enjoy the pleasure of creating something with your own hands.
Are you going to try it? Tell me how it goes, and if you’d like, send me photos of your scrunchies so I can see what you’ve made!
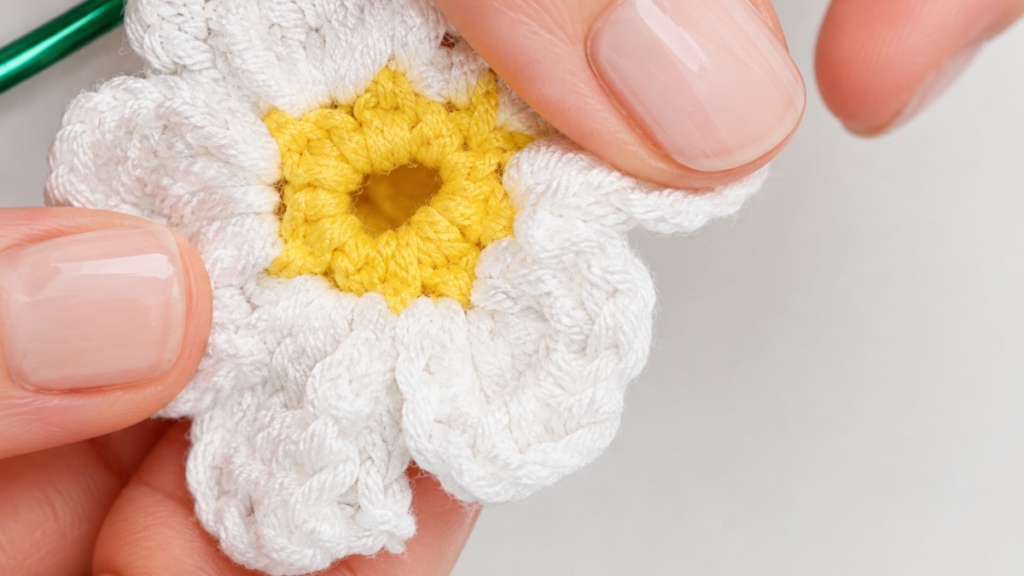
And if you’re looking for more easy crochet projects, try these adorable stars or some daisies!