Learn how to stitch a raised embroidered flower step by step using woven picot petals and French knots. A complete guide with techniques, materials, care tips, frequently asked questions, and practical advice to make your embroidery look spectacular.
If there’s one thing that fascinates me about embroidery, it’s how it brings fabric to life. You’re not just running thread through cloth, you’re painting with stitches, sculpting with texture, and putting emotion into every detail. Out of all the techniques out there, one of my favorites is raised embroidery, the family of dimensional stitches traditionally known as stumpwork, especially when flowers are involved. These are pieces that seem to lift right off the fabric, with plump petals and defined centers that make you want to reach out and touch them.
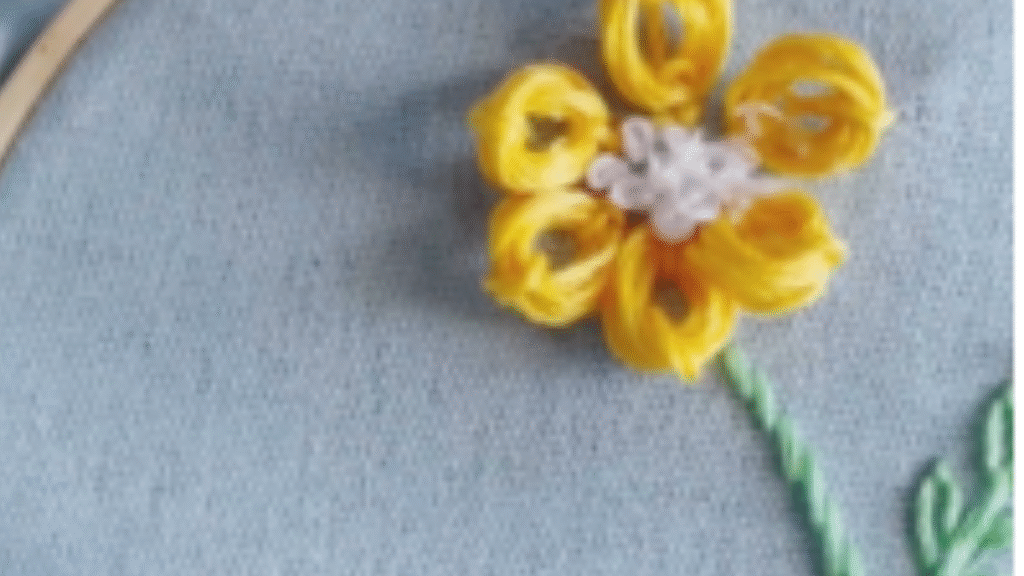
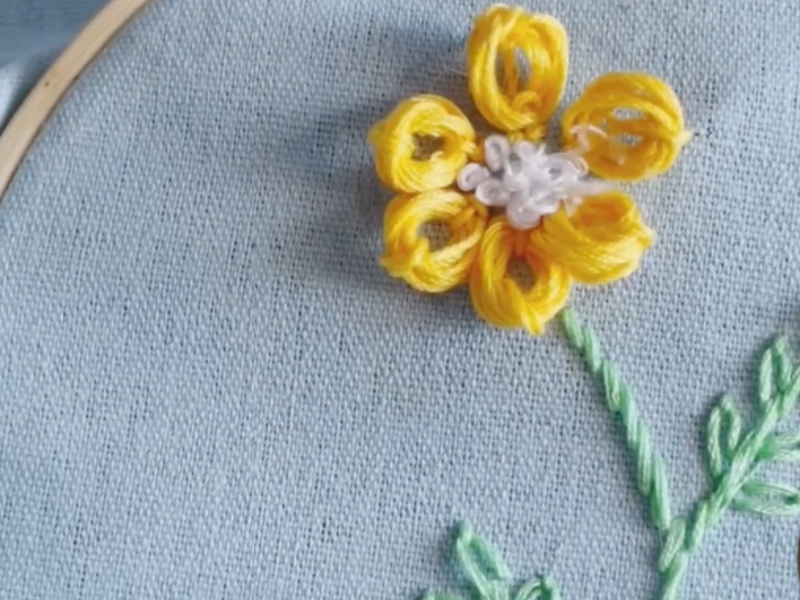
Today I want to show you how to make a raised embroidered flower, from the basic supplies to the techniques that give it body and realism. The petals are worked in woven picot stitch, sometimes called a raised needle-woven picot, and the center is filled with French knots.
Raised embroidery is a technique that plays with the height and texture of the thread to build three-dimensional designs. Unlike flat embroidery, here we’re not simply drawing with stitches: we’re sculpting. Petals stand up, leaves have depth, and the centers look almost real.
The magic of this technique is how it transforms anything it touches. A plain handkerchief becomes a treasure, a decorative hoop becomes a small work of art, and a simple garment becomes an accessory with real personality.
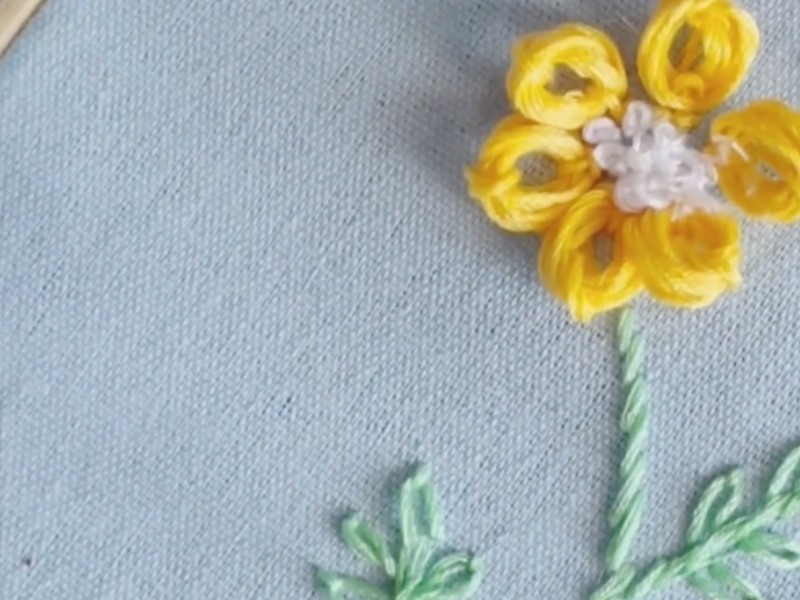
What You’ll Need for Your Embroidered Flower
Before we start stitching, make sure you have the following supplies on hand:
- Cotton, linen, or canvas fabric (a tight weave works best).
- Embroidery needles, plus a straight pin for the woven picots.
- A wooden hoop to keep the fabric taut.
- Stranded cotton floss.
- Embroidery scissors.
- Paper and pencil for sketching your design.
Step by Step
1. Design the flower
Sketch a simple flower onto your fabric (a rose, a daisy, a peony). Decide which areas will be raised: the petals, the center, the leaves. Two concentric circles are all you need as a guide, with the inner one marking the future French knot center.
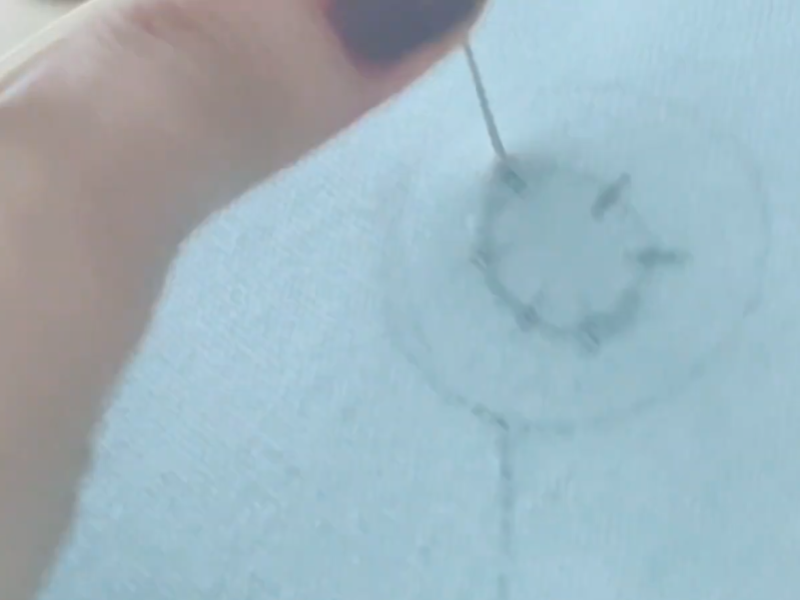
2. Prepare the fabric
Mount the fabric in your hoop, making sure it’s pulled nice and taut. Woven picots need a firm surface to push against, so don’t skip this part.
3. Build the petals with woven picot stitch
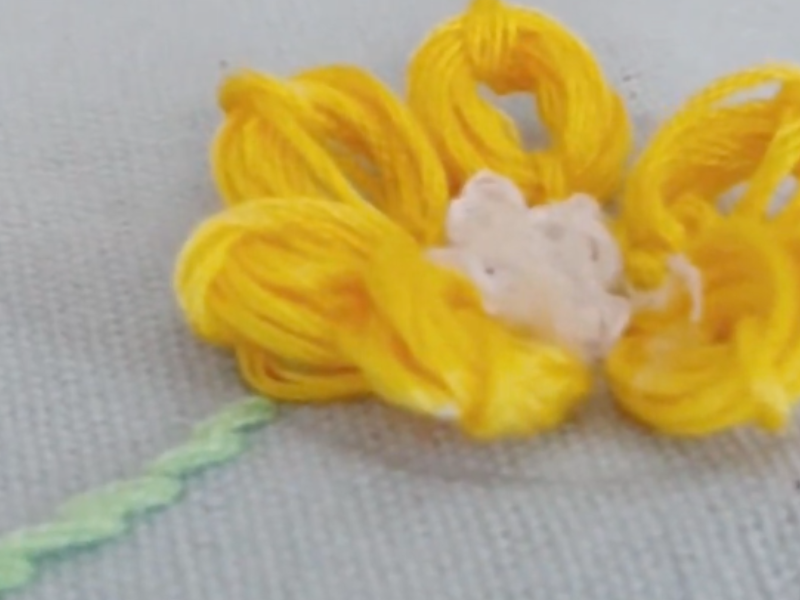
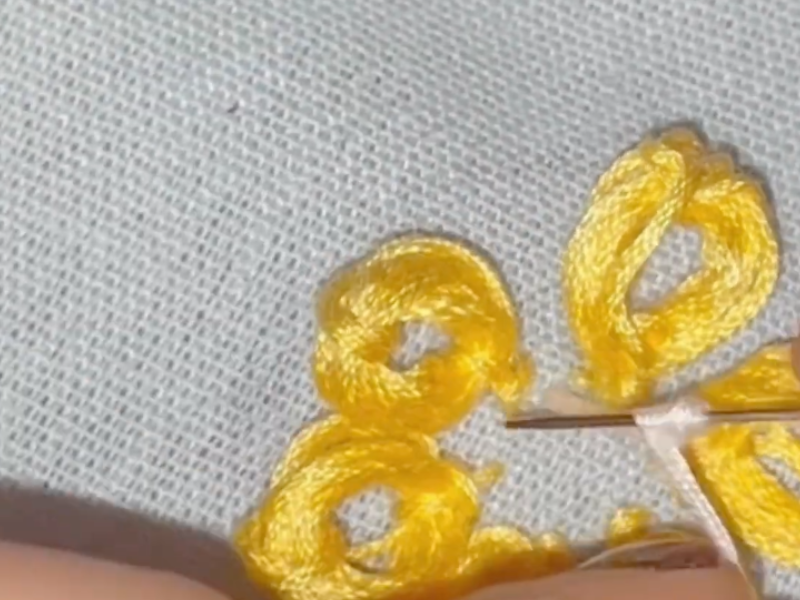
Using all 6 strands of floss, work six short vertical bars in straight stitch. These will be your anchor points, one for each petal.
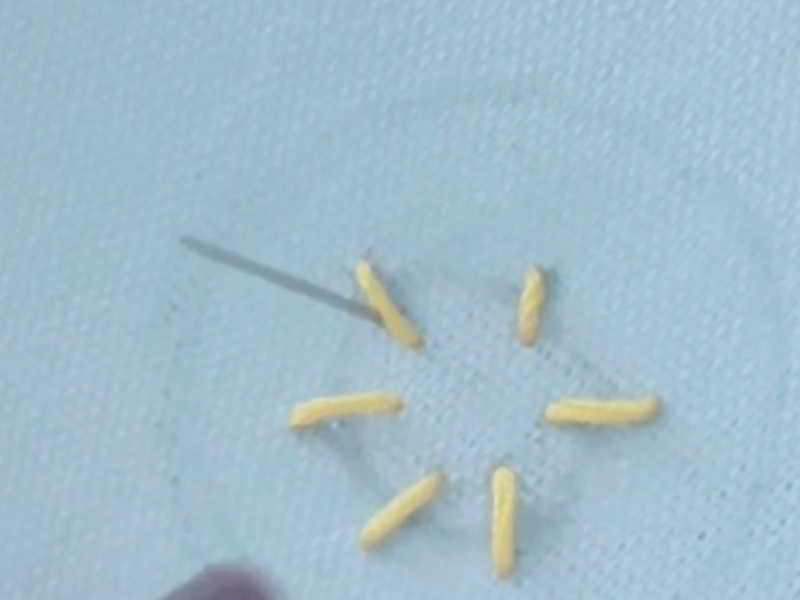
Use a straight pin as the outer anchor for the picot. Place it across the circle and wrap the thread around behind it 8 times, which is what builds the woven body of the petal.
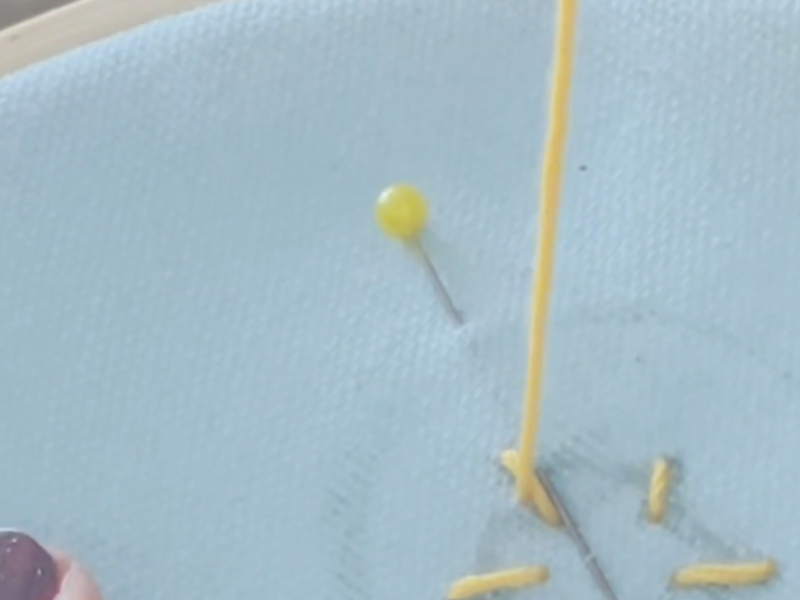
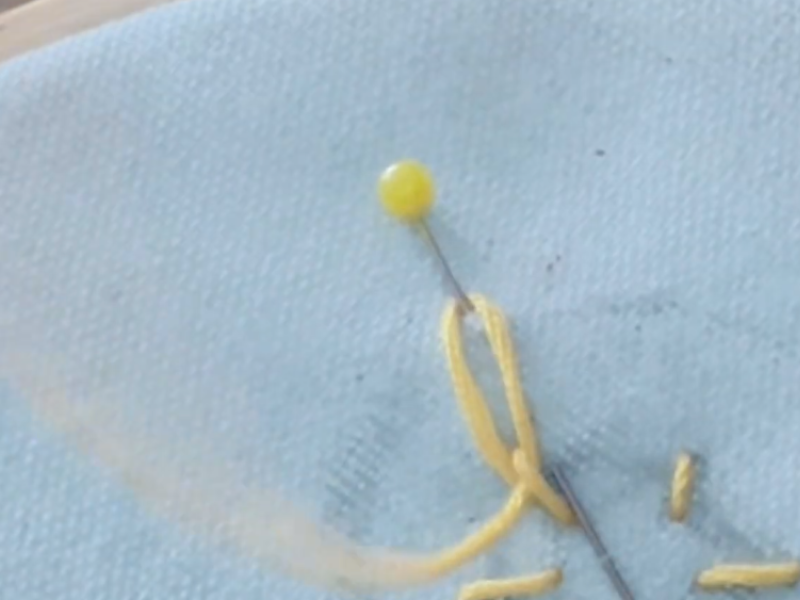
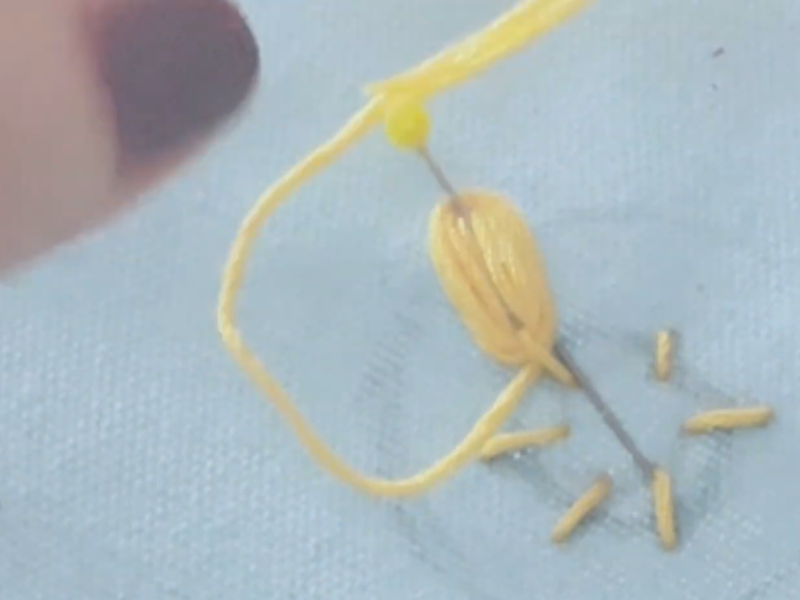
When you’re done wrapping, pull the pin out and tie a small knot at the tip to hold the picot in place.
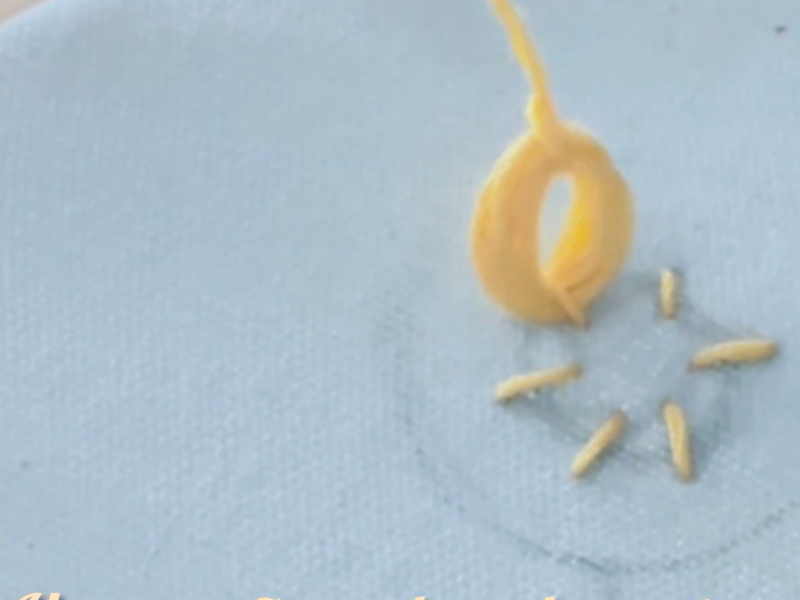
Finish off with a small anchoring stitch at the base to lock the petal down.
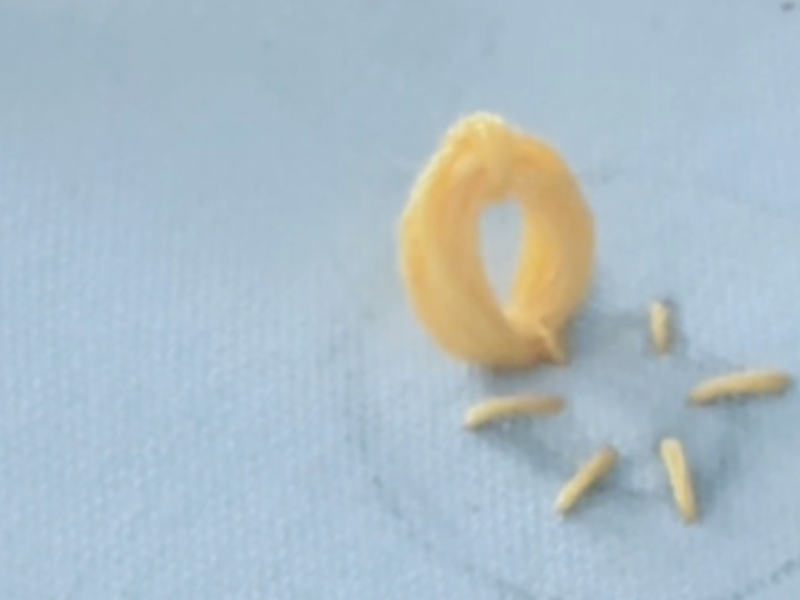
Repeat until all the petals are done.
4. Stitch the center with French knots
Start with French knots or bullion knots to give the heart of the flower some texture. In my case, I use white floss for the center, again with all 6 strands. Keep adding knots until the inner circle is completely filled.
5. Add leaves and stems
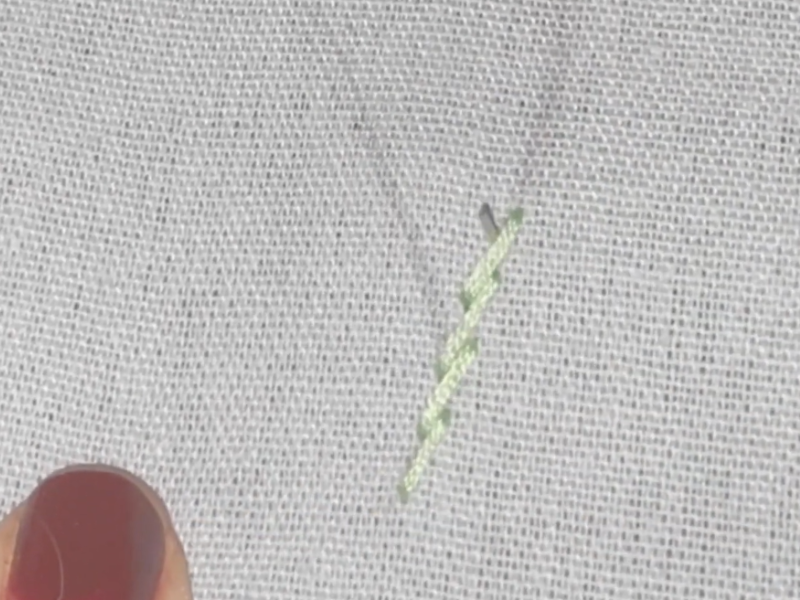
Work the stem in stem stitch and the leaves in fishbone stitch, or swap in green ribbon for contrast.
6. Finishing touches
Play around with shades of color, scatter a few loose French knots as tiny buds, and double-check the tension of your threads.
See all the details in the video
Project Ideas for Raised Flowers
- Decorative hoops: a cluster of framed flowers to brighten up a wall.
- Custom clothing: a basic tee with one raised flower becomes a one-of-a-kind piece.
- Accessories: bags, hats, or scarves with embroidered floral details.
- Gifts: a pillow embroidered with raised flowers is a present full of love.
How to Care for Your Raised Embroidered Flowers
Proper care is what makes your embroidery last:
- Always hand wash, in cold water with a mild soap.
- Never scrub hard. Press the embroidery gently instead.
- Dry flat, away from direct sunlight.
- Store your pieces in fabric bags, or between sheets of acid-free tissue paper.
- If you need to press it, work from the back and put a cloth between the fabric and the iron.
Frequently Asked Questions
Is raised embroidery hard to do?
It isn’t hard, but it does take patience. Start with simple flowers and work your way up to more complex designs.
Which threads work best?
Stranded cotton floss is the most versatile, but if you want serious dimension, try fine wool or ribbon.
Can I combine techniques?
Yes, and the result is usually more realistic and eye-catching. Woven picot petals paired with French knot centers and fishbone stitch leaves are a great place to start.
Can I machine wash it?
I wouldn’t recommend it. Raised embroidery can lose its shape or snag.
How can I practice without spending much?
Use up your fabric scraps and leftover thread to experiment.
My Own Experience with Raised Flowers
I still remember the first raised embroidered flower I ever made. I picked a simple rose, and even though the stitches were far from perfect, I felt the magic of watching the fabric come to life. That one small project opened the door to a whole world of possibilities. These days, every time I finish a flower, I love knowing it isn’t just decoration. It’s a piece filled with time, care, and attention.
Making a raised embroidered flower is a creative experience that blends technique, patience, and feeling. Every stitch builds dimension, every thread adds life, and the finished design is something you fall in love with. It doesn’t matter whether you’re a total beginner or already have plenty of experience: what matters is enjoying the process and letting your creativity bloom on the fabric.
So now I’m asking you: are you ready to stitch your first raised flower? Tell me in the comments and let’s swap ideas and experiences. If you enjoyed this guide, please share it with anyone else who loves embroidery as much as we do.
Before you go, take a look at the different types of embroidery. I think you’ll like it ^^