
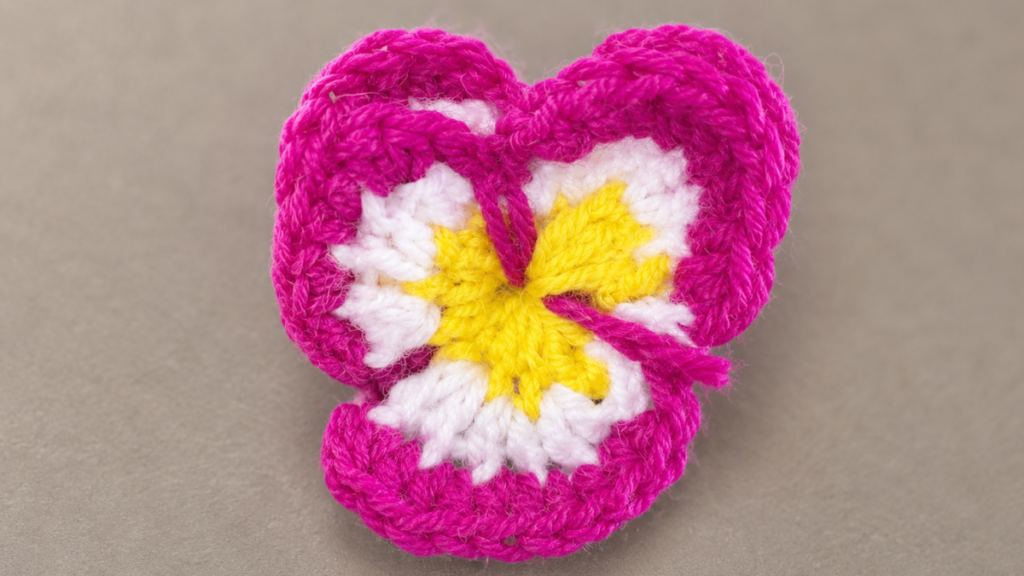
Learn how to crochet a pansy flower with this detailed tutorial. A complete guide to creating realistic flowers with dimension, texture, and vibrant color. Perfect for decorating and for gifting handmade beauty!
Has it ever happened to you that you walk into a yarn shop, see those balls of vibrant color, and feel an irresistible urge to make something that lasts forever? It happens to me constantly.
The pansy isn’t just another flower. It has that mischievous little face, those overlapping petals that seem to be saying good morning. If you’re after a project that pulls you in, that lets you play with color gradients and leaves you feeling enormously satisfied when it’s done, stay with me. We’re going to break down every stitch, every round, and every trick for making a crochet pansy.
This post contains affiliate links
Why crochet a pansy
Crocheting flowers is therapeutic, but crocheting pansies is another level entirely. What makes this flower special is its perfect asymmetry. Unlike a daisy, where every petal is identical, the pansy challenges us to play with different shapes and sizes in one piece to imitate nature.
Emotionally, the pansy symbolizes remembrance and reflection. Giving someone a crocheted pansy is a way of saying “I’m thinking of you” that won’t wilt in three days. It’s also the ideal project for using up those thread scraps we all collect in baskets and drawers.
The connection between crocheting and your well-being
For me, sitting down with a hook after a chaotic day is like finding a refuge. The sound of metal against fiber, the repetitive rhythm of the stitches. There’s something almost mystical about watching a simple thread turn into a three-dimensional structure. Crocheting pansies lets me experiment with color without fearing mistakes. If I don’t like a petal, I pull it out and try again. That freedom is what I want to pass on to you today.
Materials you’ll need for a crochet pansy
Before we get to the stitches, our tools need to match our vision. Don’t skimp on thread quality, because much of the flower’s realism lives there.
Thread: the soul of the flower
For pansies, mercerized cotton is ideal. I recommend a fine weight (around 1.5 mm, similar to size 10 crochet thread). This kind of thread has a subtle sheen that mimics the velvety texture of real petals, and it gives stitch definition that makes the flower stand out.
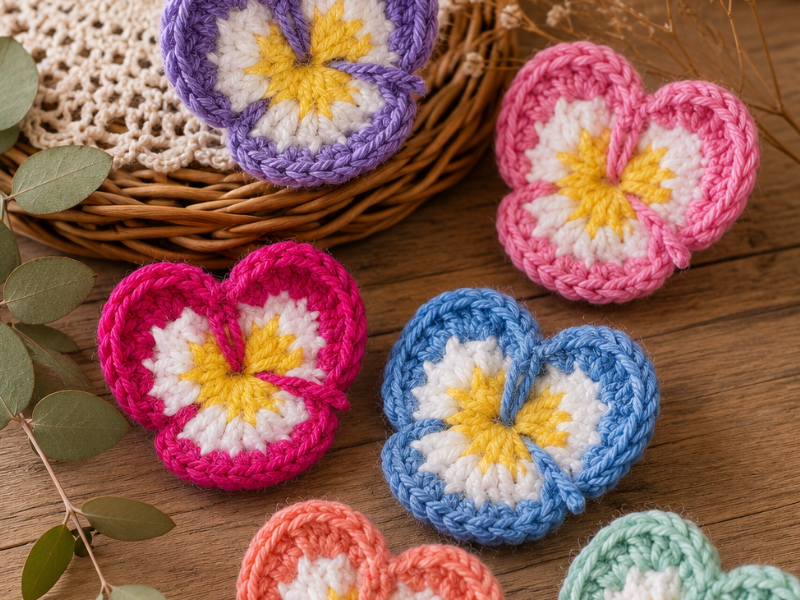
You’ll need three colors for a professional-looking result:
- Color A: for the center or “heart” (yellow or orange).
- Color B: a mid tone to create depth.
- Color C: the main, most vibrant color (purple, blue, burgundy).
Hook and accessories
- 2 mm crochet hook (a US B-1 at 2.25 mm is the closest standard size): perfect for keeping the fabric firm so the petals don’t flop.
- Tapestry needle: essential for weaving in ends and getting a flawless finish.
- Scissors
The structure of the flower: understanding the design
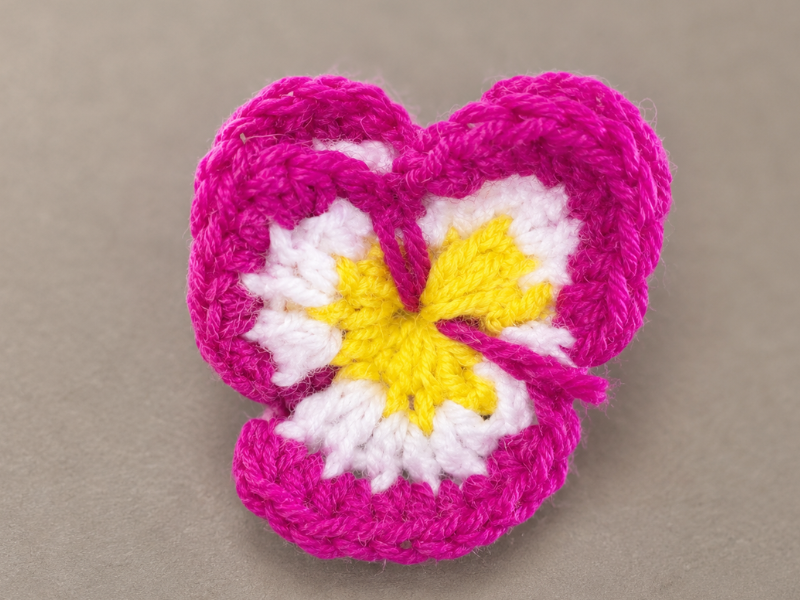
A well-made crochet pansy isn’t worked all at once in concentric circles. It’s built in layers to get that overlapping effect. Our flower will have:
- A central heart.
- Two upper petals (which usually sit a little further back).
- Two medium side petals.
- One large lower petal, the real star of the show.
Step by step tutorial
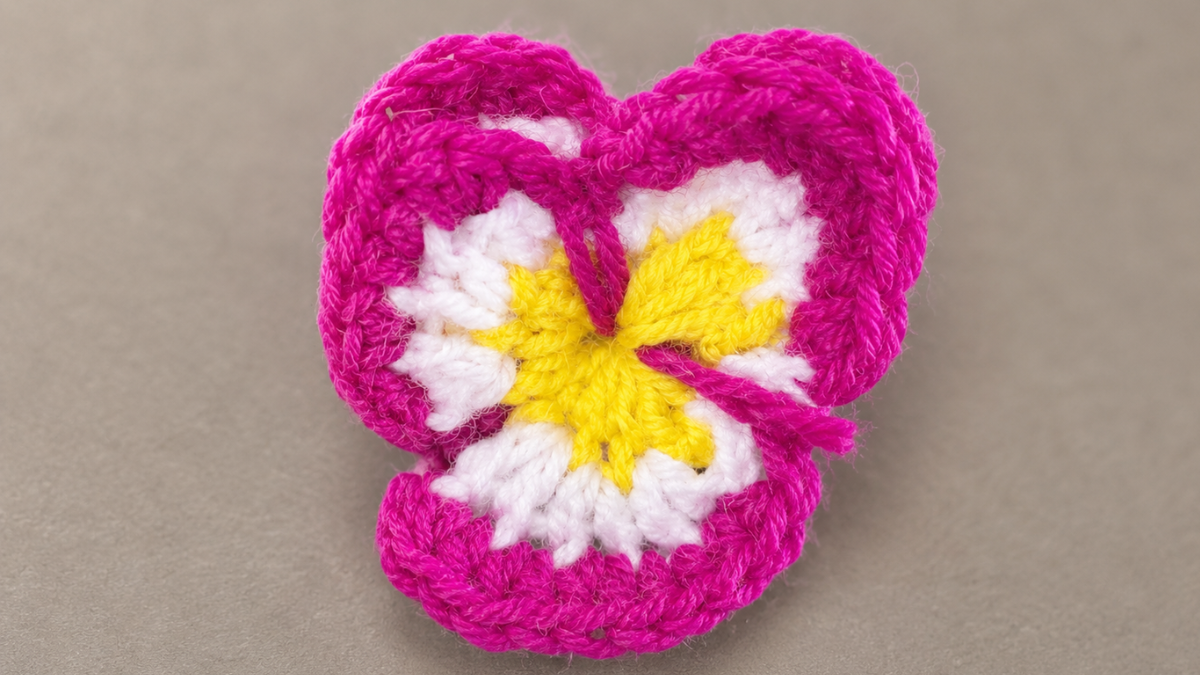
Learn how to create a realistic crochet pansy with dimension and three layers of color. A crochet project that’s perfect for appliqués and decorating.
Total Time: 40 minutes
Make the heart of the flower
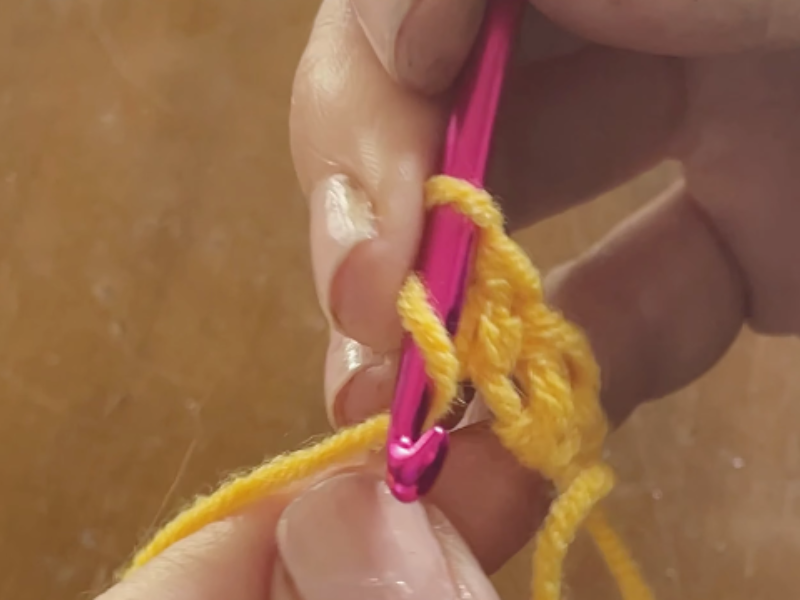
Work a magic ring and crochet 4 small petals (3 chains, 3 double crochet, 2 chains, 1 single crochet). Finish with a fifth petal of 5 double crochet to mark the base of the large petal.
1 In a magic ring, chain 3 to start.
2 Work 3 double crochet into the ring.
3 Chain 2 and close with a single crochet into the same ring. That’s your first mini petal at the base.
4 Repeat this sequence until you have 4 identical small petals.
5 For the fifth petal, work 5 double crochet instead of three. This will guide us for the largest petal.
6 Close the ring by pulling the tail firmly and cut the thread.
Build up the base with your second color
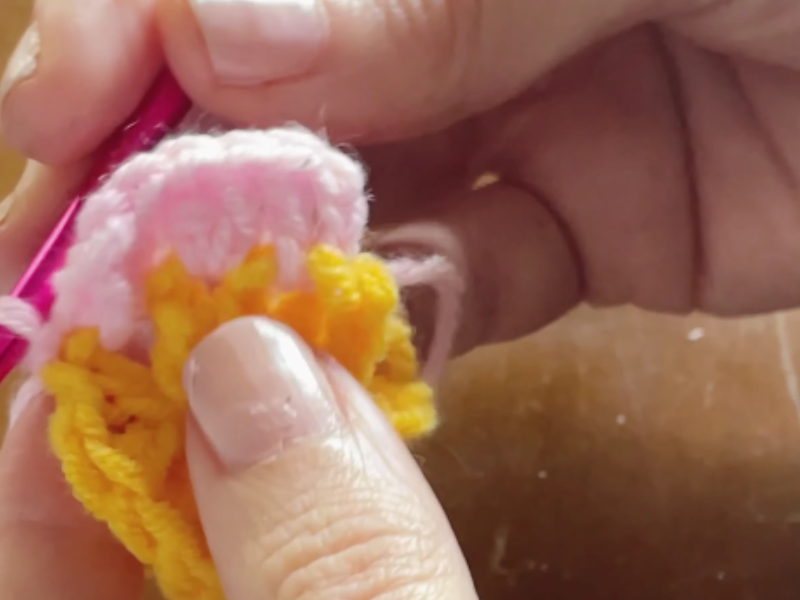
Switch to Color B. Work 2 double crochet into each stitch of the previous round. The large petal will now have 10 stitches and the small ones 6 stitches each.
-Find the petal with 5 double crochet. Join your thread in the first stitch (ignore the turning chains).
-Chain 3 (this counts as your first double crochet).
-Work increases: 2 double crochet into each stitch of the base. At the end of this petal you should have 10 double crochet.
-Come down with 2 chains and work a single crochet right into the single crochet of the previous layer.
-For the following petals we’ll repeat the same logic: 2 double crochet into each base stitch. Since the small petals had 3 stitches, each one will now have 6.
-Keep working around the flower until all five petals are done and close with a slip stitch.
Crochet the outer petals and add dimension
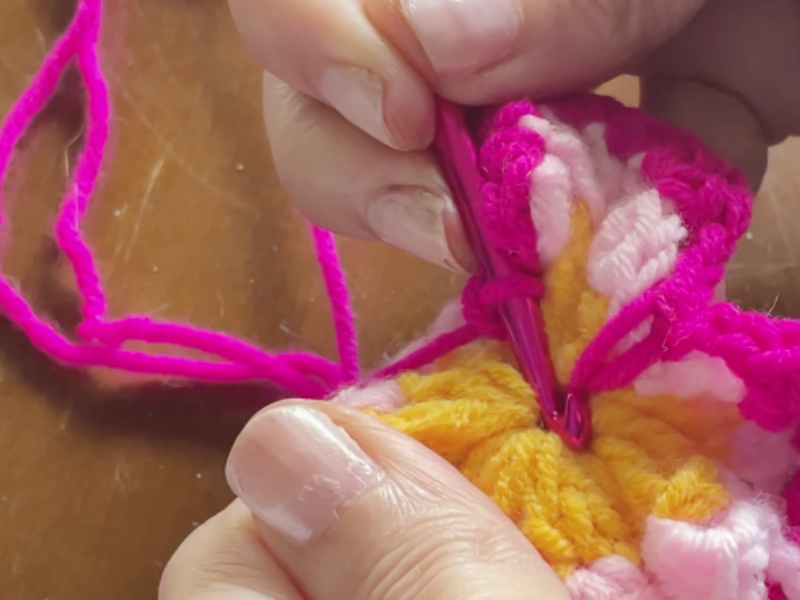
With Color C, work double crochet increases on the lower petal to create flare. Use half double crochet on the sides and double crochet on the upper petals for height.
-The large petal: across the 10 stitches of the lower petal, work increases again (2 double crochet into each stitch). This creates a gorgeous ruffled effect.
-The side petals (one on each side of the large petal): here we’ll work half double crochet (2 into each base stitch). Being shorter than a double crochet, they help balance the shape.
-The upper petals: these are the ones that add height. Work 2 double crochet into each base stitch.
-Tip: to get the petals to overlap naturally, when you move from one petal to the next you can work the joining single crochet by inserting your hook into the magic ring. That pulls the petal in and makes them layer over each other.
Finishing off and the overlap technique
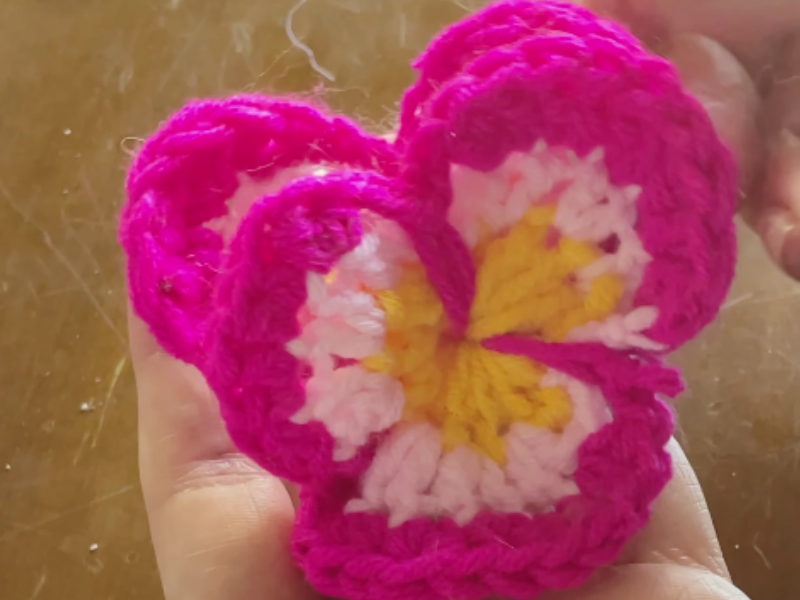
Close the round with an invisible slip stitch. Use your tapestry needle to weave the ends in on the back, making sure the upper petals sit slightly behind the side petals.
Tools:
- 2 mm crochet hook.
- Tapestry needle.
- Scissors.
Materials: Cotton thread
You can watch it on YouTube
Finishing touches that make the difference
Once you cut the thread, we’re not done yet. A pansy’s soul is in its details.
The invisible join
So nobody can tell where the round ended, use your tapestry needle. Instead of tying a fat knot, thread the tail through the first stitch of the round to imitate the shape of a chain. It’s a pro detail your friends will notice.
Blocking your crochet pansy
Crochet tends to curl. To make your pansies look magazine-ready, dampen them lightly with a spray bottle and shape them with your fingers on a flat surface. Let them dry overnight. That sets the stitches and makes the flower look far more realistic and professional.
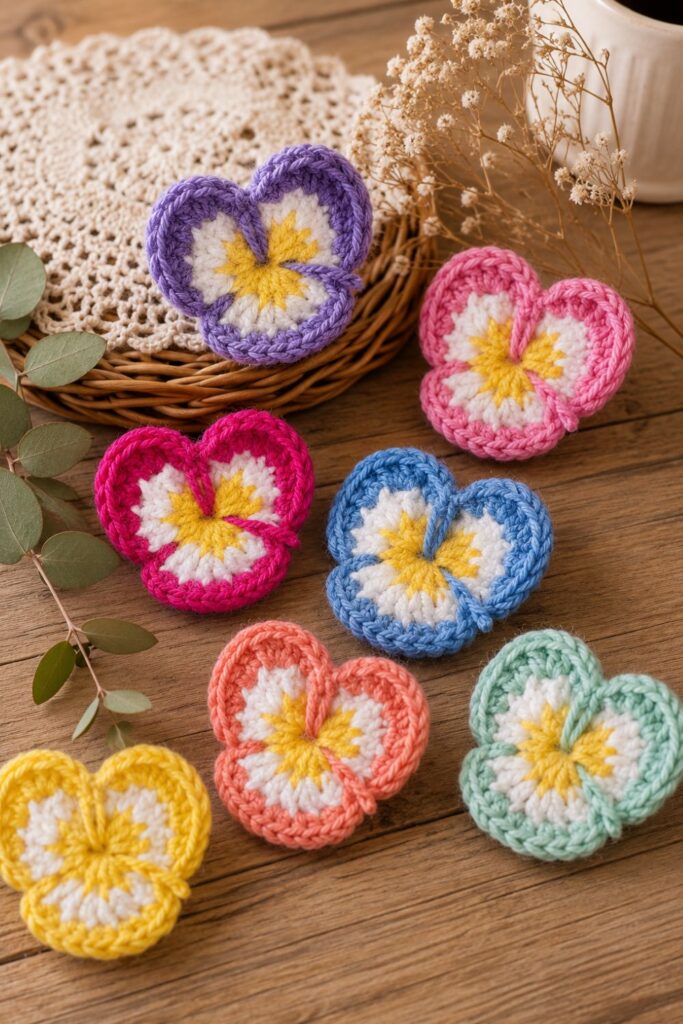
Creative ideas for using your crochet pansy
Now that you have your first flower, what are you going to do with it? Here are a few ideas so your creations don’t end up in a drawer:
- Everlasting bouquets: attach a piece of floral wire wrapped in green tape to the back. Make five or six and you’ll have a vase that brightens any corner with no water required.
- Personalized fashion: sew a couple of flowers onto the shoulder of a denim jacket or a wool beret. The contrast of textures is completely on trend.
- Home decor: use them as curtain tiebacks, or glue several onto a plain picture frame to give it new life.
- Jewelry: crochet with a very, very fine thread (sewing thread weight) and a 0.6 mm steel hook and you can make pansy earrings that will leave everyone speechless.
Caring for your crocheted flowers
Unlike real ones, these last for years, though dust is their number one enemy.
Gentle cleaning
Don’t put them in the washing machine. If they collect dust, use a hair dryer on the cool setting to blow the dirt away. For a stubborn spot, use a cotton swab with a little warm water and mild soap, pressing gently.
Storage
If you’re putting them away (say you made winter colors and want to bring them out in summer), store them in a rigid box. Don’t pack them tight. Let them breathe so they don’t lose the shape you worked so hard to get.
Frequently asked questions about the crochet pansy
Is this project suitable for beginners?
Yes! You only need to know how to make a magic ring, single crochet, double crochet, and half double crochet. It’s an ideal project for practicing color changes and learning how stitch height affects the shape of your fabric.
Which thread works best?
Cotton, without a doubt. Wool tends to shed fuzz and over time the flower loses the crisp definition a real pansy has. Mercerized cotton keeps its color vibrant far longer.
How do I keep the petals from turning out floppy?
The secret is in your tension and your hook size. If your fabric has a lot of gaps, switch to a hook a half size smaller. The flower needs structure of its own.
Can the flowers be washed?
Ideally not, but if you have to, wash them by hand in cold water and let them dry flat while reshaping them. Blocking is mandatory after they get wet.
Your creative journey is only just beginning
Crocheting a pansy is much more than following a set of steps, it’s a form of active meditation. Every time you pick a different color combination, you’re creating a unique piece of art. Don’t be afraid of mistakes, because crochet is generous and always lets us pull back and start over.
I hope this guide has inspired you to pick up your hook right now. Crochet is a superpower that lets us make beauty real, and the pansy is the perfect canvas for it.
Do you still have questions about overlapping the petals? Which colors are you choosing for your first one? I’d love to read you in the comments. Tell me if you’ve given this design a try, or if you have a trick of your own to share with everyone. Nothing makes me happier than seeing your creations and answering your questions!
Happy crocheting, friend! See you in the next project.

