How to wash your stamped cross-stitch kit step by step without ruining it. Tricks, tips, and an easy method for keeping your work clean, bright, and perfect for years.
a complete guide with foolproof tricks
There’s something magical about every cross-stitch: hours of calm, dedication, and creativity reflected in the fabric. Then comes that crucial moment that so often feels scary. How do you wash a stamped cross-stitch kit without ruining it? I’ve felt those nerves too, that doubt about whether the printed lines will really disappear, whether the floss will lose its color, whether the fabric will lose its shape.
That’s why today I want to share a complete, practical, simple guide on how to wash your stamped cross-stitch piece so it looks perfect and lasts for years. With tricks, clear steps, and the advice I use myself so the process doesn’t stress me out.
Why washing your stamped cross-stitch kit matters
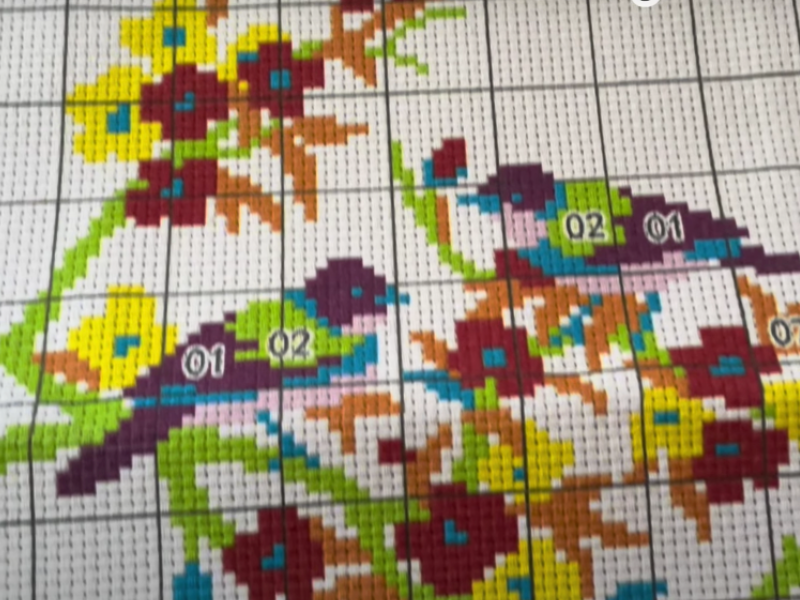
When we finish a piece, the fabric isn’t the same as it was coming out of the package. It’s spent time in our hands, with floss that sometimes releases a little dye, with dust from the room, and even with marks from the hoop.
On top of that, the printed guidelines on stamped kits usually use water-soluble ink that disappears when it gets wet. Washing your work isn’t only a cleaning step, it’s the key to making the colors pop and the finished piece look flawless.
What you’ll need
Before we get into it, I’d recommend having everything ready so you don’t have to improvise halfway through:
- A basin or a large container
- Lukewarm water (never hot)
- Mild soap, or a detergent made for delicates
- Clean cotton towels
- A flat surface for drying
- A little white vinegar (to set the colors)
The foolproof method for washing your kit
Here’s the approach that works best for me, step by step:
- Fill a basin with slightly lukewarm water, or use the sink if your piece is small.
- Add a few drops of mild soap. No harsh detergents and no bleach.
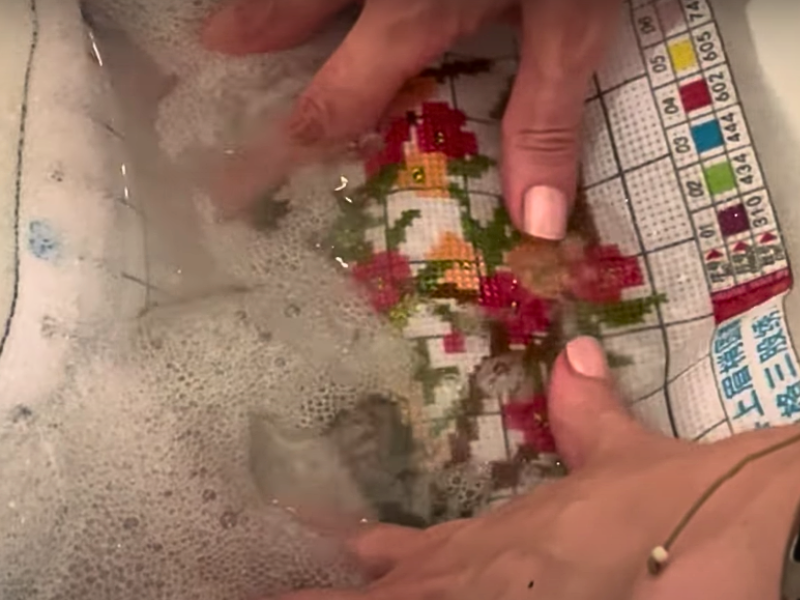
- Submerge the piece carefully, without wringing or scrubbing. Let it soak for about 15 minutes.
- If you notice any color bleeding, change the water right away. You can add a tablespoon of white vinegar to help set the dyes.
- Rinse in cold water until there’s no soap left.
- Lay the fabric between two clean towels and press gently to remove the excess water.
- Spread the piece out on a flat surface, out of direct sun, until it’s completely dry.
Pro tip: never use a dryer and never hang your piece up, since the fabric could lose its shape.
How to look after your piece once it’s washed
Once it’s clean and dry, your cross-stitch piece is ready to display or store. Here’s what I’d recommend:
- If you’re framing it, wait until it’s completely dry and use a mounting method without harsh adhesives.
- Always store it somewhere dry, out of direct sunlight.
- If you’re storing it unframed, fold it between sheets of acid-free paper and put it in a fabric or sturdy cardboard box.
- Avoid sealed plastic, which can trap moisture and damage the fabric.
Frequently asked questions about washing a cross-stitch kit
Will the printed design disappear if I wash it?
Yes, and that’s exactly what should happen. The ink on stamped kits is made to vanish in the wash.
What if some of the floss bleeds?
Ideally you’d test your floss before starting, by dampening a piece and rubbing it on a white cloth. If it bleeds, use white vinegar in the first wash.
Can I press my piece after washing it?
Yes, but always face down from the back, with a cloth over the top and on a low setting.
Is it better to wash by hand or in the machine?
Always by hand. A washing machine is far too rough for this kind of work.
How often should I wash a piece?
Only when you finish it. Washing it repeatedly isn’t a good idea.
Prepare the water
Fill a basin with slightly lukewarm water
Add a few drops of mild soap.
Soak the piece
Submerge the piece carefully and let it soak for about 15 minutes.
Rinse it out
Rinse in cold water until there’s no soap left
Blot out the water
Lay the fabric between two towels and press gently to remove the excess water.
Dry it flat
Spread the piece out on a flat surface until it’s completely dry.
Materials: water soap
My own experience, and why it’s worth it
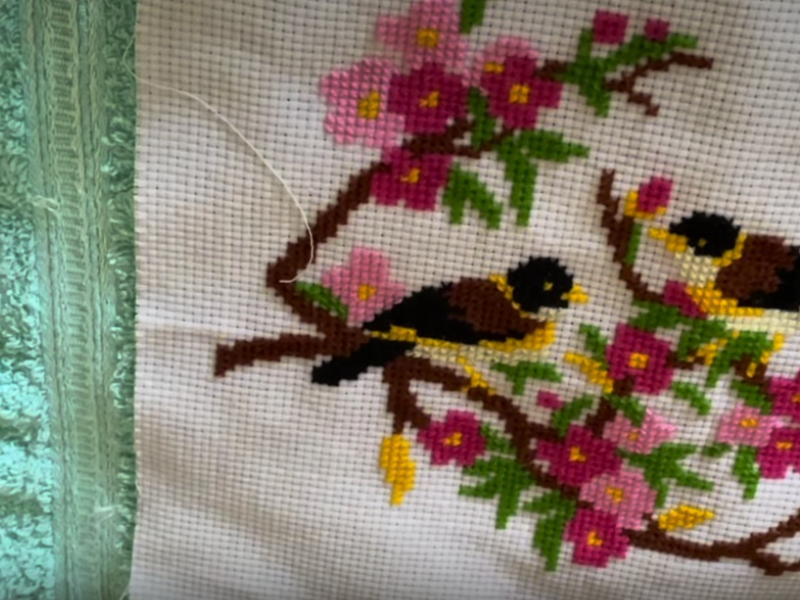
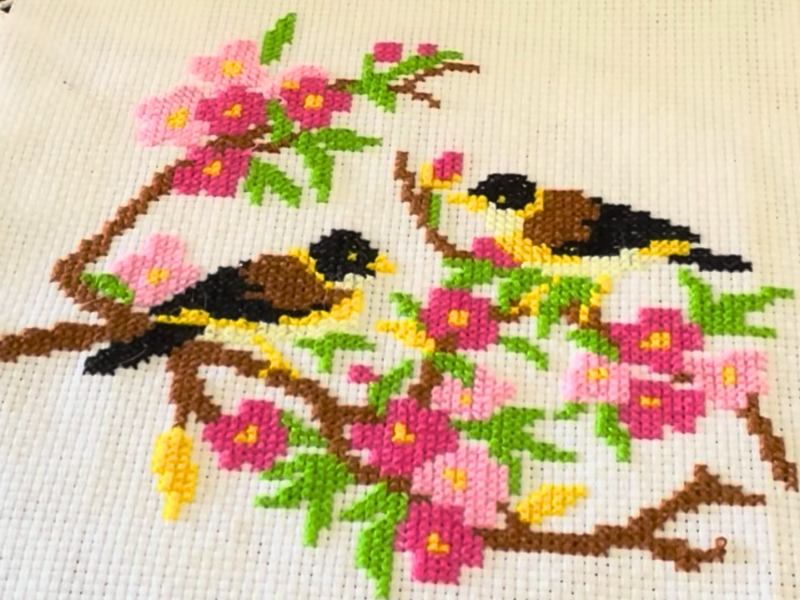
I remember the first time I washed a piece: I was nervous, almost afraid that all my work was about to go down the drain. When I lifted it out of the water, though, I saw the white fabric gleaming, the floss colors looking brighter, and every stitch standing out with incredible clarity. It was a proud moment, the feeling that all the effort had been worth it.
Washing your stamped kit isn’t a boring chore, it’s the finishing touch on your work. It’s what really brings it to life and gets it ready to be displayed and enjoyed for years.
You can watch it on video:
Conclusion
Washing a stamped cross-stitch kit doesn’t have to be a headache. With the right steps, a bit of care, and the right supplies, you can end up with a piece that’s clean, bright, and ready to be kept like the handmade treasure it is.
Remember: every stitch is time, dedication, and love. It deserves that final bit of care so your work looks as special as you imagined it.
If it helps, here are several tips for making your cross-stitch piece come out perfect. After all, these are small works of art.
Now I want to hear from you: have you ever washed a stamped kit? Do you have a trick that always works for keeping your pieces in good shape? Tell me in the comments, and if this guide was useful, share it with someone else who enjoys cross-stitch. I’m sure it’ll help them as much as it helped you!