Find out the most common cross-stitch mistakes and learn how to avoid them so your work looks professional, with practical tips.
Has this ever happened to you? You finish a cross-stitch piece full of excitement, then you look closely and something just feels off. Don’t worry, you’re not alone. It’s happened to me too. Today I’m bringing you the most common mistakes we make in cross-stitch, and better still, my favorite tricks for avoiding them so your work looks professional.
I’ve made (and honestly, still sometimes make!) plenty of these mistakes, so I’m speaking from experience here, with total honesty and no strange jargon. That way you can skip my stumbles and enjoy this relaxing craft even more.
The most frequent mistakes
1. Not keeping your tension even
This is a classic. Pull the floss too tight and the fabric puckers and the crosses look shrunken. Leave it too loose and the floss lifts and seems to float above the fabric.
To avoid it, aim for tension that’s gentle but consistent. Use a well-tightened hoop, and if you notice the floss getting tense (and you along with it!), take a break, breathe, and come back to it.
With practice you’ll end up stitching at the right tension without thinking about it. Your hands will do it on their own!
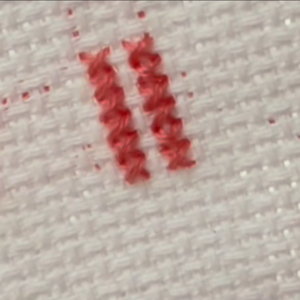
2. Crosses going in different directions
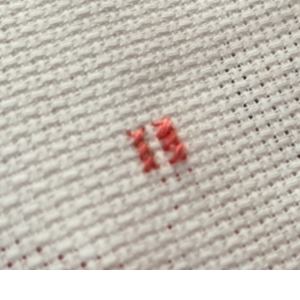
This one is incredibly common, especially when you’re starting out. If you work one half of a cross in one direction and then the other half the opposite way, the result looks uneven. It’s that classic feeling where you can tell something doesn’t add up but you can’t put your finger on what.
Pick an “official direction” when you stitch. For example: every bottom leg goes like this ( / ) and every top leg goes like this ( \ ). It sounds like a small thing, but I promise the finished piece looks two hundred percent better.
3. using too many strands
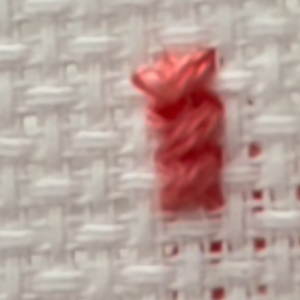
It’s important to match the number of strands to the fabric you’re using. On 14 count Aida (the most common), for instance, two strands is the norm. Use too much floss and the stitching turns out thick and a little stiff.
For cross-stitch on 14 count Aida I usually go with two strands. I separate them one by one and then put them back together, which makes them lie looser and sit better on the fabric.
Quick reference: how many strands to use
| Fabric type / count | Recommended strands |
|---|---|
| 11 count Aida (large, 11 squares per inch) | 3 or 4 strands |
| 14 count Aida (14 squares per inch, the most used) | 2 strands |
| 16 count Aida (16 squares per inch) | 2 strands (or even 1 for fine details) |
| 18 count Aida (very fine) | 1 or 2 strands |
| 28 count linen (equivalent to 14 count Aida) | 2 strands over 2 threads |
| 32 count linen (equivalent to 16 count Aida) | 2 strands over 2 threads |
| 25 count Lugana | 2 strands over 2 threads |
For outlines and fine details, 1 strand is the usual choice regardless of count, because it looks more delicate. If you want something bolder (for lettering, for example), you can use 2.
What if I want a different effect?
- Fuller coverage, a plusher look: add an extra strand (3 on 14 count Aida, for instance).
- Delicate, airy: use 1 strand, even on 14 count, if the design is very fine.
Extra tips.
– Before starting your project, work a small test swatch on a scrap of the same fabric using different numbers of strands. That way you’ll see how it really looks.
– If your fabric is dark (black, navy), many stitchers use 3 strands on 14 count Aida so the color stands out more.
A simple rule to start with:
➡ 14 count Aida = 2 strands
➡ 16 to 18 count Aida = 1 to 2 strands
➡ 11 count Aida or Hardanger = 3 strands
4. Tying knots on the back
Here’s a very typical mistake: starting or finishing with chunky knots on the reverse. It seems practical, but it creates bumps and makes pressing or framing harder.
How I handle it:
- To begin, I use the well-known loop start, perfect when you’re working with two strands folded in half.
- To finish, run the floss under a few stitches on the back and trim it flush.
5. Miscounting, or losing your place on the grid
Believe me, it’s better to spend five extra minutes counting properly than two hours unpicking. Who hasn’t worked five crosses too many and had to undo half a project?
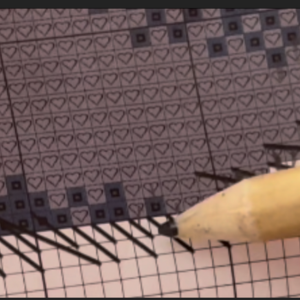
You can baste a grid ahead of time with water-soluble thread, or mark light lines with a pencil. That way everything lines up, especially on large designs. You can also check off the rows on your chart as you go so you don’t lose track.
6. Not washing or pressing the finished piece
When you finish a piece, you often want to frame it right away, but if you skip washing and pressing it, you can end up with oil marks from your hands or creases from the hoop.
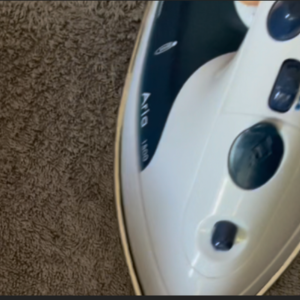
The best approach is to wash it gently by hand with a little mild soap and cold water. Lay it flat on a towel to dry, and once it’s almost dry, press it with a cloth or towel over the top.
- I wash it gently by hand with a bit of mild soap.
- I rinse it well and lay it out on a towel.
- Once it’s almost dry, I press it face down with a cloth on top.
7. Neglecting the back
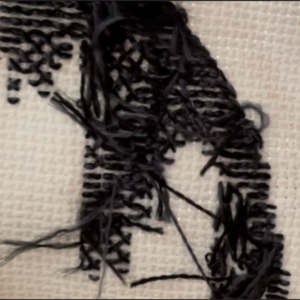
I’m not saying your reverse side has to be competition-worthy, but if it’s covered in knots and floss crossing every which way, the piece can end up thicker or uneven, and that shows on the front.
Try stitching in sections, finishing each one before moving to the next, so you don’t have to “travel” with the floss across the back. And when you do cross from one place to another, keep the trip short.
Your work will lie flatter and look better for it.
Tips to make your work look expert
Here are my little extra secrets that make all the difference:
– Use blunt-tipped needles so you don’t damage the fabric.
– Reposition your hoop whenever you notice it losing tension.
– Take breaks, stretch your fingers, relax your shoulders. Posture matters!
– Plan your color order so you can work complete areas at a time.
– Above all, stitch with care. You can always tell when a piece was made with love!
Conclusion: enjoy the process
Stitching isn’t only about the finished result, it’s a beautiful journey, one stitch at a time. Avoiding these mistakes isn’t about obsessing over perfection, it’s about letting your work shine and letting you feel proud of it. I’d encourage you to keep practicing, to experiment, and above all to stitch for your own enjoyment rather than to impress anyone
If you’d rather, you can watch this post on YouTube
Now I want to hear from you: which of these have you done?
Me? Honestly… every single one at some point! 😅
If this article helped you and you’d like to say thanks, you can buy me a virtual coffee here. And if you’d like to know a little more about cross-stitch, I’d invite you to read this other post, which I think you’ll enjoy.
Leave me a comment telling me your funniest or most frustrating cross-stitch blunder, so we can learn and laugh together. Or share your own tricks for making your work look its best!