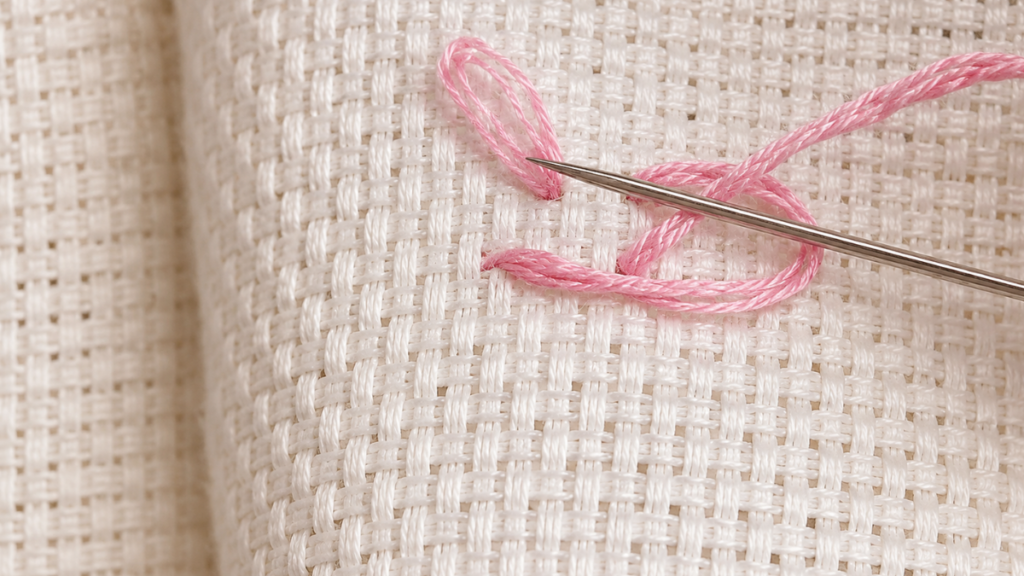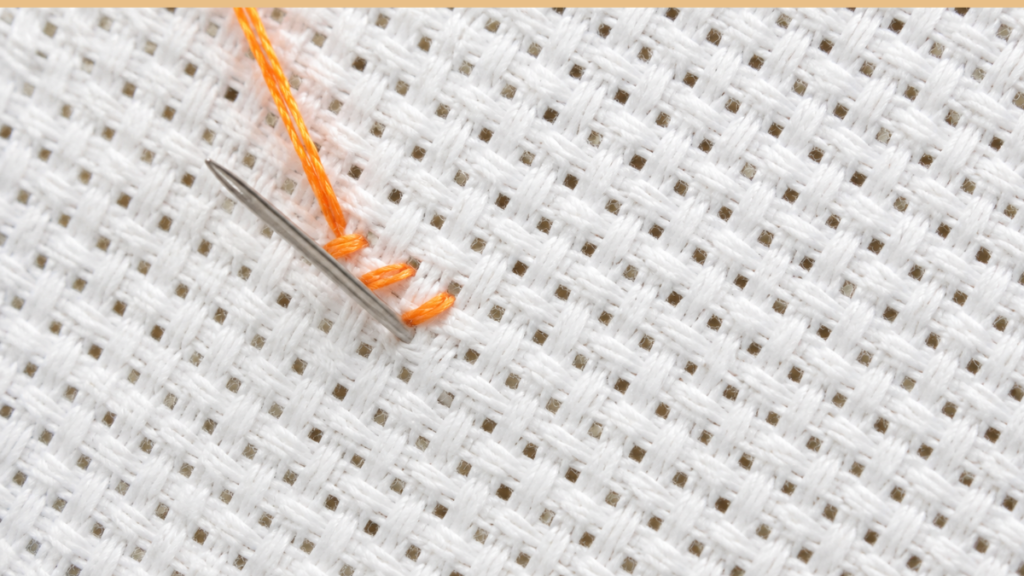
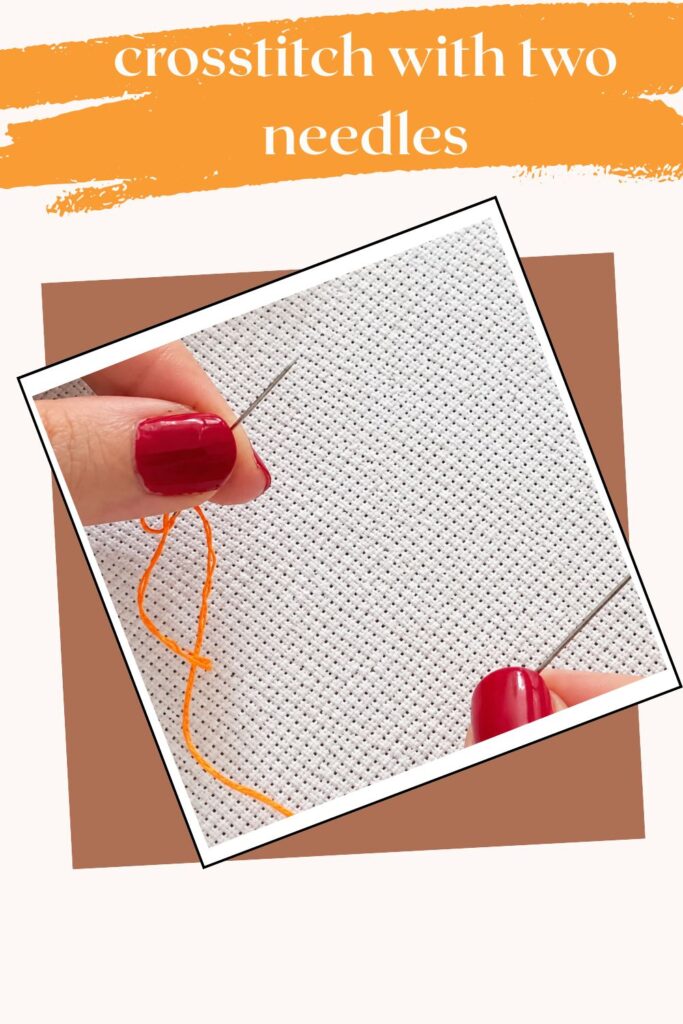
Cross stitch with two needles. Learn step by step how to stitch without knots and achieve a perfect back side.
Cross-stitch is one of the oldest and most cherished techniques in the world. However, even among the most experienced embroiderers, there is an ongoing dilemma that divides the community: the back of the embroidery.
While some people are fine with just the front looking nice, a neat back is often considered a sign of skilled stitching.
A back full of knots, crossed threads, or bulky areas not only takes away from the elegance of the piece, but it can also warp the fabric when framing it, or wear out quickly after washing.
For decades, techniques like tucking the thread under existing stitches or starting with a loop have been recommended to avoid knots. But there’s another method you might not know: the cross-stitch technique with two needles.
In this post, you’ll learn exactly what this technique is, why it radically changes the quality of your embroidery, what materials you need, its practical applications, and a step-by-step tutorial to help you master it starting today.
This post contains affiliate links, using them helps me out at no extra cost to you.
What is the Two-Needle Cross-Stitch Technique?
To understand this method, we first need to remember how traditional cross-stitch works. In the conventional method, you work with a single needle threaded with one or more strands of thread. You make a series of half cross-stitches in one direction and then go back to complete the ‘X’ (this would be the Danish method).
On the other hand, the cross-stitch technique with two needles involves threading a needle on each end of the same thread.
Instead of working back-and-forth rows with a single strand, you use Needle A to make the first diagonal and Needle B to make the diagonal that crosses the “X”.
The magic of this system lies in the tension: the two needles work in balance, holding the stitch on the fabric itself without the need for starting knots or bulky finishes.
Advantages and Disadvantages: Is It Worth It?
Before adapting your way of embroidering, it’s important to weigh the pros and cons of working with two needles:
Advantages
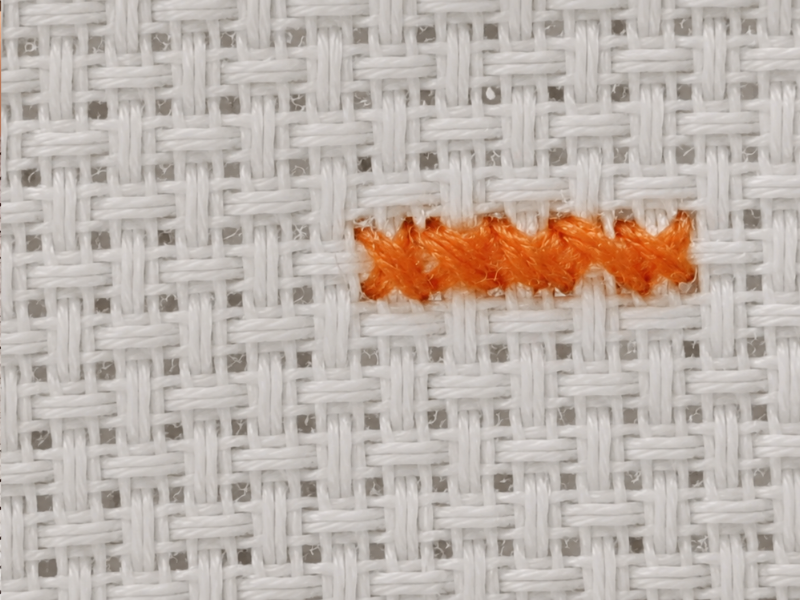
- A Completely Flat, Knot-Free Back: the little thread bumps on the back completely disappear.
- Balanced Tension: when pulling the thread from both ends with two needles, the ‘X’ stitches remain symmetrical and evenly tensioned.
Drawbacks
- Learning Curve: it takes a bit of practice to get used to the two needles.
- Mandatory Use of a Hoop: this technique is very difficult to work while holding the fabric in your hand, so a hoop or frame is strongly recommended.
Materials Needed to Get Started
To put this method into practice comfortably, make sure you have the following equipment on hand:
- blunt tapestry needles (No. 24 or 26).
- Embroidery floss: use two strands.
- Fabric for Embroidery: Aida 14, Aida 16, or 28/32 count Linen.
- Embroidery Hoop.
- Sewing Scissors.
Step by Step
Learn the advanced cross-stitch technique using two strands of Muliné thread to achieve a flat, smooth back completely free of knots.
Threading the Two Needles
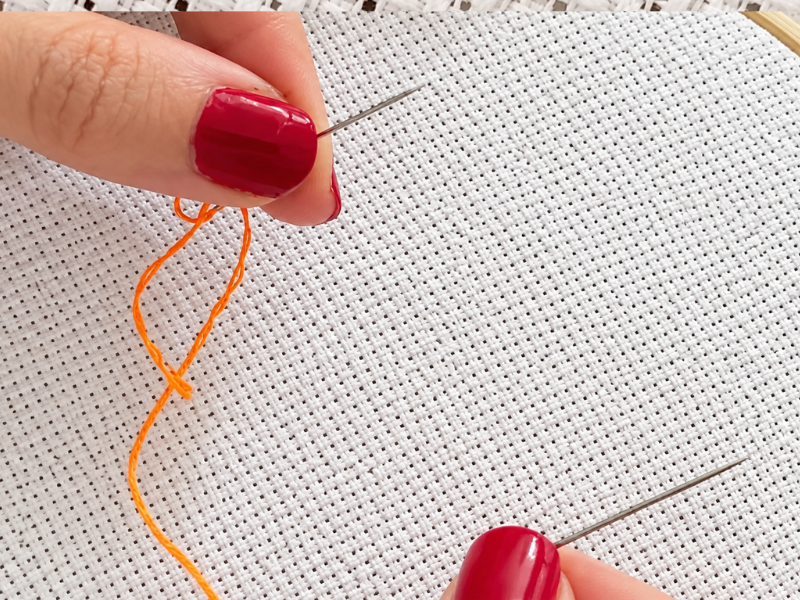
Cut a piece of thread to your usual length (about 45 cm) and separate 2 strands. Thread Needle A on one end of the thread and Needle B on the opposite end. You will now have one length of two-strand floss with a needle attached to each end.
Centering the Thread and Starting Without Knots
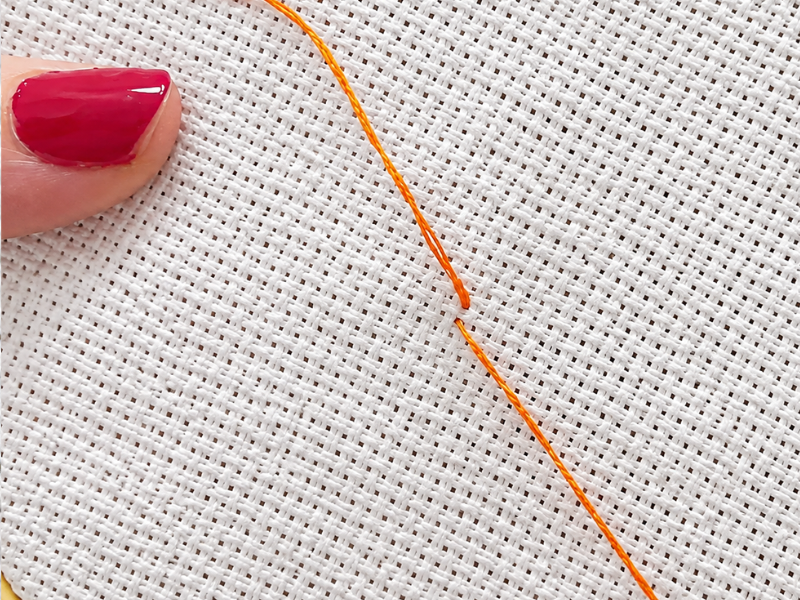
Pass Needle A from the back of the fabric to the front, coming out through the top left corner of the chosen square. Gently pull the thread through until an equal length remains on each side of the fabric. You’ll have half of the strand in front with Needle A and the other half at the back with Needle B.
Forming the Cross-Stitches
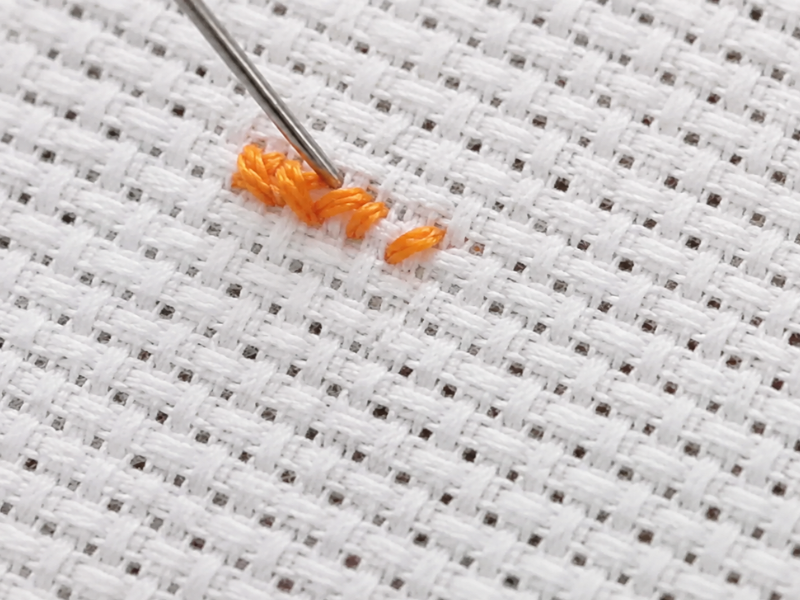
Bring Needle B up through the bottom-left corner of the square and insert it into the top-right corner to form the first diagonal. Continue across the row, working as many diagonals as needed. With needle A (in front), bring the thread to the bottom right corner, the ‘X’ will be crossed symmetrically without knots. Keep going until you finish your row of crosses.
Final touch
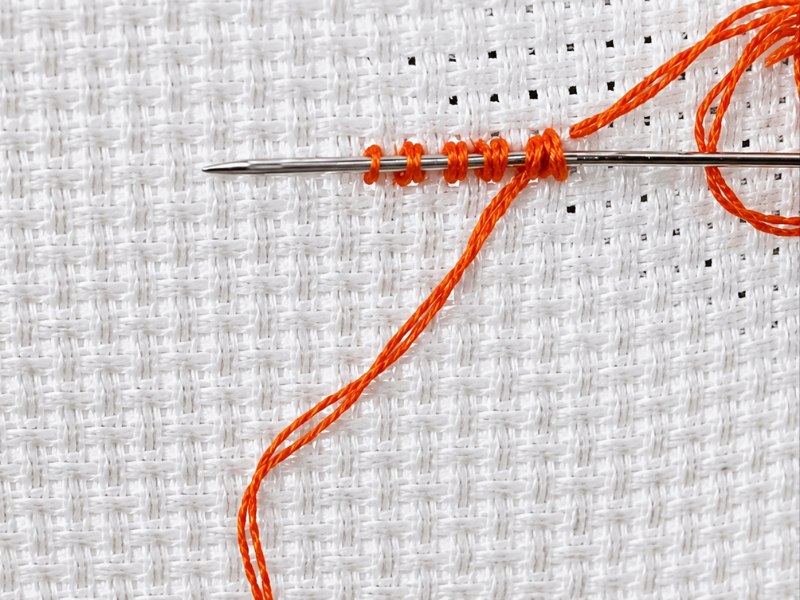
When you’re about to finish the strand, bring both needles to the back of the fabric. Pass each needle under the existing back stitches to secure the thread, and cut the excess flush with the scissors.
Tools:
- 2 embroidery needles without tips (No. 24 or 26)
- Hoop
- Scissors
Materials: Cotton Mouliné Thread (2 strands) 14-count Aida fabric or Linen.
You can watch the step-by-step video here
Frequently Asked Questions about Cross-Stitch with Two Needles
Can this technique be done with just a single strand of thread?
Yes, but it is mainly recommended for embroidering on very fine weave fabrics (like 36 or 40 count linen). For standard fabrics like 14 or 11 count Aida, working with two strands is ideal to make sure the stitch has body and the fabric doesn’t show through the embroidery.
Do the threads get tangled when working with two needles at the same time?
Not necessarily, provided that the fabric is held securely in a hoop or frame.. The key to avoiding tangles is to keep one hand dedicated to Needle A on top and the other hand dedicated to Needle B on the bottom. That way, the thread never crosses over itself outside the weave.
Can I use this technique to embroider diagonally or only horizontally?
You can apply it in any direction (horizontal rows, vertical columns, or diagonal jumps). The mechanics of crossing the two diagonals with their respective needles stay exactly the same, regardless of the direction of the work.
Step by step in pictures:
Raise the Level of Your Embroidery
Although at first it may seem like you’re moving more slowly while getting your hands used to working together, the satisfaction of seeing a smooth, clean, and flat back more than makes up for the initial effort.
Try this technique on your next small project (like a napkin or a bookmark), and see for yourself the difference a clean, professional finish can make.