
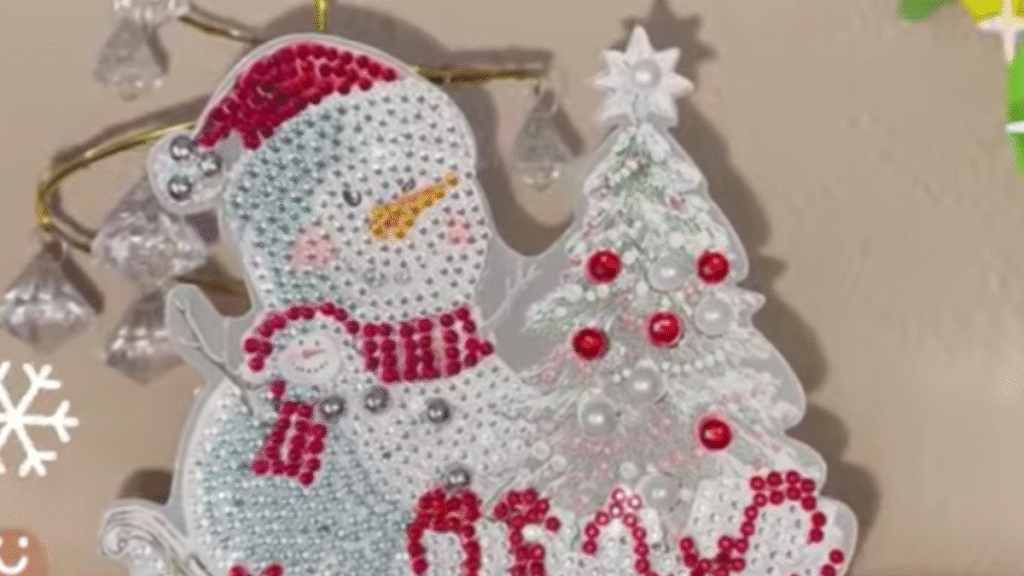
Learn how to make a diamond painting snowman step by step. A complete guide with materials, tips, tricks, and ways to keep your sparkling piece looking beautiful for years.
There’s something about winter that invites you to create. The cold days, the smell of hot cocoa, soft music in the background, and that urge to make something with your hands that hands you back a bit of peace. It was on one of those afternoons that I decided to try something different: a snowman made with diamond painting.
What started as a simple craft turned into a lovely, almost meditative experience. Every small drill I placed made me feel more present, more settled, as though each stone held a little piece of winter light.
What Diamond Painting Is and Why People Fall for It
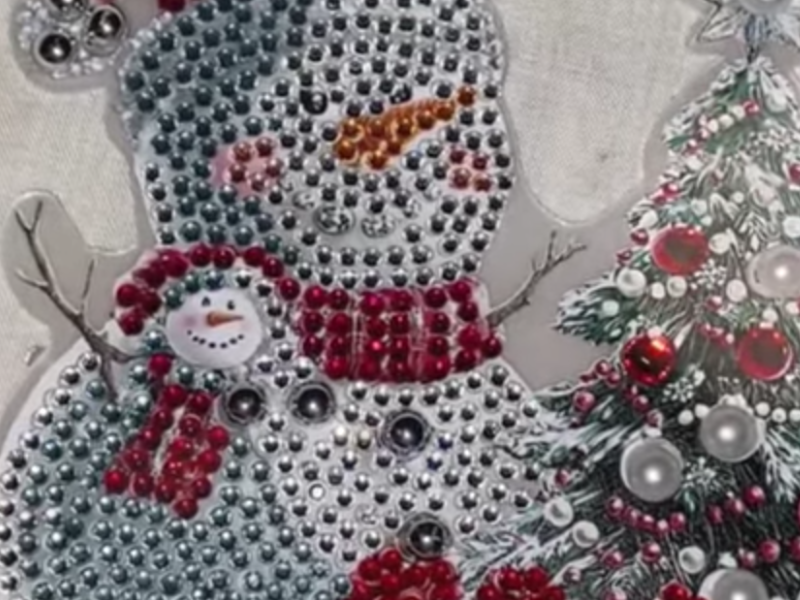
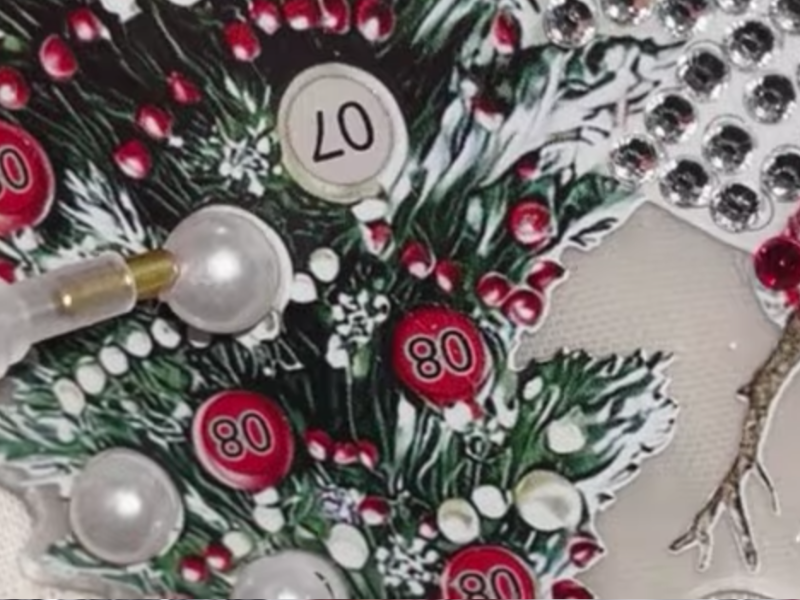
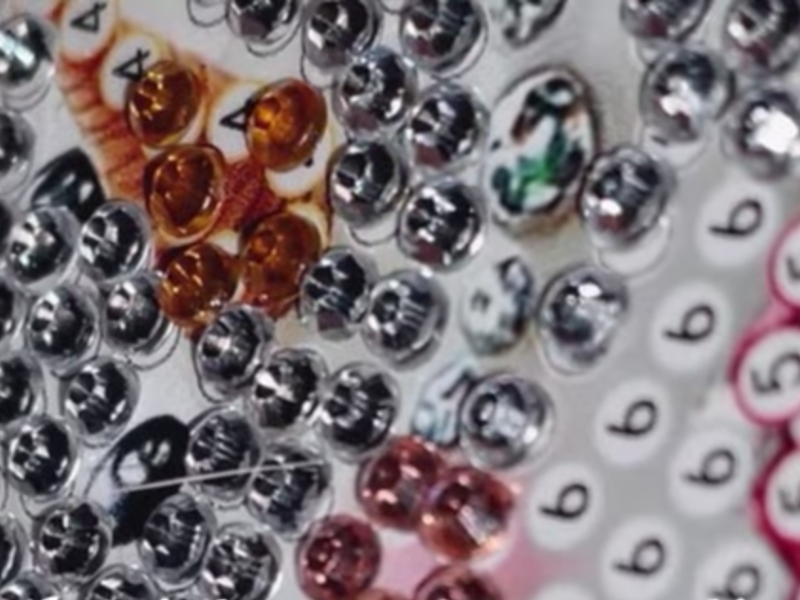
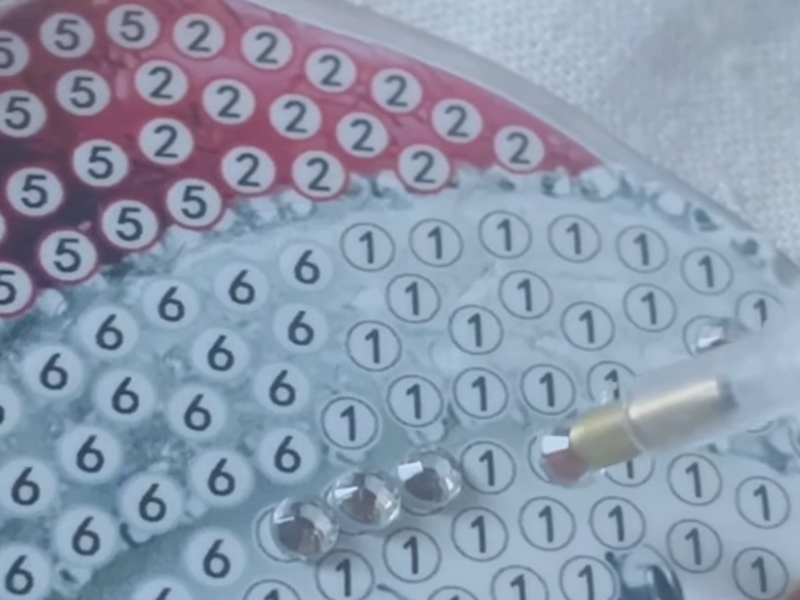
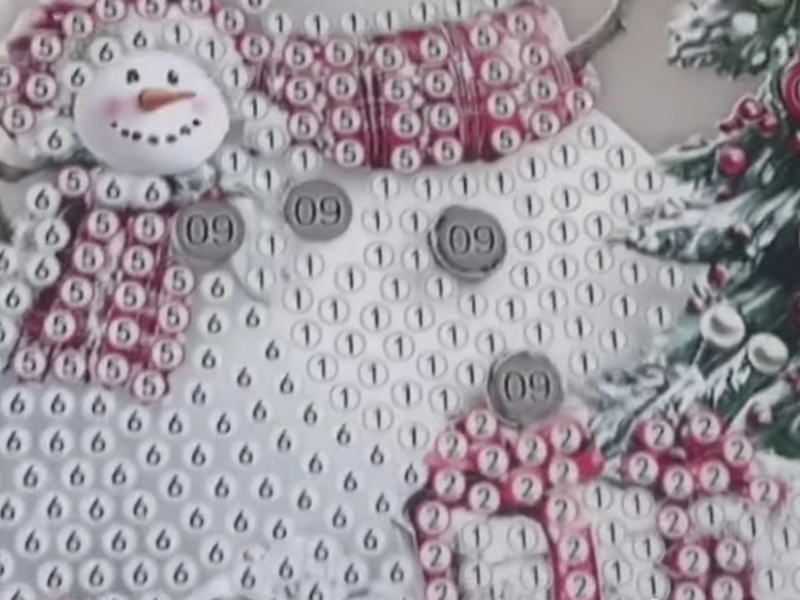
Diamond painting, also known as diamond embroidery, is a technique that combines the precision of mosaic work with the sparkle of crystals. Instead of thread or a paintbrush, you use small resin drills placed onto an adhesive canvas following a pattern of symbols and colors. Each color has its own number or letter, exactly like in cross stitch, and once you complete it, the image comes to life with spectacular texture and shine.
Beyond the finished result, what makes it special is the experience: the gentle concentration, the quiet, the repetition of one relaxing motion. It’s like embroidering with light, like painting with calm. Choose a winter design like a snowman and the final effect is simply magical ^^
Why Choose a Snowman
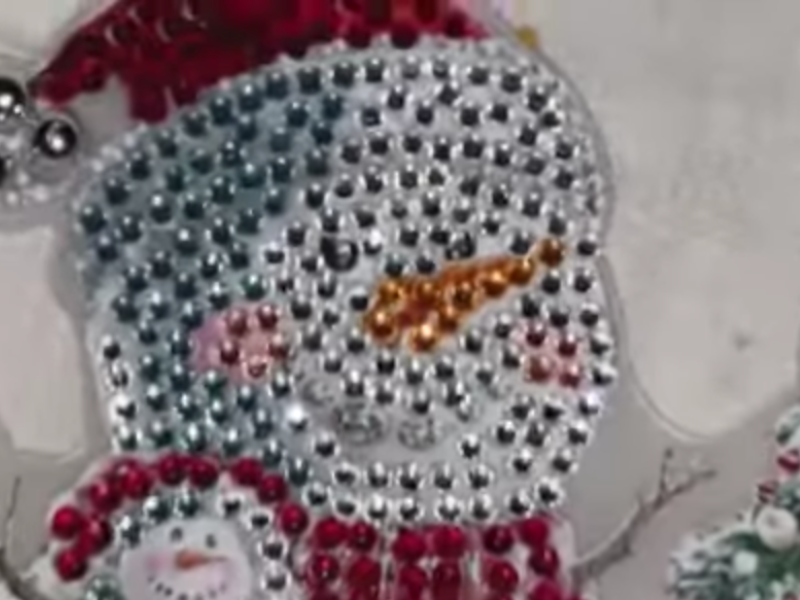
Snowmen have always had something endearing about them. They stand for the joy of winter, for childhood, for shared moments and that touch of make-believe we sometimes forget as we grow up. Made in diamond painting, that simple figure turns into a glittering jewel, as if the snow itself were reflecting the light of a thousand crystals. It’s also a perfect design for gifting or for decorating your home over the holidays.
Work it in classic tones like white, red, blue, and silver, or give it your own spin with different colors. What matters is enjoying the process and letting your creativity lead the way.
What You’ll Need
Making your diamond painting snowman takes very little, only the desire to do it and a quiet corner.
- A diamond painting kit with a snowman design (it comes with the canvas, the drills, and the tools).
- A tray for holding the drills.
- An applicator pen for placing the pieces.
- Wax or glue for the applicator.
- Fine tweezers.
- A small roller or a heavy book for setting the drills.
- A frame or stretcher for the finished piece.
If you don’t have a complete kit, you can buy the printed canvas and the drills separately.
Step by Step: Creating Your Snowman
1. Set up your space
Find a clean, roomy table with good light. Work next to a window if you can, or use a white light lamp. An organized space helps you concentrate and enjoy the process.
2. Sort the drills
Before you begin, open the bags and organize the colors. A compartment box or small containers work well. Labeling each color with its number will save you time later.
3. Start in a corner
Peel back a small section of the protective plastic on the canvas, rather than removing it all at once. Put a bit of wax on the tip of the applicator, pick up a drill, and set it on its matching symbol.
I’d suggest starting in a corner and working outward gradually. That way the adhesive stays clean and the finished piece comes out more even.
4. Fill the background, then the details
Begin with the background colors and save the details for last. This is the most relaxing part, almost therapeutic. When you reach the snowman’s hat or eyes, switch to tweezers for greater precision.
5. Set the drills
Once you’re finished, run a roller or a heavy book gently across the surface to press the drills firmly into place.
6. Clean and protect
Dust it with a dry cloth and apply a thin coat of clear sealer, which is optional. It helps keep the drills from lifting over time.
7. Frame your work
You can frame the canvas in wood or leave it on its stretcher. If you’re hanging it, choose a frame without glass so the sparkle shows through better.
You can also watch it on YouTube, and if you like it, feel free to subscribe to the channel
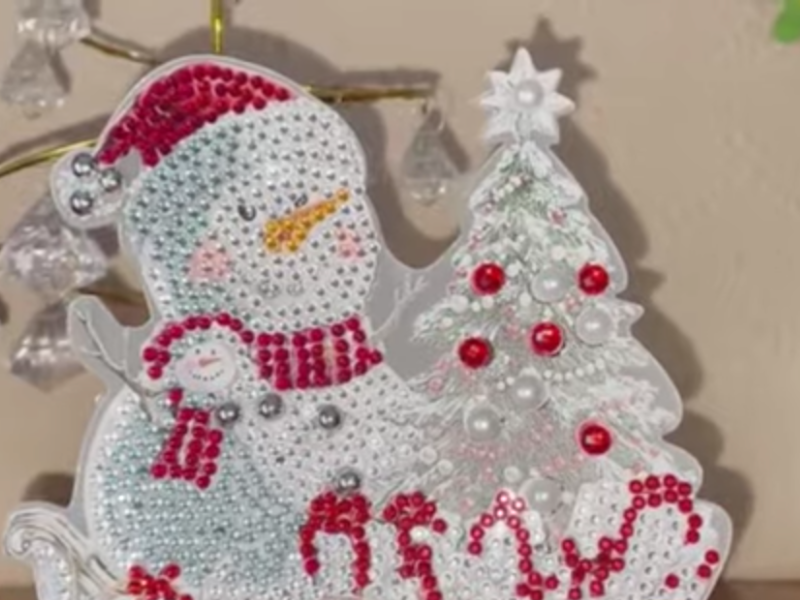
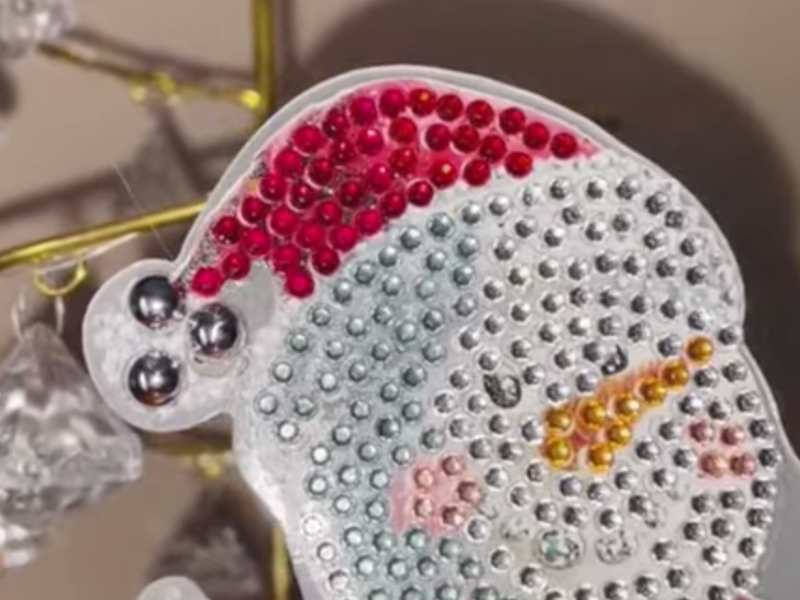
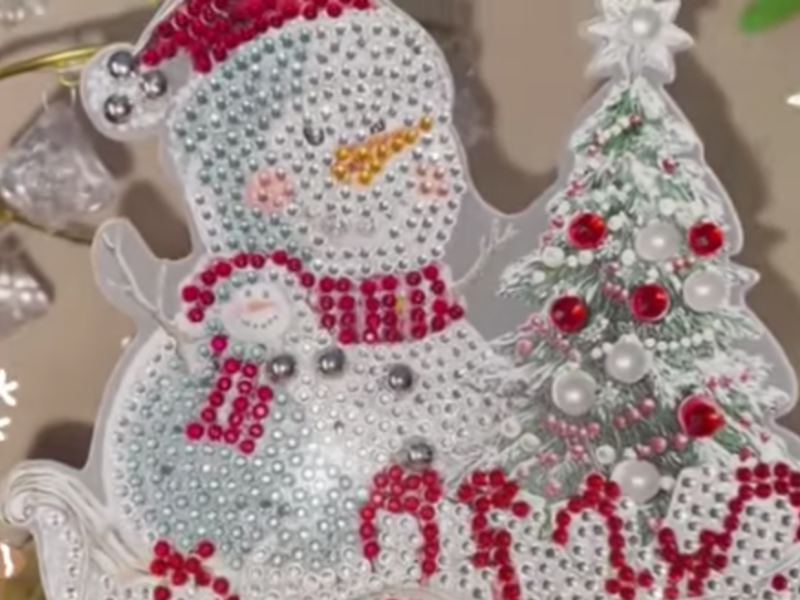
Personal Tricks That Make a Difference
After several projects, I’ve learned small tricks that make everything easier:
- Save your leftover drills sorted by color. You never know when you’ll need them.
- If any lift off, add a small drop of diluted white glue and press carefully.
- Use tweezers or a toothpick to reposition misplaced pieces.
- If you work at night, a cool-toned lamp will keep your eyes from tiring.
- Put on soft music or a podcast while you work. It makes the time fly.
How to Care for Your Diamond Painting Snowman
Once it’s finished, you’ll want your snowman to stay as bright as it was on day one!
Cleaning
Use a dry or barely damp cloth to remove dust. Avoid water and cleaning products, since they could damage the adhesive or dull the shine of the stones.
Sealing
Applying a sealer isn’t required, though it does extend the life of the piece. There are clear sprays and liquids made specifically for diamond painting. All you need is a thin coat and enough time to dry fully.
Framing
If you’re hanging it, keep it out of direct sunlight, since light can affect the colors over time. Natural wood or white frames really bring out the cool tones in the snowman.
Storage
If you’d rather store it, roll it up with the drills facing outward and protect it with parchment paper or plastic film. Keep it in a wide tube so it doesn’t warp.
The Benefits of Diamond Painting
Beyond the finished piece, this craft comes with plenty of benefits.
It helps you relax
The repeated motion, the gentle focus, and the quiet all settle the mind. It’s a moment of complete disconnection.
It improves concentration
Placing the drills takes attention, but no stress. It’s excellent practice for focusing the mind.
It fuels creativity
Even following a pattern, you can always add your own touch: change a color, mix in different finishes, pick an unexpected frame.
It builds confidence
When you finish your canvas and see the result, you feel a mix of pride and satisfaction that’s hard to explain. You made it, with your own hands and your own patience.
It cultivates inner calm
It’s a beautiful way to practice being here and now. Every drill reminds you that there’s no rush, and that enjoying the process is part of creating.
Frequently Asked Questions
How long does a diamond painting snowman take?
It depends on the size of the design and how much time you give it. A medium one usually comes together over three or four unhurried afternoons.
Is it a craft for kids?
Yes, though younger children are better off doing it with supervision. It helps them concentrate and improves their fine motor skills.
Can I do it without a kit?
Yes, you can buy the canvas, the drills, and the tools separately, though kits tend to be more practical.
Which drills are better?
Square drills give a more uniform, detailed look, but round ones are easier to place. Round is a good choice when you’re starting out.
How do I clean the finished canvas?
With a dry, soft cloth. Avoid water, since it could loosen the drills.
Making a diamond painting snowman is much more than a winter craft. It’s a quiet, creative, sparkling experience. It connects you to the present, to your artistic side, and to the part of you that enjoys creating without hurrying. The result is beautiful too. Hang it, give it away, or keep it as a reminder of those cold afternoons that fill up with light and color.
If you decide to make one, tell me in the comments how it turned out or which design you’d like to try next. If you enjoyed the experience, save this post and come back whenever you need a little calm and creativity.

