Discover the history, evolution, and magic of diamond painting: how it began, how to do it step by step, its benefits, and how to preserve your sparkling finished pieces.
Diamond painting is a way to decorate and to keep yourself entertained, but it’s also a moment of calm. It’s an activity that lets you unplug, focus on something beautiful, and feel yourself slowly creating something special with your own hands. It also has a curious history and a genuinely interesting evolution, so if you’re in the mood for a quiet, sparkly chat, come along.
What Diamond Painting Is
Diamond painting, also known as diamond embroidery or diamond art, is a technique that combines the precision of embroidery with the sparkling look of mosaic work.
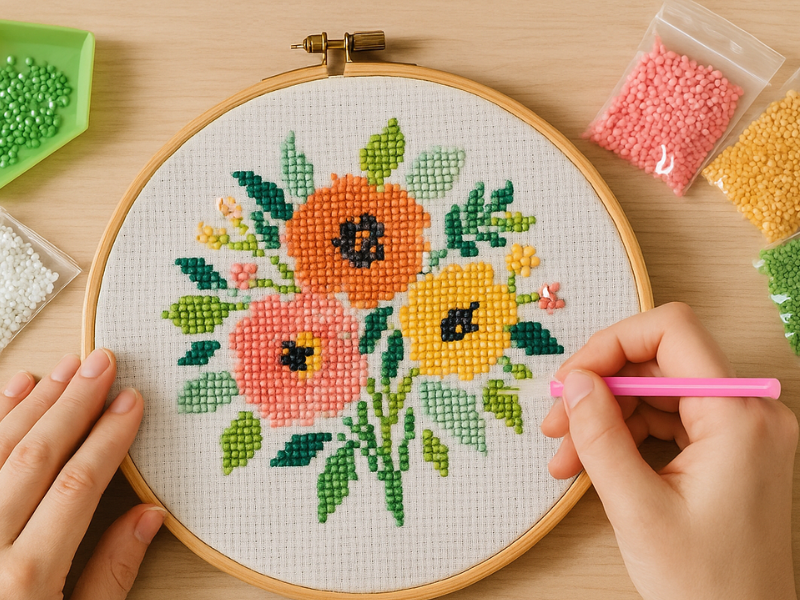
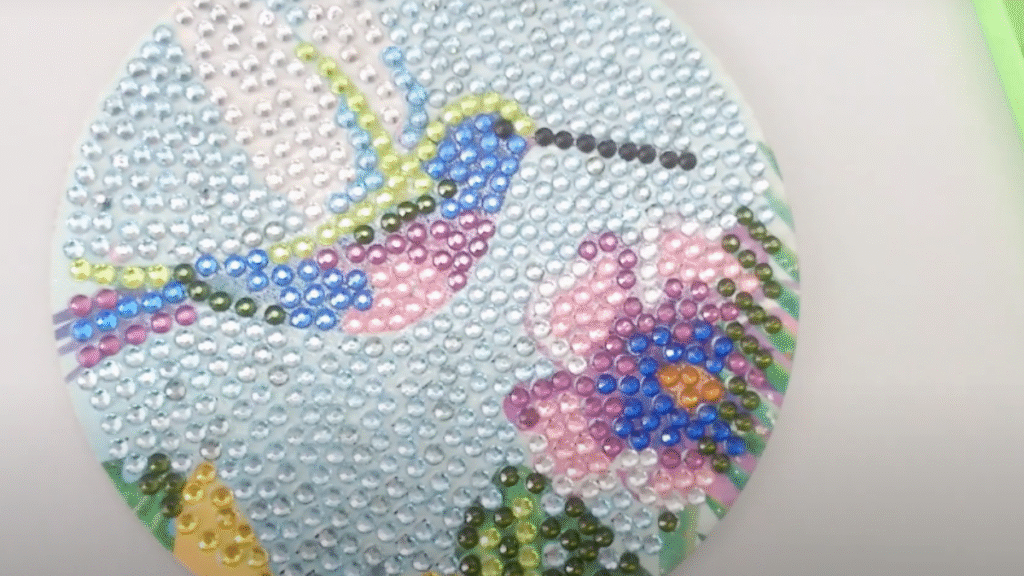
It involves placing small resin pieces, called diamonds or drills, onto an adhesive canvas following a printed design. Each color has its own symbol, exactly like in cross stitch, and once you complete it, an image forms that’s full of reflection and texture and seems to come alive in the light.
There are kits of every kind: landscapes, flowers, animals, abstract art, portraits, and even custom versions made from your own photo. The process is very simple: pick up a diamond with the applicator, set it in place, and little by little the image starts to appear. It’s relaxing and almost hypnotic.
The History of Diamond Painting
It may look like a modern technique, but diamond painting has roots that go back further than you’d expect.
The early days
It was born in China in the early 2000s. At first it drew on bead embroidery, a traditional technique in which small pearls or beads were stitched onto fabric. Over time, that idea evolved. The needle and thread gave way to an adhesive base and tiny resin diamonds. That’s how what we now know as 5D diamond embroidery came about, a simpler way to create sparkling artwork with no sewing required.
Going international
It didn’t take long to cross borders. Within a few years, diamond painting had spread through Europe and the Americas and won over thousands of people. The success was immediate, because it offered something unique: spectacular results with no need to know how to embroider or paint.
Social media had a lot to do with it. Videos started appearing on YouTube, TikTok, and Instagram showing the process, the sound of the diamonds clicking into place, the final shine, and people fell in love.
These days, diamond painting is one of the most popular crafts in the world, held in as much regard as crochet or cross stitch, with a more modern twist.
How Diamond Painting Has Evolved
From its beginnings to today, diamond painting has changed enormously.
From round drills to square ones
In the beginning there were only round drills, which were easier to place. Square ones came later. They fit together perfectly and create a more uniform finish, much like a mosaic.
Round drills are still ideal if you’re just starting out, since they go down faster and forgive small errors. Square drills, on the other hand, give you more detail and definition.
New materials and designs
In the early years the designs were simple: flowers, animals, or basic landscapes. Now the variety is enormous, from pieces inspired by classical paintings to hyperrealistic portraits, custom canvases, and kits with special effects.
There are also drills in different shapes, along with pearls, crystals, and metal pieces that add texture and shine. Some designs even use drills that glow in the dark or sit raised off the canvas.
Custom canvases
One of the loveliest developments has been the option to create your own piece. Today you can send in a photo and have it turned into a custom diamond painting. Pets, family portraits, favorite landscapes, each one becomes a unique keepsake full of light.
The Benefits of Diamond Painting
What surprised me most when I started was how good it feels. It’s more than a craft, it’s a way of caring for your mind and unwinding.
It relaxes the mind
Placing the drills one by one has something hypnotic about it. You concentrate, yet it costs no effort. Your mind settles, your thoughts fall into order, and you land in the present. It’s a little while that belongs only to you.
It sharpens your focus
It’s a repetitive activity, but a pleasant one. It teaches you to concentrate gently, without pressure, enjoying the process instead of worrying about the outcome.
It builds patience
Completing a canvas takes time, and that’s precisely part of its charm. You learn to go step by step, without rushing.
It wakes up your creativity
Every color choice, every combination, every finished canvas is different. Even when you’re following a pattern, you always add your own touch.
It boosts your confidence
When you finish and see the completed piece, that mix of pride and satisfaction is priceless. It doesn’t matter if it isn’t perfect. You made it with your own hands, and that carries enormous value.
How to Get Started with Diamond Painting
If you’ve never tried it, you’ll find it’s far easier than it looks.
Choose your first kit
To start, look for a small or medium design with a simple image and well-defined colors. Floral themes and straightforward landscapes tend to be perfect for beginners.
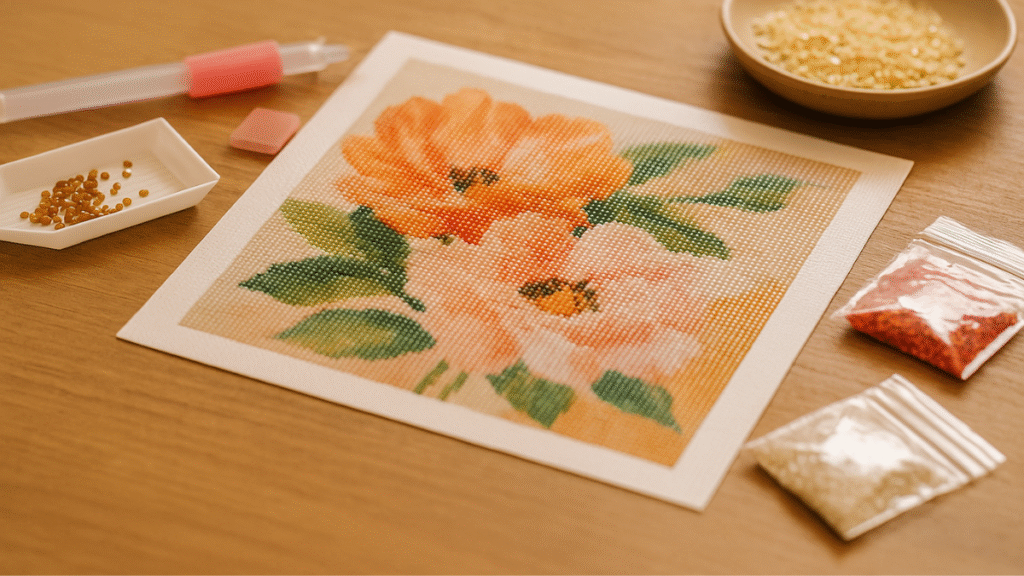
Your kit will include everything you need:
- The adhesive canvas with the design printed on it.
- The colored drills, sorted by number.
- A tray for organizing them.
- The applicator pen.
- Wax for the applicator.
- Tweezers and small bags for storing the drills.
Set up your space
Find a comfortable table with good light and a clean surface. Keep your materials within reach and sort the drills by color. A compartment box or small jars work well.
One tip: lay a sheet of paper or plastic film over the canvas whenever you’re not working on it. That keeps the adhesive from collecting dust or losing its tack.
Start in a corner
Peel back a small section of the protective plastic and begin in one corner. Put a bit of wax on the applicator, pick up a drill, and press it into place.
Working in small sections beats pulling off the whole cover sheet at once.
Enjoy the process
Don’t rush. The beauty of this craft lives in the unhurried pace, in letting each little stone find its place.
Handy Tricks That Make It All Easier
After a few canvases, I’ve picked up some tricks that make a real difference:
- Use a white light lamp if you work at night.
- If a drill comes loose, run a roller over the area or press gently with a book.
- Always save your leftovers. They come in handy for other canvases or for repairs.
- If the adhesive loses its grip, wipe the area with a damp cloth and let it dry before continuing.
- Use tweezers for the small areas. You’ll be far more precise.
Above all, don’t stress about mistakes. You can lift the drills off carefully and reposition them.
How to Preserve Your Finished Canvases
Once you finish a piece, you’ll surely want to keep it bright and flawless for a long time. Here are a few pointers:
Cleaning and sealing
Run a soft cloth over it to remove dust or leftover wax, then apply a clear sealer, either spray or liquid. It locks the drills down without dulling their shine.
Framing
You can frame it without glass so the light reflects better, or mount it on a board or stretcher frame. Look for a frame that complements the colors in the design.
Storage
If you’d rather store them, roll them up carefully with the drills facing outward. Protect them with parchment paper or plastic film and keep them in a box or a wide tube.
Diamond Painting as Self-Care
More and more people are finding in diamond painting a way to relax and look after their well-being. After a day full of screens, notifications, and noise, sitting down to place drills turns into a kind of refuge. Just you, your canvas, and the soft sound of the pieces settling into place.
It helps you unplug and focus on something tangible, something that asks nothing of you and still rewards you. When you finish, you don’t only have a beautiful piece, you have a feeling of calm and satisfaction that’s hard to put into words.
Frequently Asked Questions
How long does one canvas take?
It depends on the size. A small one can be finished in a few hours, while large ones can take several days or even weeks.
Is it an activity for kids?
Yes, though it’s best done together or with supervision. It helps them concentrate and improves their fine motor skills.
Which drills are better?
Round drills are easier to place and square ones give a more precise finish. It comes down to your taste and your patience.
Can a finished canvas be cleaned?
Yes, with a soft dry cloth. Don’t use water or cleaning products, since they could damage the adhesive.
What if I’m missing drills?
Always keep the leftovers from other kits, or contact the shop where you bought it. Most of them offer free replacements.
Diamond painting is much more than gluing little stones onto a canvas. It’s an accessible, relaxing, and deeply satisfying art form. It’s time for you, a way to tune out the noise and reconnect with your creative side. Every canvas is different, though they all have one thing in common: they make you feel good. They give you that sense of calm and pride when you look at what you’ve made.
If you’ve never tried it, go for it. Find a design you love, set up your space, and start. You’ll see how quickly it pulls you in. If you’re already into it, tell me what inspires you or which canvas has been your favorite. I’d love to hear from you and keep sharing this small, sparkling world.