The French knot is one of the most distinctive and versatile stitches in embroidery, recognized for its three-dimensional look and its delicate decorative touch. It’s used all the time to add small but eye-catching details, like the center of a flower, the eye of an animal, or simply to build textures and patterns that stand out against the fabric.
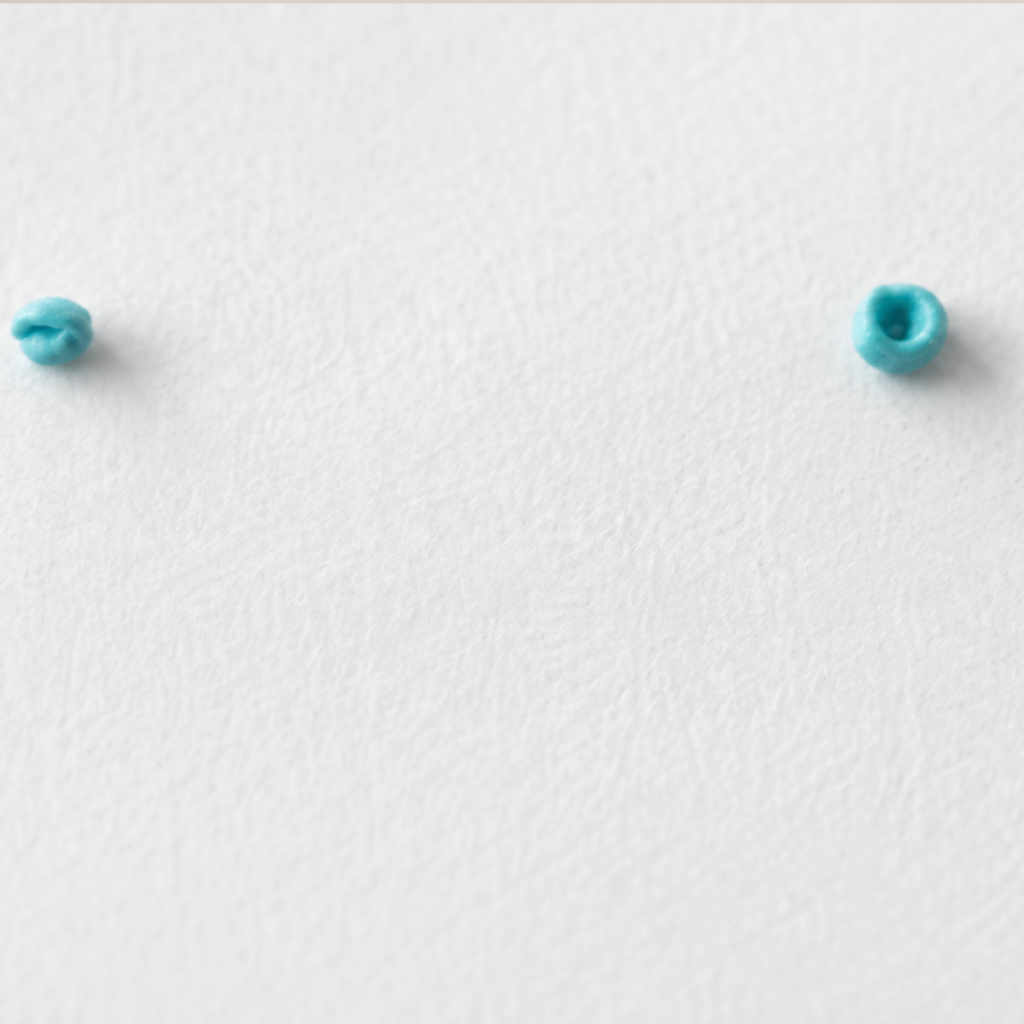
This stitch forms a small raised bead or knot that sits above the flat stitching around it, bringing depth and relief to any design. Thanks to its compact shape, it’s ideal for representing tiny elements within a piece, such as flower seeds or drops of dew, and you can also use it to create textured lines or shapes by clustering several knots together.
The French knot is prized by beginners and experts alike, thanks to how simple it is and how much visual impact it delivers. It can look complicated at first, but with practice it becomes a reliable tool for enriching any embroidery project, including cross-stitch, traditional embroidery, freestyle embroidery, and even mixed techniques.
The French knot can also vary in size and density depending on how many wraps you make and how you handle the tension, which allows for different visual and tactile effects. You can work it with different types of floss or yarn, and combine colors for results that catch the eye even more.
In short, the French knot is a small detail that does big work, turning flat embroidery into pieces with volume and character. Used well, it can be the difference between a plain piece and one full of life and polish.
The French knot is one of the most versatile and decorative stitches in hand embroidery. Perfect for adding texture, volume, and an elegant touch to your projects, this knot is commonly used to suggest flower centers, eyes, decorative dots, and more.
In this guide you’ll learn how to make the French knot step by step, along with common mistakes to avoid, practical tips, and examples of how to use it to take your embroidery to the next level.
Supplies
To practice the French knot, you’ll need:
-An embroidery needle, blunt or sharp depending on your fabric.
-Embroidery floss, such as DMC or Anchor stranded cotton.
-Cotton, linen, or Aida fabric.
-An embroidery hoop, optional but recommended.
-Small scissors.
step by step
Thread your needle
Bring the needle up through the front of the fabric
Do it at the exact spot where you want the knot to sit.
Wrap the floss around the needle two or three times (more wraps means a bigger knot).
Keep the floss taut, but not pulled tight.
Insert the needle right next to where it came up
Hold the wraps in place against the fabric with your free hand as you go down.
Pull the floss through gently
And there it is, your knot! You should see a perfect little bead sitting on the fabric.
See all the details in the video:
tips for mastering the French knot
-Use a hoop: it keeps the fabric taut so the knot forms properly.
-Practice with different thread weights: you’ll see how the results change.
-Go slowly at first: tension and placement are everything.
-Avoid going back down through the same hole, or the knot will slip through to the back.
Where to use the French knot
-This stitch is ideal for:
-Flower centers (daisies, pansies, roses)
-Eyes on embroidered dolls
-Texture on dresses, borders, or frames
-Details in embroidered lettering
-Suggesting seeds, fruit, rain, or stars
Common mistakes with the French knot
-Too many wraps (more than three): the knot becomes unstable.
-Not holding the floss firmly: the knot comes undone.
-Uneven tension: the knot either sinks into the fabric or sits there loose.
Mastering the French knot opens up a whole new creative dimension in your embroidery projects. It’s a simple, elegant, endlessly versatile technique that lets you add texture and realism to any design.
With a bit of practice, you’ll be making perfect knots and finishing your work with a polished, artistic touch.
Total Time: 2 minutes
Thread your needle
Bring the needle up through the front of the fabric and wrap the floss around it twice.
Insert the needle right next to where it came up
Supply:
- embroidery floss