how to make foam roses with a stem, perfect for decorating, gifting, or selling.
Making roses with EVA foam is a creative, accessible, and very rewarding activity that allows you to create decorative flowers with a surprisingly realistic look. EVA foam, also known as craft foam, is a flexible, lightweight, and easy-to-handle material that has become a favorite in the world of crafts. Thanks to its versatility, it’s perfect for recreating petals, leaves, and stems with a delicate and durable finish.
One of the main advantages of working with EVA foam is that it can be shaped with heat, which allows you to curve the petals, closely imitating the natural look of a rose. When you apply heat (for example, with an iron, a candle, or a heat gun), the material becomes more flexible and can be molded with your fingers to create organic shapes. This detail is essential for giving the roses volume and realism.
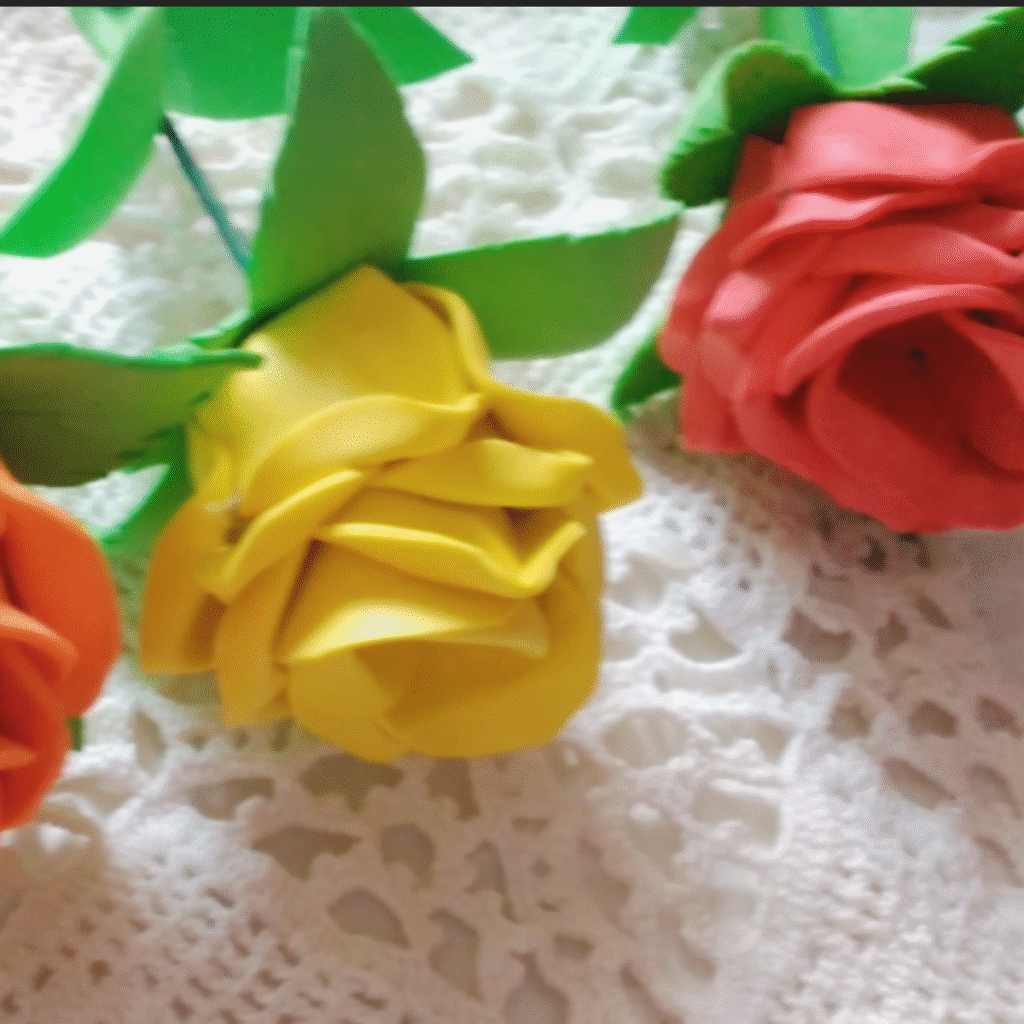
Making roses with this material also has the advantage that they can be fully customized. You can choose the color of the petals, mix them, add textures, or even apply shadows with acrylic paints, soft pastels, or dyes for EVA foam. This way, you get a unique result, tailored to your personal style or the decorative needs of an event like weddings, birthdays, baptisms, or home decorations.
In addition to the petals, you can also make leaves and stems, which allows you to create complete roses. For the stem, floral wire covered with green tape is usually used, or even a strip of green EVA foam wrapped around the wire. The leaves, cut to the appropriate shape and size, can also be molded with heat and textured to give them a more natural look.
The process of making a rose with EVA foam doesn’t require expensive materials or professional tools. You just need EVA foam in the desired colors, scissors, hot glue or strong adhesive, a heat source (like an iron), and optionally molds or templates so the petals are uniform in size. Some people also use modeling tools, such as embossing tools or foam-shaping tools, to mark veins or curve them more precisely.
Once you master the basic technique, it’s possible to experiment with different styles: open roses, buds, miniature roses, or even abstract designs for modern arrangements. You can also combine them with other decorative elements like pearls, lace, or decorative paper, creating very eye-catching floral arrangements that don’t wilt and can last for years.
Beyond the aesthetic result, making flowers with EVA foam can become a relaxing, creative, and very entertaining activity, whether you work alone or take part in a group workshop. It’s also an excellent option for school projects, craft businesses, or handmade personalized gifts.
In short, EVA foam roses combine beauty, durability, and creativity. They are perfect for those who enjoy crafts and are looking for an accessible and versatile form of artistic expression. With patience, imagination, and a few basic materials, it’s possible to create decorative flowers that show care and dedication in every detail.
Are you passionate about crafts and want to learn how to make long-lasting decorative flowers? In this tutorial, we’ll teach you how to make EVA foam roses with stems, perfect for decorating, gifting, or selling. This craft is ideal for both beginners and experts.
Materials
Before starting, make sure you have the following materials on hand:
-EVA foam sheets.
-Green EVA foam for the leaves and calyx.
-Wooden skewers, floral wire, or artificial flower stems.
-Hot glue gun.
-Scissors.
-Iron (optional, to shape the petals).
-Petal and leaf templates (you can draw them yourself or download a template).
Step by Step
-Cut out the petals and leaves
-Shape the petals with heat.
Gently heat each petal with an iron for about five seconds. This will make your rose look more realistic.
-Assemble the central bud.
Take a small petal, roll it tightly around the tip of the stem, and secure it with hot glue. Add the other small petals around it to form the center of the rose.
-Add the petals.
Continue by gluing on the medium petals, followed by the larger ones, alternating their position to achieve a rounded and natural shape. Handle the hot glue carefully to avoid burns.
-Place the calyx and the leaves.
Glue the calyx under the flower to give it a professional finish. Then, attach the leaves along the stem, using a small amount of hot glue.
Watch the video for more details:
Tips to Improve Your Foam Roses
- Use glitter or textured foam for a special effect.
- You can shade the edges of the petals with eyeshadow or acrylic paint for a more realistic look.
- Group several roses together to create bouquets of stemmed foam roses.
Ideas for Using Your Stemmed Roses
- Event decorations (weddings, birthdays)
- Personalized gifts
- Bouquets for Mother’s Day or Valentine’s Day
- School or art projects
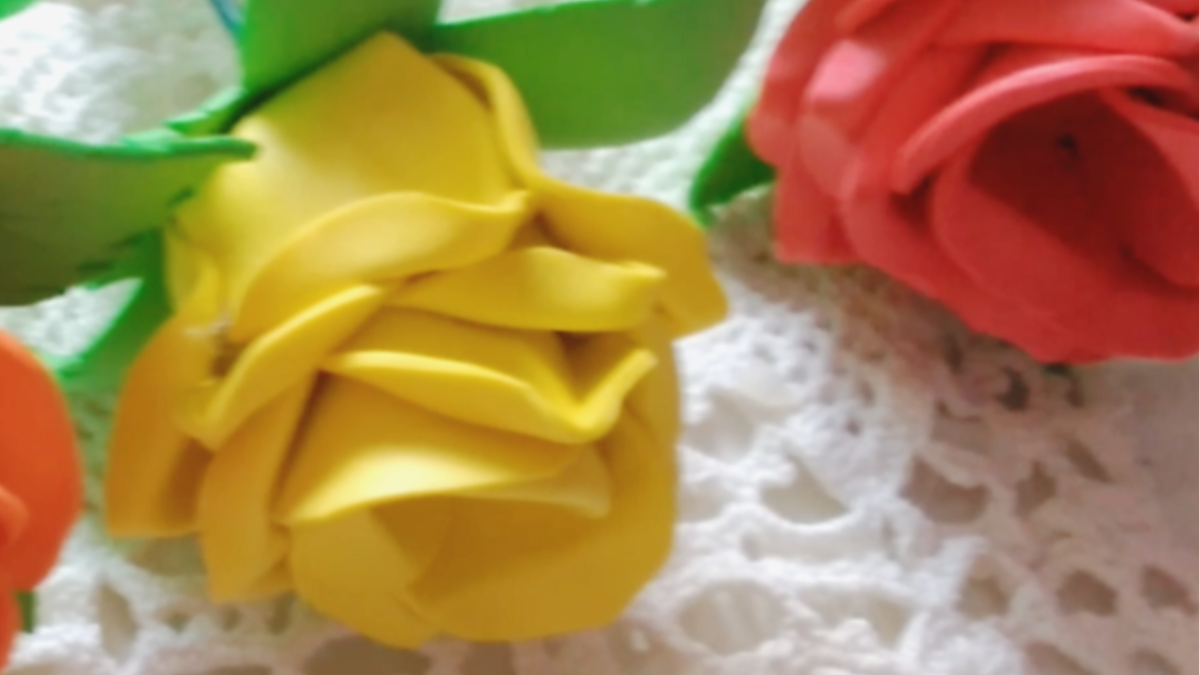
Making roses with EVA foam is a creative, accessible, and very rewarding activity that allows you to make decorative flowers with a surprisingly realistic look
Total Time: 1 hour
Cut out the petals and leaves.
Shape the petals with heat
Gently heat each petal with an iron for about five seconds and press it with your fingers to give it a curved shape. This will make your rose look more realistic.
Assemble the central bud.
Take a small petal, roll it tightly around the tip of the stem, and stick it with hot glue. Add the other small petals around it to form the center of the rose.
Add the petals
Continue gluing on the medium petals, followed by the larger ones.
Attach the calyx and leaves.
Supply:
- EVA foam sheets
Tools:
- Scissors
- Glue
Making foam roses with stems is a creative, affordable, and very decorative craft. With practice and creativity, you can create beautiful, long-lasting flowers for decoration, gifts, or sale.
Ready to make your own EVA foam roses🌹