Learn how to make a pearl necklace with a bow, step by step. Ideas, styles, tips, and tricks for creating an elegant, personalized piece of jewelry made with love!!
There’s something magical about pearls, isn’t there? They’ve always carried that air of timeless elegance, yet they can also read as sweet, romantic, or even modern depending on how you style them. Add a pretty bow and you end up with an accessory that looks like it came from a boutique, except you made it with your own two hands.
I’m going to show you how to make a pearl necklace with a bow, step by step, with as much care and detail as I can fit in. Beyond the tutorial, I want to share why making your own jewelry feels so special, though if you’re here I probably don’t need to convince you. A pearl necklace can absolutely be elegant, but when you make it yourself it has something no store-bought piece can match: meaning.
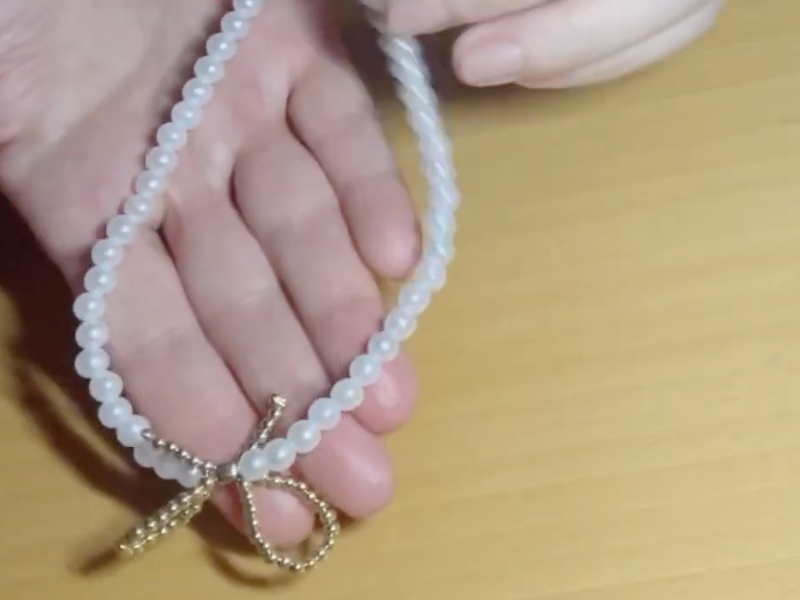
Why Make Your Own Pearl Necklace with a Bow
We’re surrounded by stores and mass-produced accessories, but I don’t think anything compares to making something yourself. That doesn’t mean I make every piece I own. I buy jewelry too, because plenty of gorgeous things are out there. Every so often, though, I do love making my own earrings, necklaces, and bracelets.
When you make your own necklace, every step is intentional. You’re not only choosing the pearls or the color of the bow, you’re choosing the moment, the pace, and the feeling you put into each step.
This project also has plenty going for it:
- It’s inexpensive, since a few materials get you a spectacular result.
- It’s customizable: classic or modern, long or short, neutral colors or bold ones.
- It’s relaxing, because making jewelry has that therapeutic effect that pulls you out of the stress.
- It makes a perfect gift, since nothing says “you matter to me” like something you made yourself.
A Bit of History: The Eternal Charm of Pearls
Before we get to the how, let me tell you something lovely. Pearls have symbolized beauty and sophistication for centuries. Roman and Greek women considered them a symbol of purity, ladies at court wore them as a marker of status, and Coco Chanel turned them into the essential accessory of the 20th century.
Beyond fashion, though, pearls have something all their own: a soft, feminine, elegant energy that goes with everything. They’re the kind of jewelry that never goes out of style.
Adding a bow breaks up that classic formality a little and brings in something romantic and personal. It’s the perfect balance between traditional and creative.
What You’ll Need for Your Pearl and Bow Necklace
To make this necklace you’ll need the following:
- White and gold beads (real pearls, glass, or acrylic, depending on your budget).
- Nylon beading thread, silk thread, or jewelry cord.
- A fine needle or beading needle.
- A metal clasp (lobster or magnetic, whichever you prefer).
- Chain-nose pliers (if you’re using a metal clasp).
- Scissors.
Get everything within reach before you start, so you can work calmly and without interruptions.
Step by Step: How to Make a Pearl Necklace with a Bow
Design your necklace.
Start by thinking about the length you want. Shorter necklaces read as more elegant and romantic, while longer ones are more versatile and modern. The one I’m showing you here is on the shorter side.
Lay out the pearls.
Spread the pearls on a flat surface and play with the order until you land on a combination you love. Alternating sizes or colors adds movement to the design. I’m using white pearls along with smaller gold ones.
Cut the thread.
Cut two pieces of thread about 12 inches each. We’ll build the necklace in two halves.
Start with the clasp.
Slide two small gold crimp beads (or whatever color you’ve chosen) onto the end of one thread, then add the clasp. Loop the thread back and pass it through the crimp beads again. Squeeze them with your pliers so the clasp holds firmly.
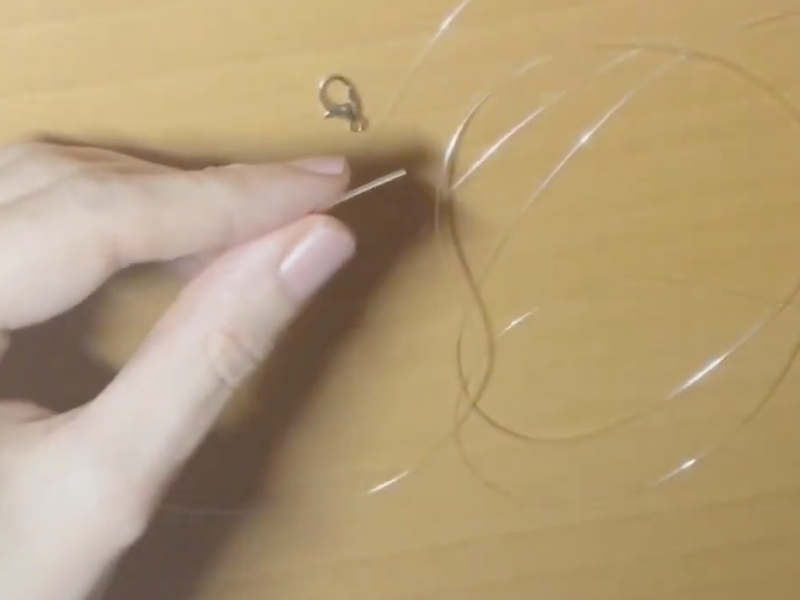
String the pearls
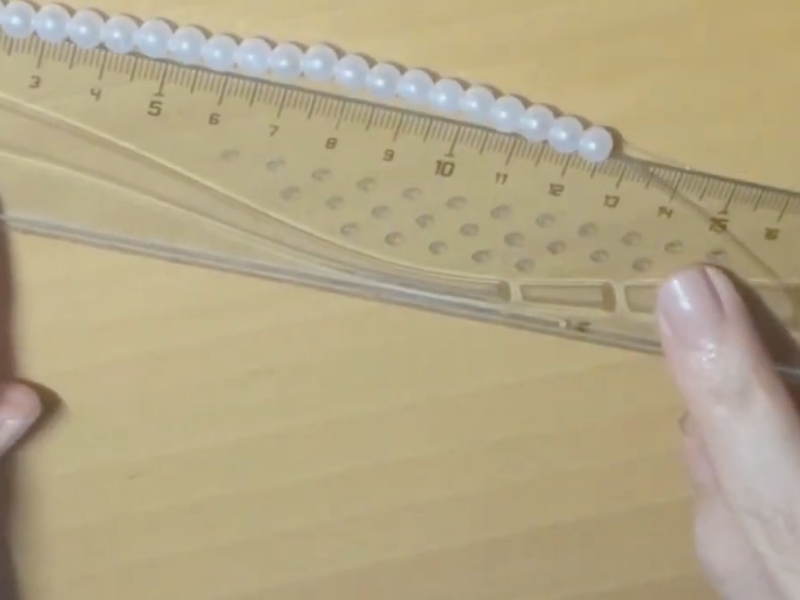
Using your needle, string the pearls one at a time onto the other end of the thread. For a more polished look, tie a small knot between each pearl to keep them separated and prevent rubbing. Keep adding pearls until they fill about 8 inches of thread.
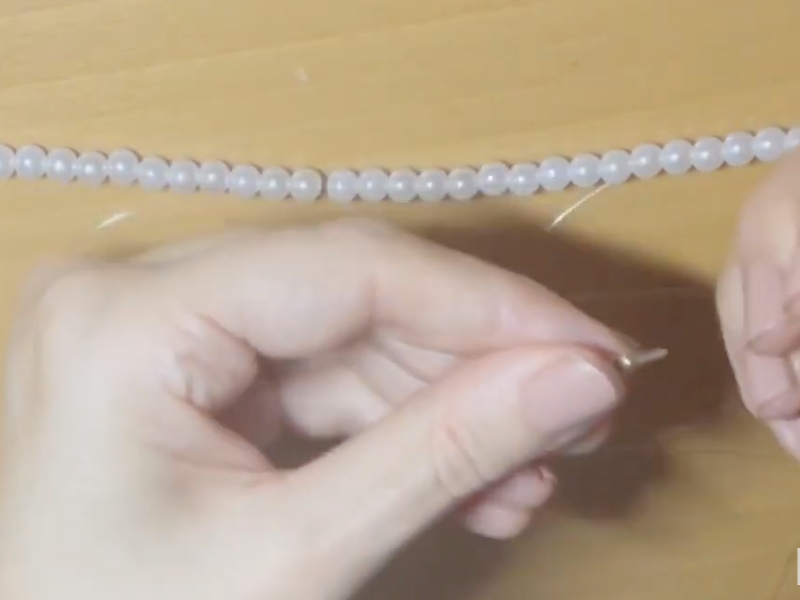
Build the bow
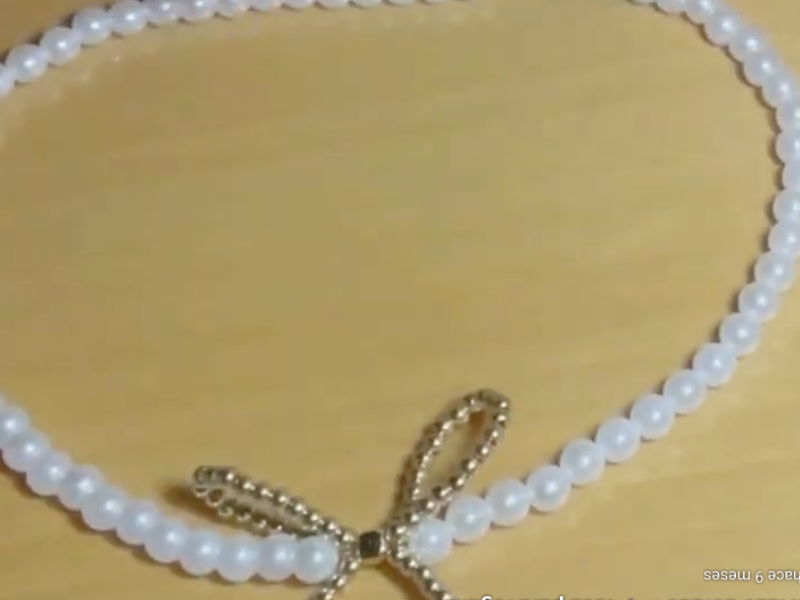
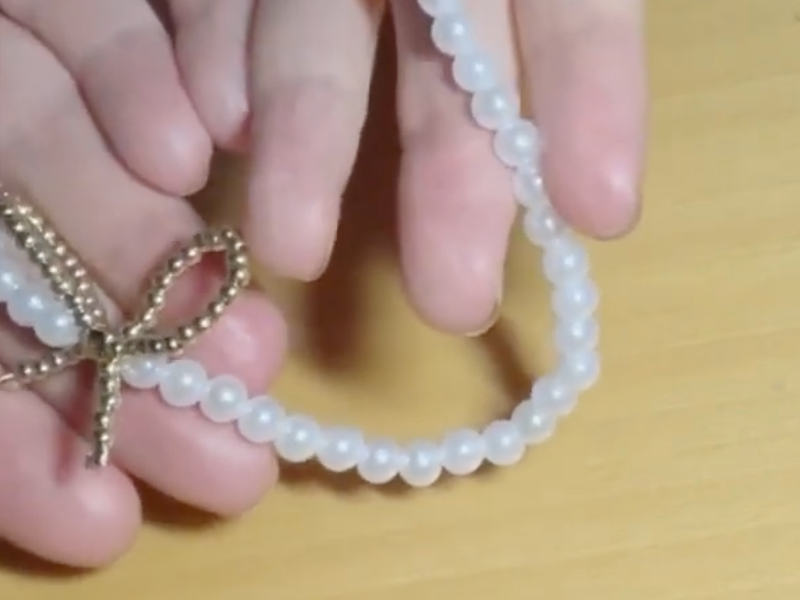
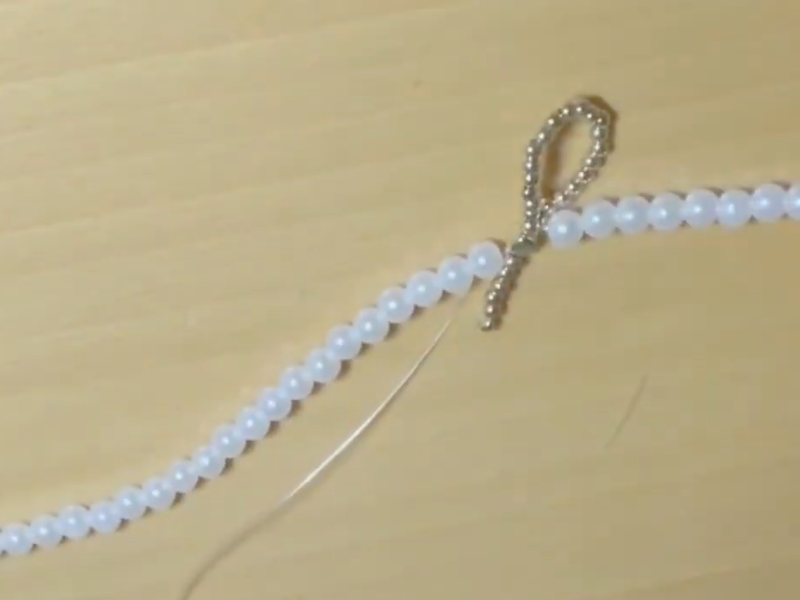
Once all the pearls are on, add one small gold square bead followed by about 21 gold seed beads. Turn the thread around and pass it back through the square bead, which gives you the first loop of the bow. Then add 6 more gold beads to form one of the bow’s tails.
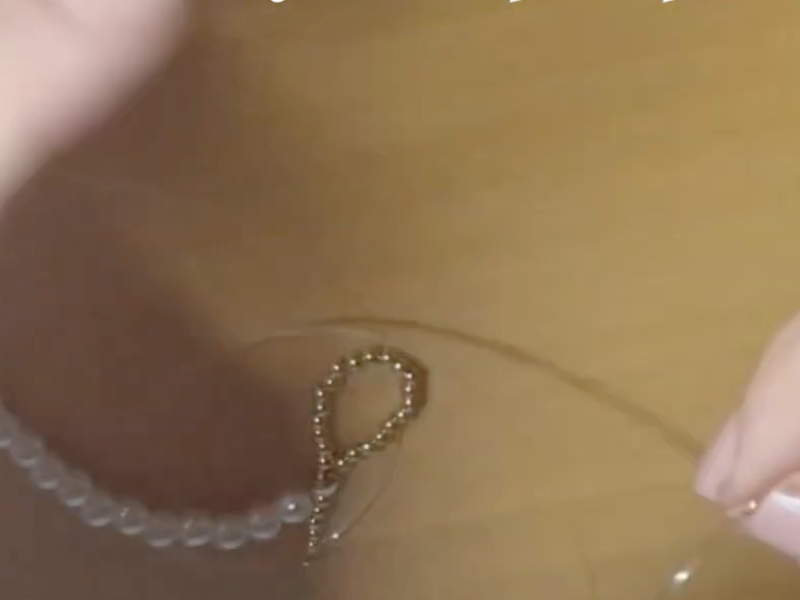
Move on to the other half
Take your second 12-inch thread and attach the other half of the clasp, then string pearls onto the free end until you reach about 5 inches.
Finish the necklace
Join this second half to the first by passing through the gold square bead, then add another 21 gold beads exactly as before to create the second loop of the bow. Pull that last bead snug so nothing slips off the thread.
Variations and Styles for Bow Necklaces
Classic and elegant
White pearls with a black or ivory bow. Perfect for special occasions, or paired with a white blouse.
Romantic
Pink or cream pearls with a pastel bow. Ideal for a sweet, feminine touch.
Modern
Irregular or colored pearls with a bow in a bold shade like emerald green or burgundy.
Minimalist
A single pearl at the center of a fine thread, with a small bow at the end.
Boho chic
Mix pearls with wooden beads or natural stones.
Tips for a Flawless Necklace
- Always use strong thread, especially if your pearls are heavy.
- Don’t over-tighten the knots between pearls, so the necklace drapes smoothly.
- If a ribbon bow starts to fray, run the edges past a lighter flame or seal them with clear nail polish.
- Combine matte and glossy pearls for more texture in the design.
- If it’s a gift, pack it in a small box with tissue paper and a handwritten note.
How to Care for Your Pearl and Bow Necklace
Pearls are delicate and need a little pampering. Store your necklace in a soft fabric pouch or its own box. Keep it away from perfume, lotion, and household chemicals, all of which can damage the natural luster, and don’t leave it in direct sun or anywhere damp.
After each wear, wipe it with a dry, soft cloth. Avoid hanging it up for storage, since the weight can stretch the thread over time. Treated well, it’ll be with you for many years and only get lovelier.
Frequently Asked Questions
Can I use faux pearls?
Of course. Acrylic or glass pearls cost less and the results look just as lovely.
How do I keep it from breaking?
Reinforce the knots with a drop of glue and use good-quality thread.
Is it worth making several necklaces?
Yes. You can build a small collection by mixing different pearl tones and bows, so you’ll have an accessory for every occasion.
how to make a pearl necklace with a bow, step by step
Prepare the thread
Cut two pieces of thread about 12 inches each
Attach the clasp
Slide two small gold crimp beads (or the color of your choice) onto the end of one thread, then add the clasp
String the pearls
Using your needle, string the pearls one at a time onto the other end of the thread until they fill about 8 inches
Build the bow
Add one gold square bead and about 21 gold seed beads, turn the thread and pass it back through the square bead to form the first loop of the bow. Add 6 more gold beads to make one tail.
Make the second half
Take the other thread and attach the other half of the clasp, then string pearls onto the free end until you reach about 5 inches
Join the two halves
Join this second half to the first through the gold square bead, then add another 21 gold beads to form the second loop of the bow
Tools:
- small pliers
- scissors
Materials: pearls thread
The Emotional Value of Making Your Own Jewelry
There’s something deeply comforting about creating with your hands. Making a pearl necklace with a bow isn’t only a craft, it’s a moment of connection with yourself. While you count the pearls and tie the knots, your mind settles, you focus, and time slows down. Wearing something you made feels different, too. It’s more than an accessory, it’s a story you carry at your neck, and the story is yours. You can even build matching sets, for example by making a pearl ring to go with it.
It carries a special weight as a gift as well, because whoever receives it can feel the time, the care, and the attention that went into it.
Where to Wear Your Pearl and Bow Necklace
This style of necklace is versatile enough for almost any occasion.
- With a summer dress and sandals, for a romantic touch.
- With a white blouse and jeans, for casual chic.
- At a wedding or special event, paired with an elegant updo.
- Even over a turtleneck in winter, to brighten up the whole outfit.
Best of all, it never goes out of style. Year after year you can pull it out of the jewelry box and it’ll still look beautiful.
When I made this necklace, I had some beads left over from another project that struck me as far too pretty to throw away. One quiet afternoon, with music on, I started stringing pearls without overthinking it. When I finished and tried it on, I felt that mix of pride and calm that only comes from making something yourself.
I’ve made several more since then, each in a different style. One with white pearls and a black bow that I wear to special dinners, another with tiny pearls and a pale blue bow that reminds me of summer. Every one of them has that unique quality you’d never find in a store.
Making a pearl necklace with a bow is a creative, simple, and deeply satisfying experience. You end up with a beautiful accessory, and you get to enjoy the process, that stretch of time where you tune out the world and make something with your own hands.
It’s a way to treat yourself, to express something, and to reconnect with the handmade. Every pearl, every knot, every bow holds a little piece of you. That’s worth far more than any piece you could buy.
Now I’d love to hear what you think. Are you up for making your own pearl necklace with a bow? Which colors would you put together? Tell me in the comments, I’d love to hear from you and swap ideas. If you enjoyed this guide, share it with your friends or save it for your next creative afternoon ^^